Hey it’s Thomas. Back again for more gardening tips.
In my last post about gardening, my hope was that you would make the most of your time at home by getting out into your yard and starting some sort of gardening project. It looks like, to some extent, my encouragement worked. I’ve been impressed by just how many people have tagged us, sharing their garden projects. Walking around our neighborhood, I’m amazed by the number of new raised beds I’ve noticed popping up in front yards.
It’s exciting to dedicate a day or a weekend to getting your new garden project started, but there’s a certain amount of upkeep required to have your garden performing at its best. I received a lot of questions over the past two weeks about this. My hope with this post is that you can reap the rewards of your work to get the best return on your investment all spring and summer long.
I could probably write a whole book on just this topic so I am trying to narrow today’s post down to fun and straight to the point thoughts. As you read through, keep in mind that I’m available via DM on Instagram or email. I’d love to know what you are growing this year and any questions that you might have along the way.
Watering
If you haven’t done so already, I encourage you to set up automated watering if possible. While this is meant to make your life easier it’s never exactly a set it and forget it kind of thing. Check in with your plants and look for signs of distress.
If you have automated watering, then right now would be a great time to inspect all of your systems. Checking for leaks or under or over watered areas of your garden. This includes your sprinkler system too. Nearly everyday walking around our neighborhood I’ll notice at least one irrigation system going haywire.
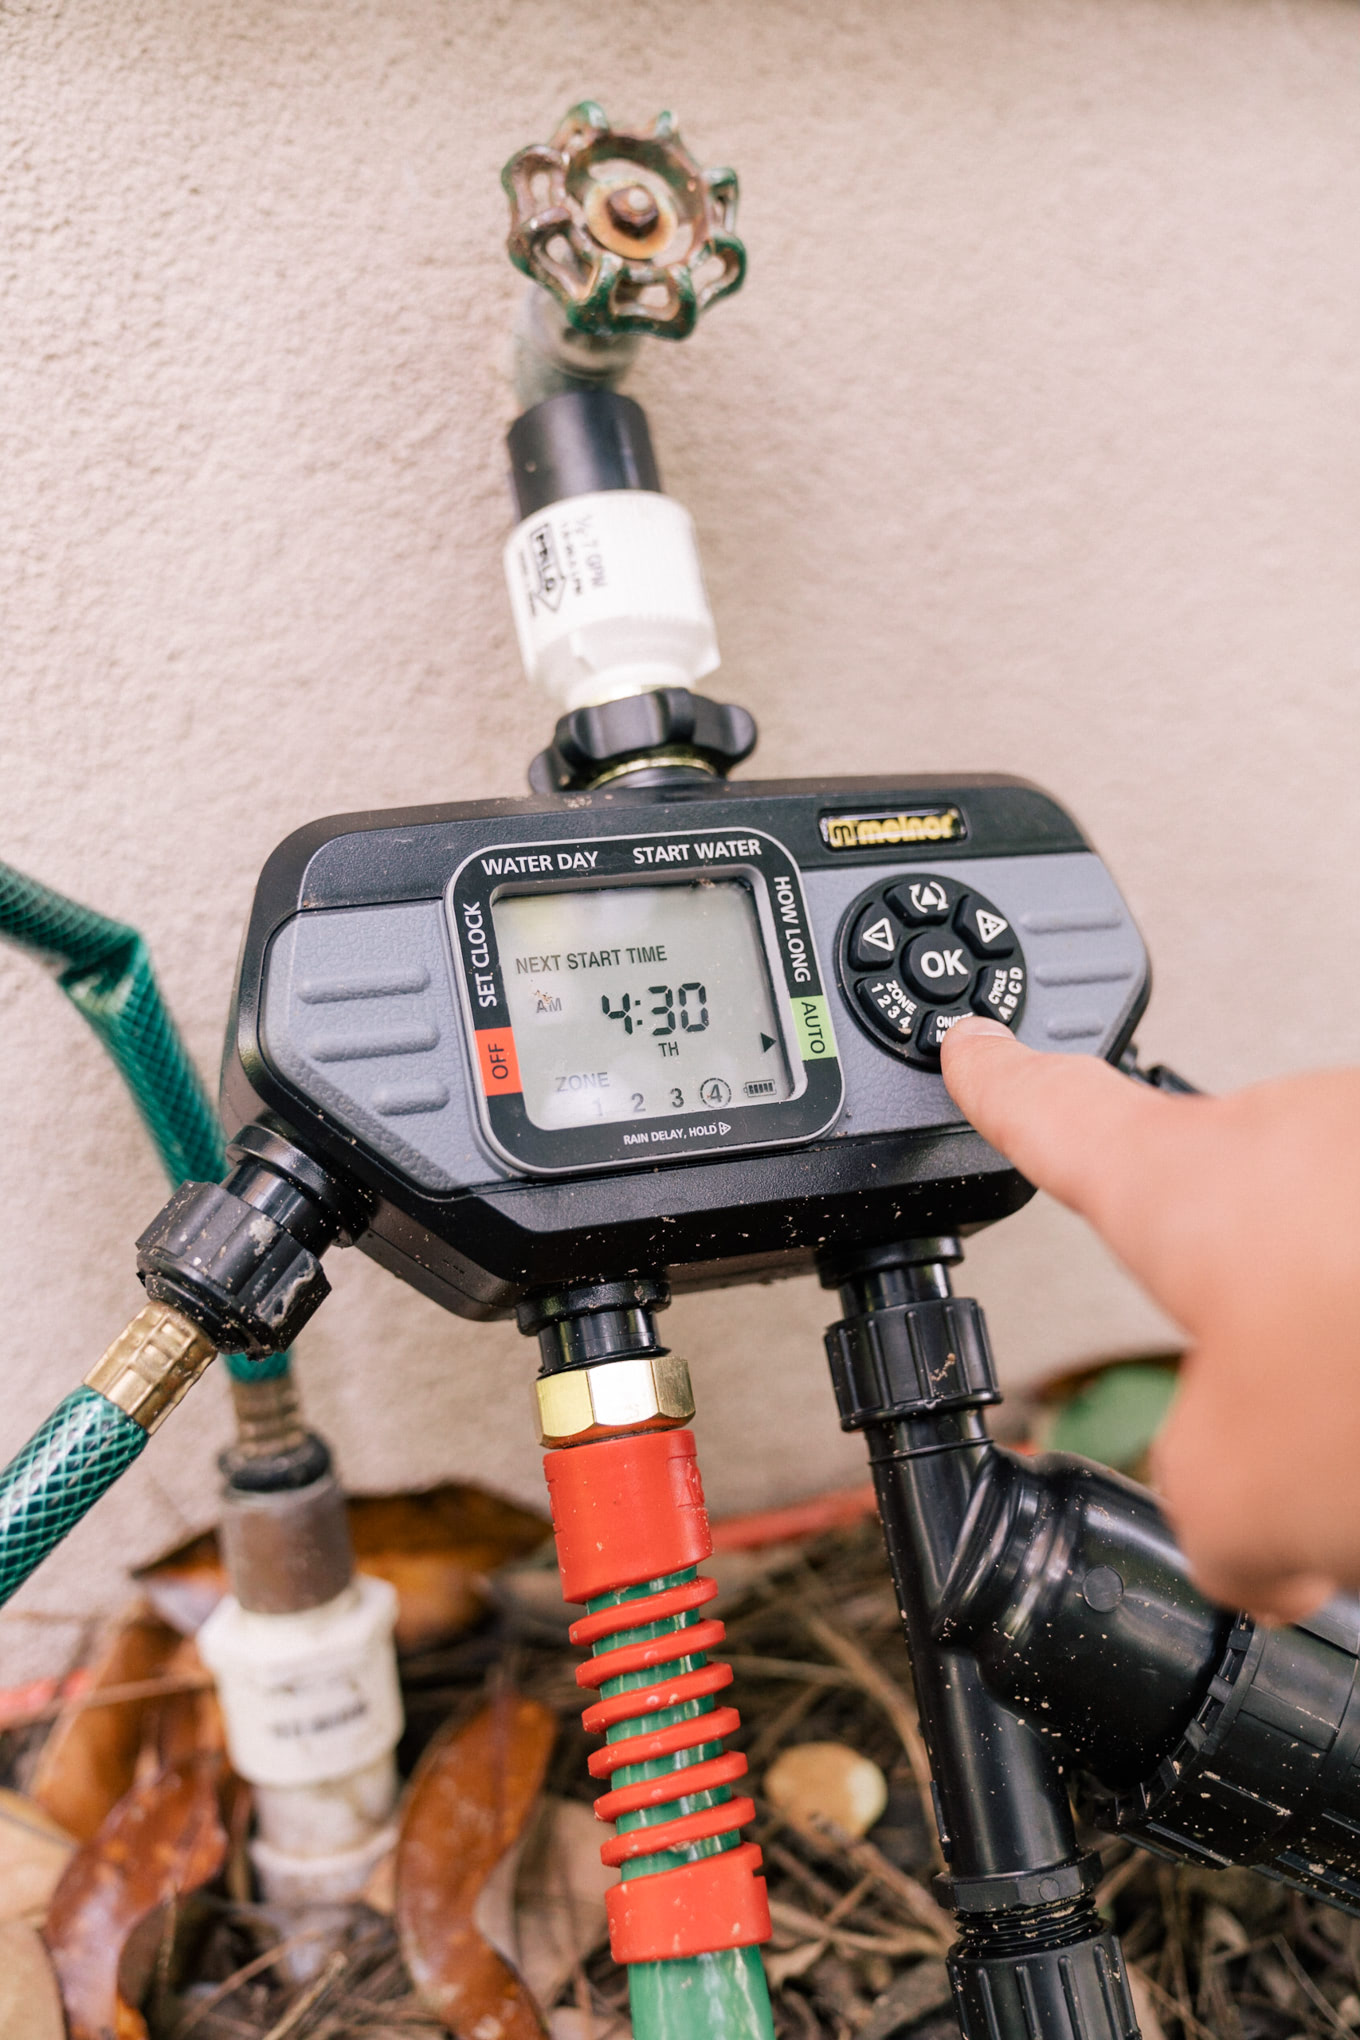
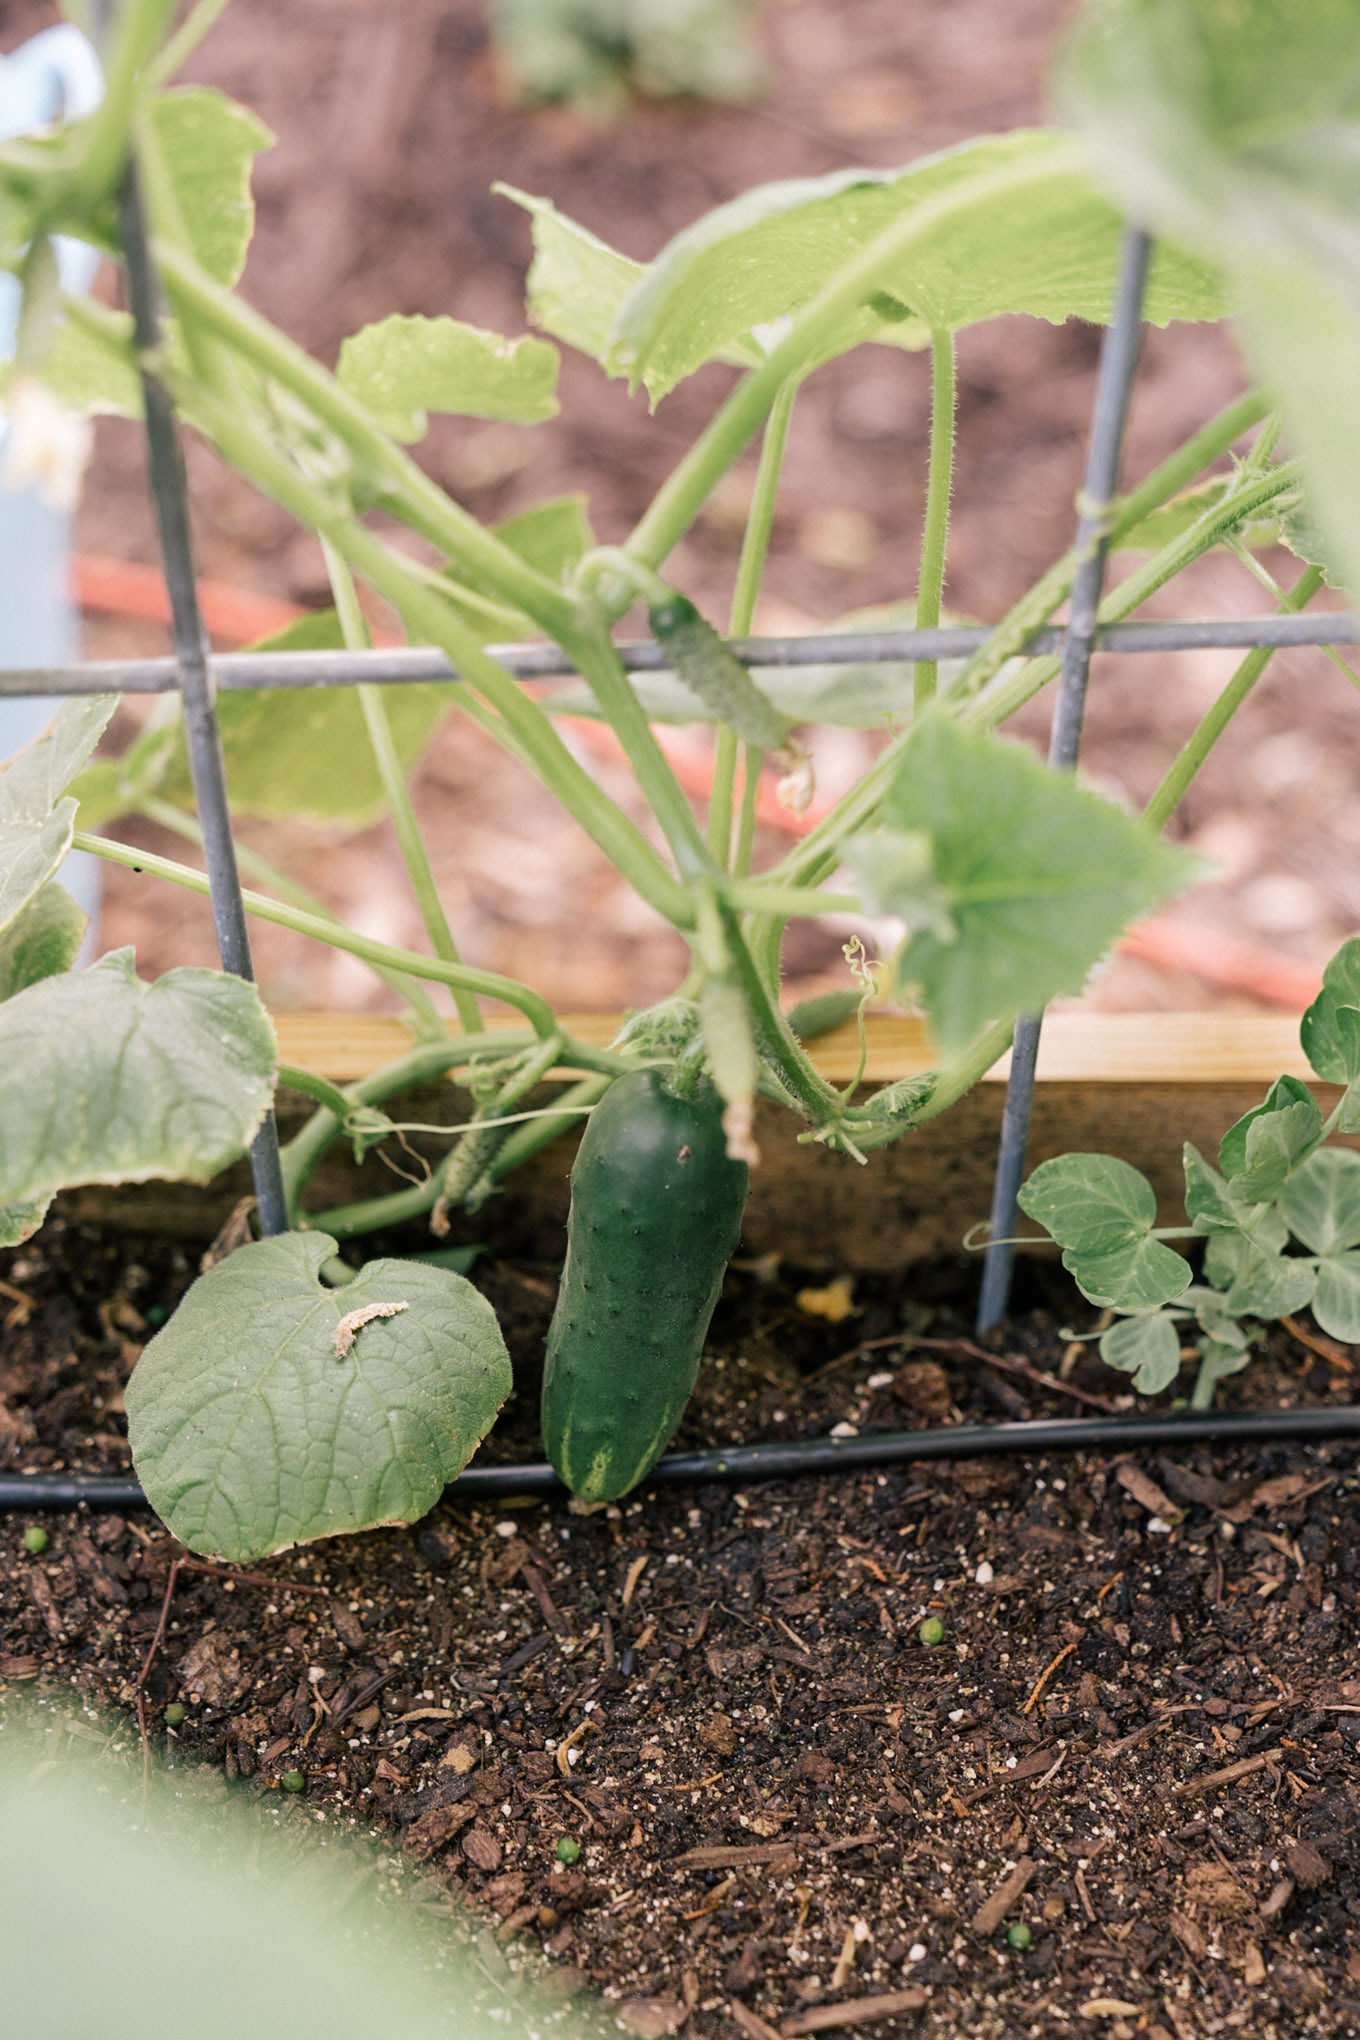
New plantings and seedlings will require more moisture but as they grow, their roots become more established. At this point you can back off your watering to fewer but deeper watering times. I prefer to set my automatic watering between 5-7am to limit evaporation while not leaving plants too wet at night. As we get into the heat of May, June and July check in on your plants in the late afternoon. If they are looking droopy, fried or burnt you might need to adjust your watering.
Supporting Plants
Right now, while your plants are small, is exactly the right time to think about supporting them in the future. As a new gardener, this was something I overlooked and when I realized it, I was trying to play catch up the whole growing season.
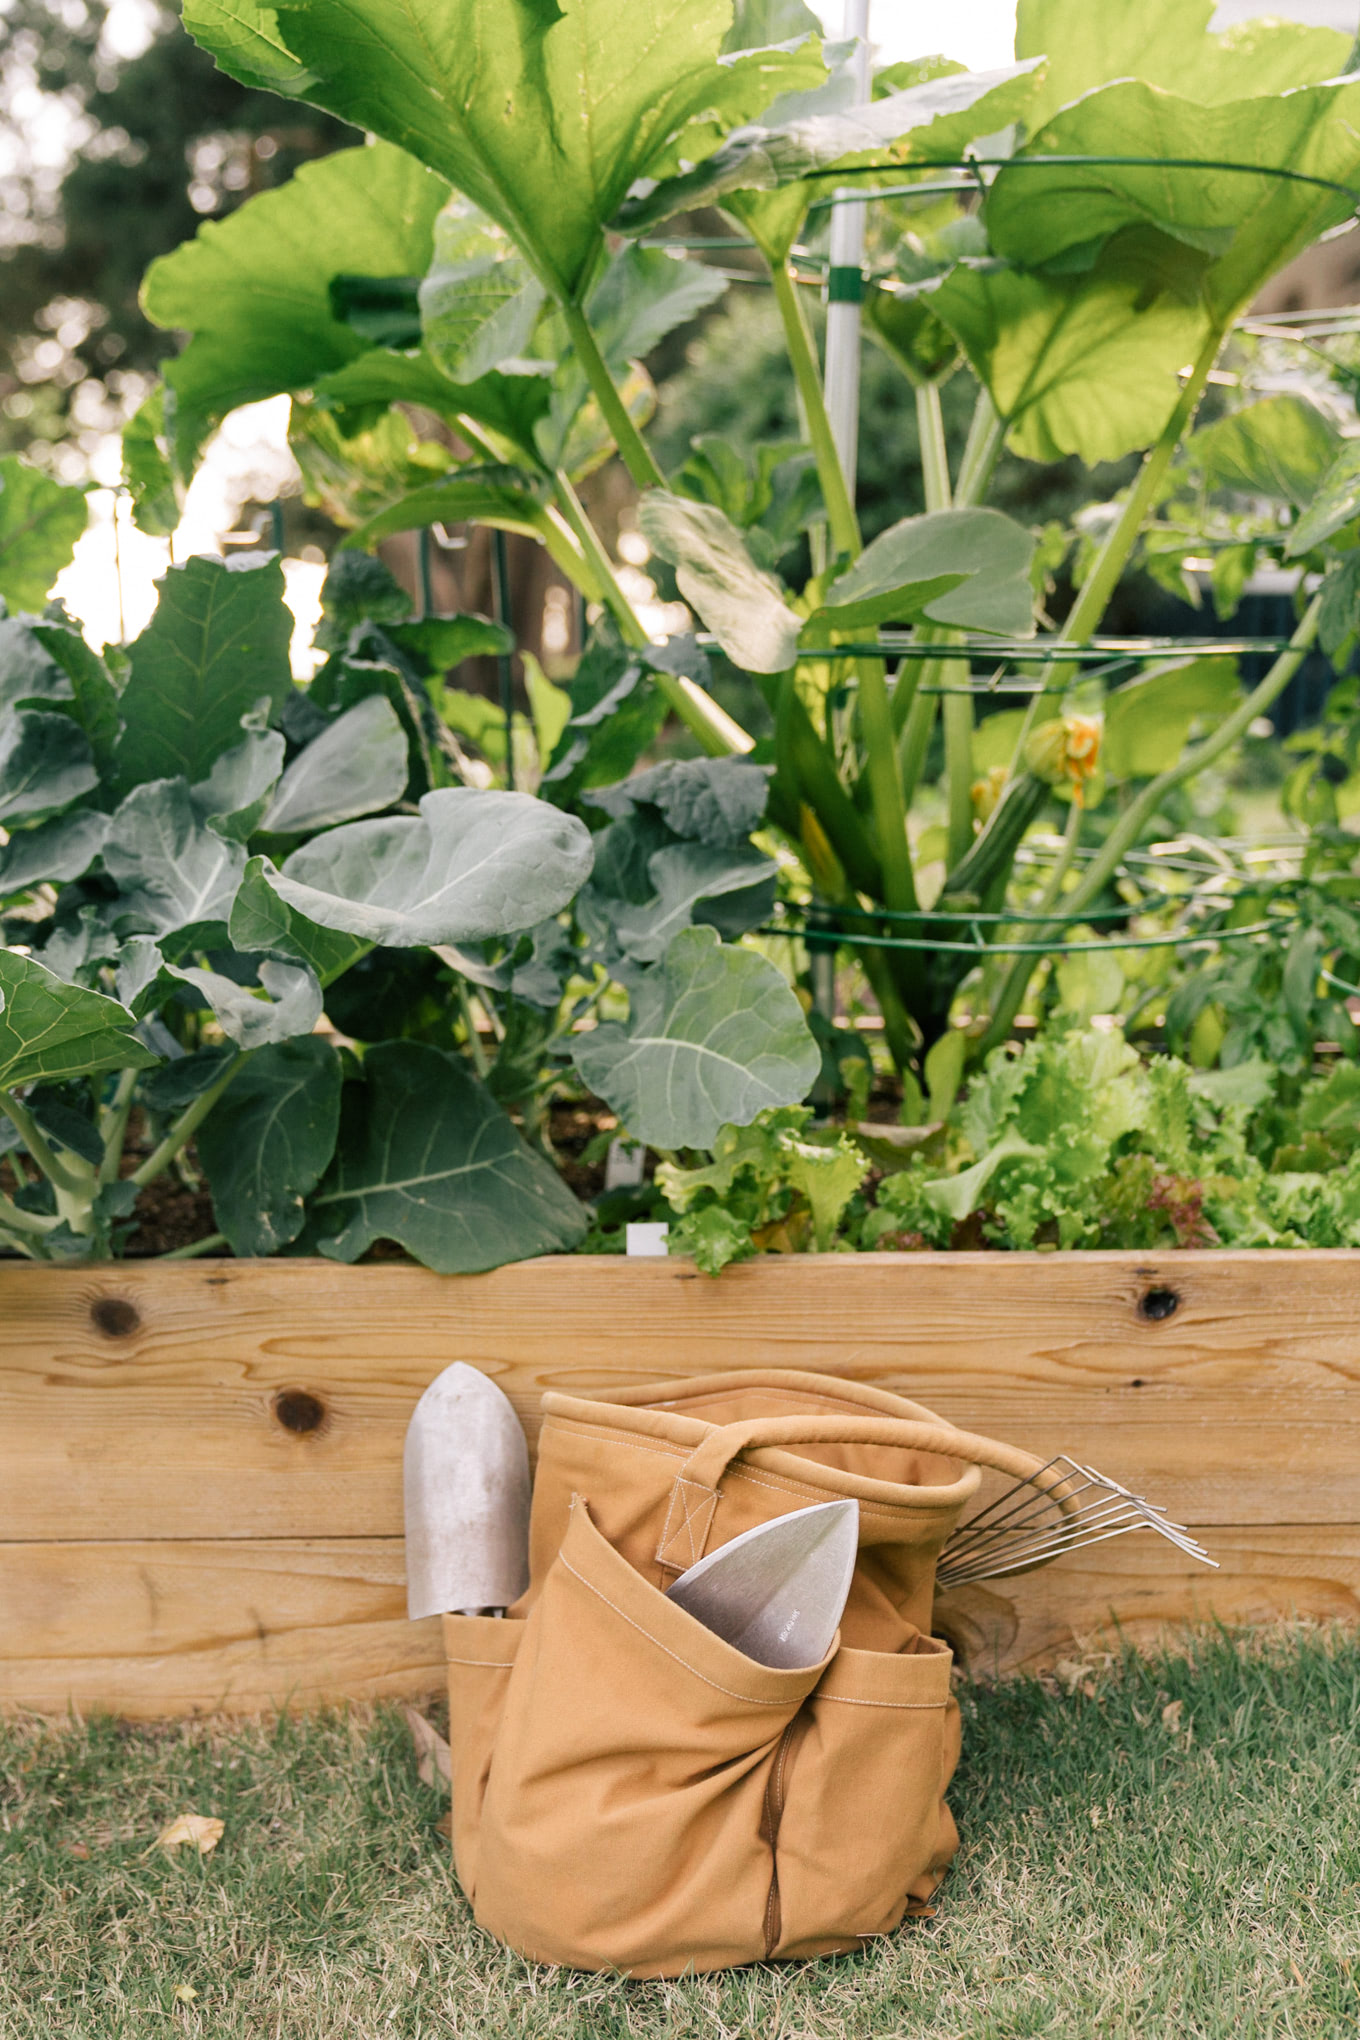
Chances are you might be growing tomatoes this year. The classic tomato cage is useful for supporting the longer branches and fruit, but I’ve found it doesn’t do much for supporting the main stem. That’s why, in addition to using cages, I’m also staking them using a long 8 foot pole (after driving the pole into the ground it’s maybe 6.5 to 7 feet above the ground). I use these clips for connecting the plant to supports.
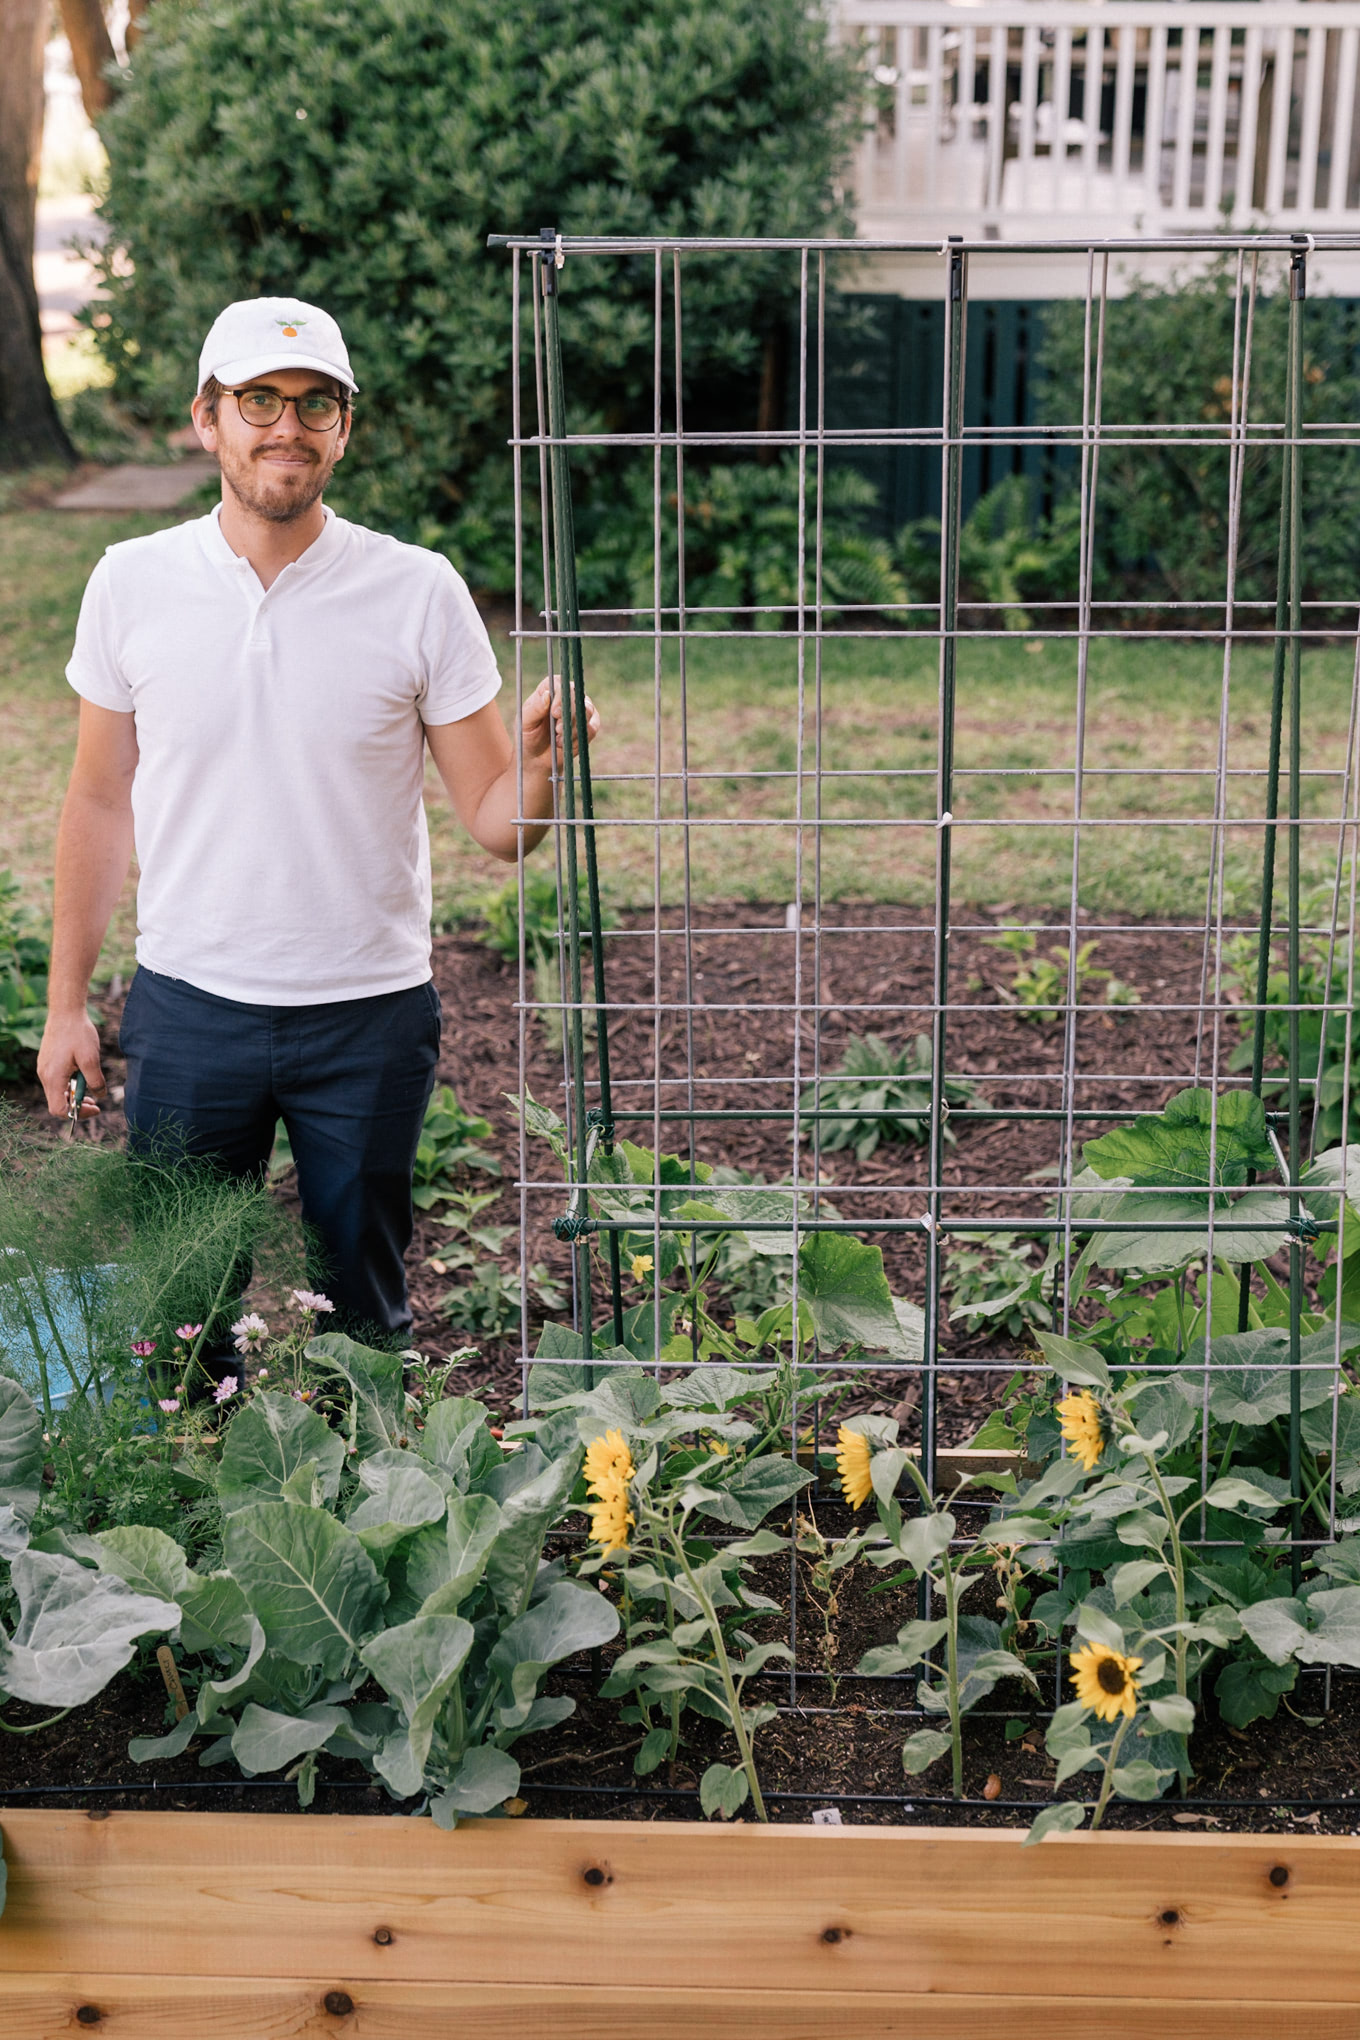
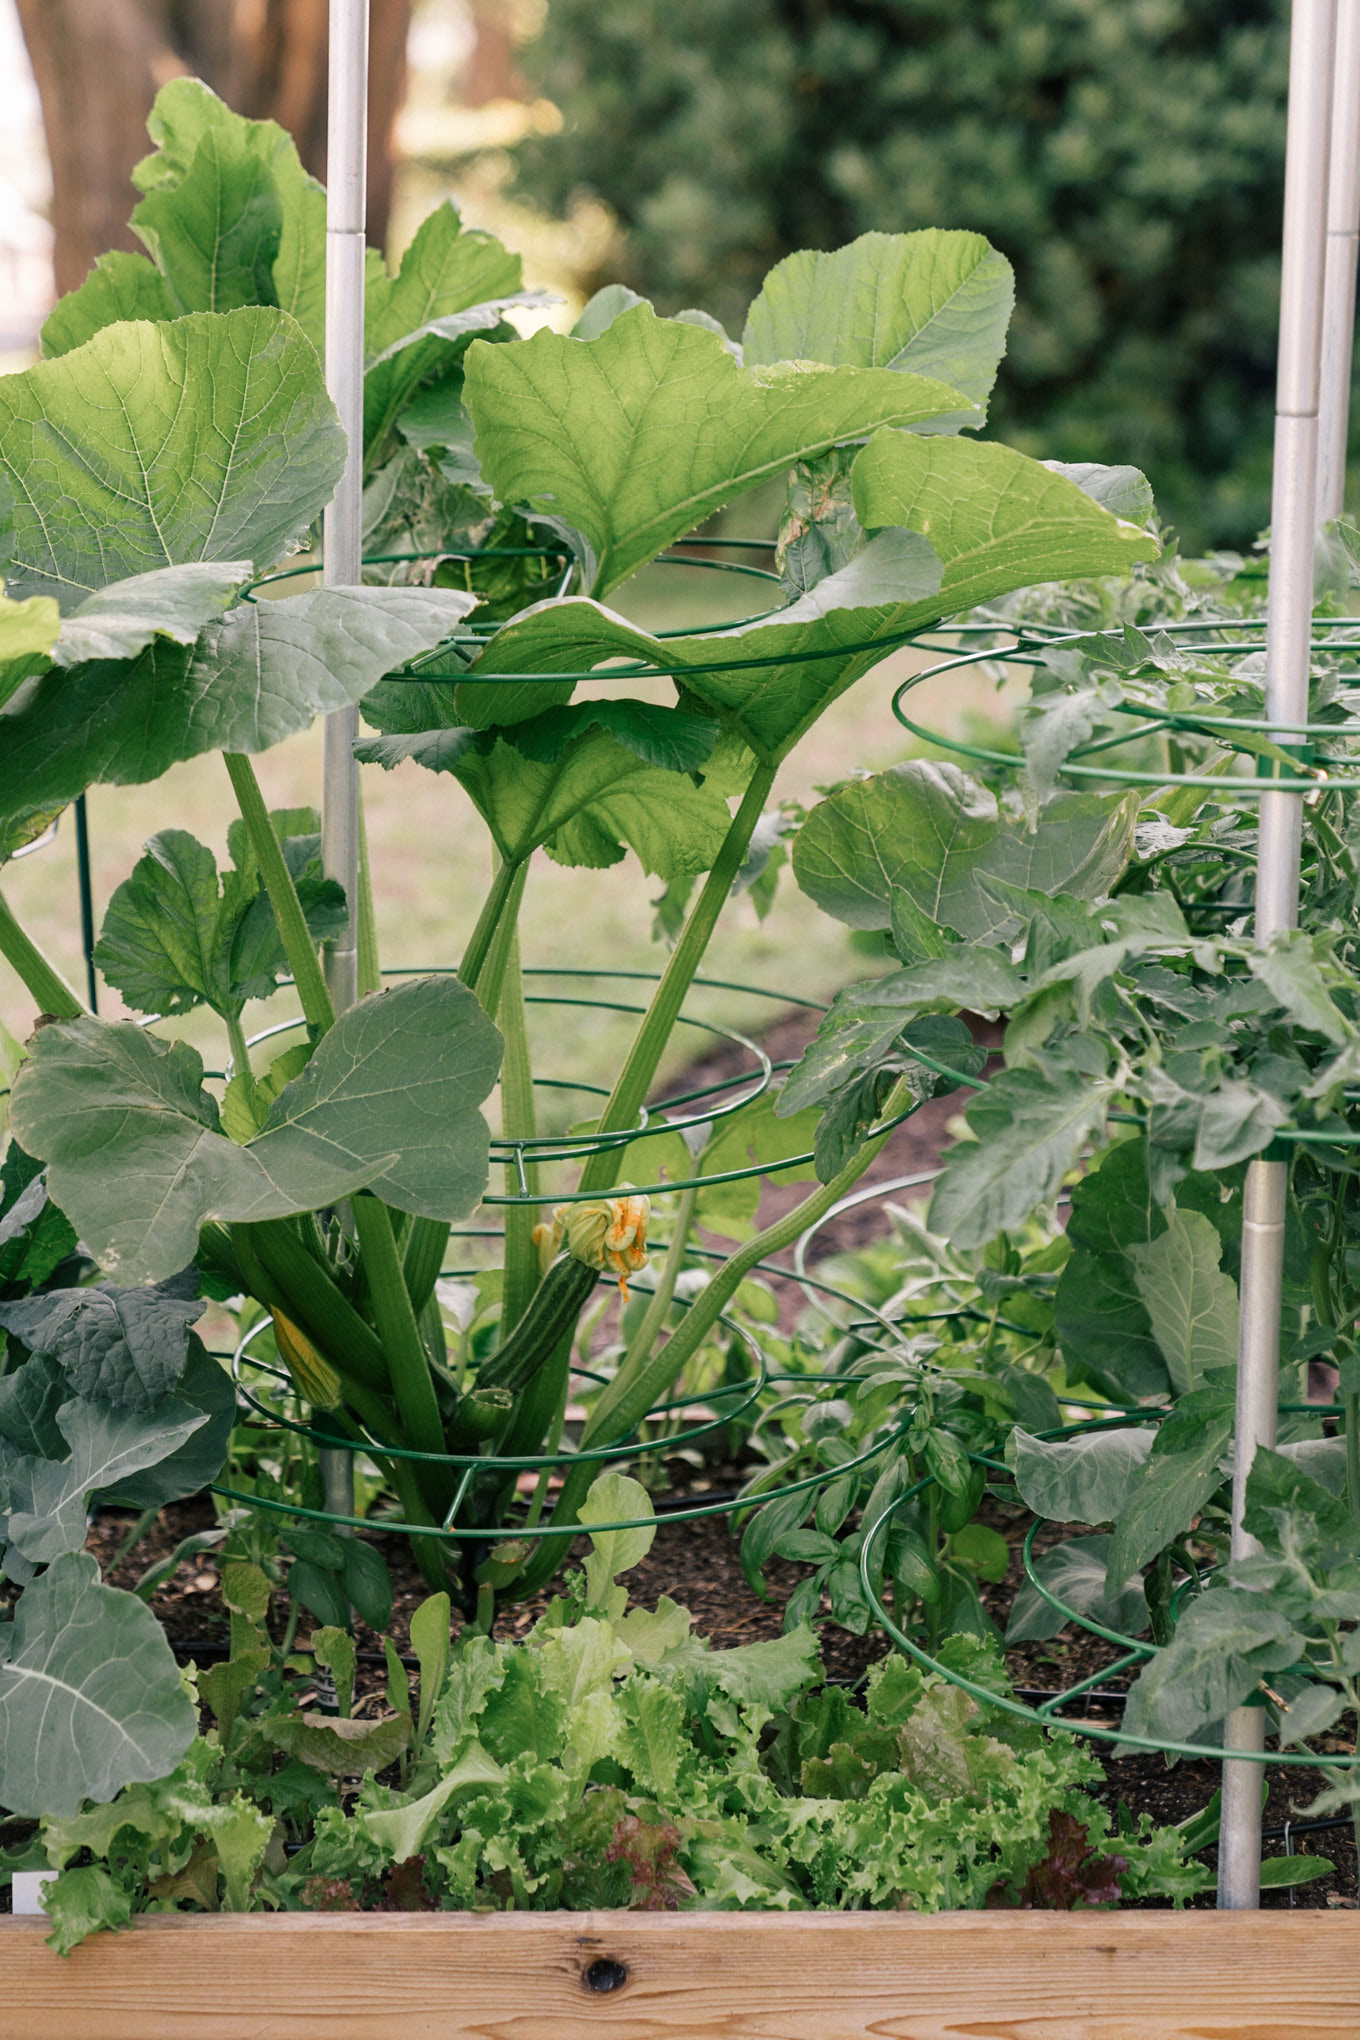
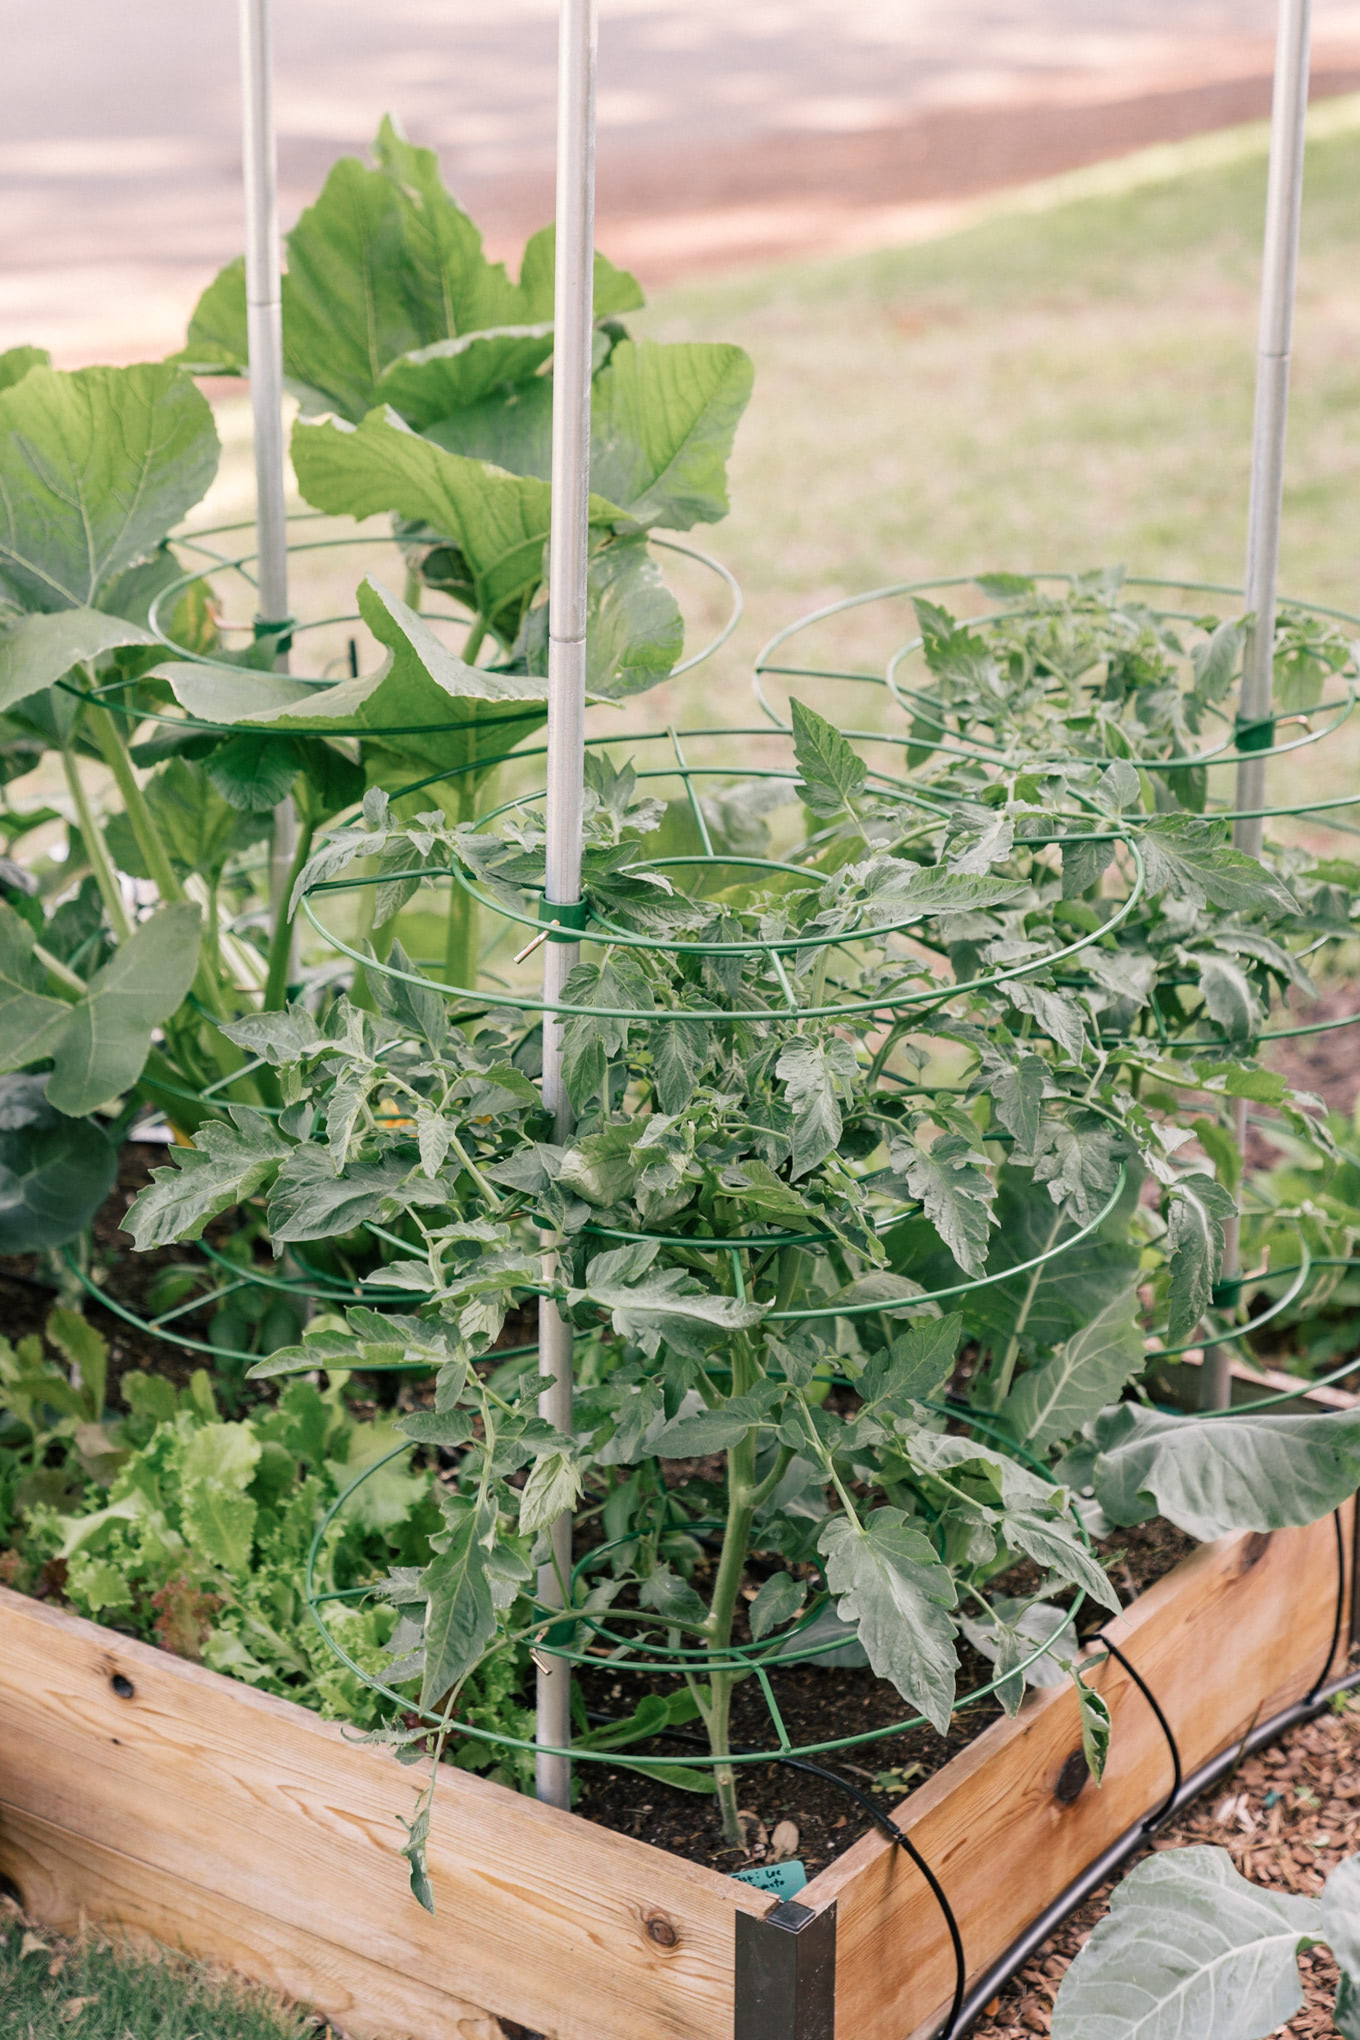
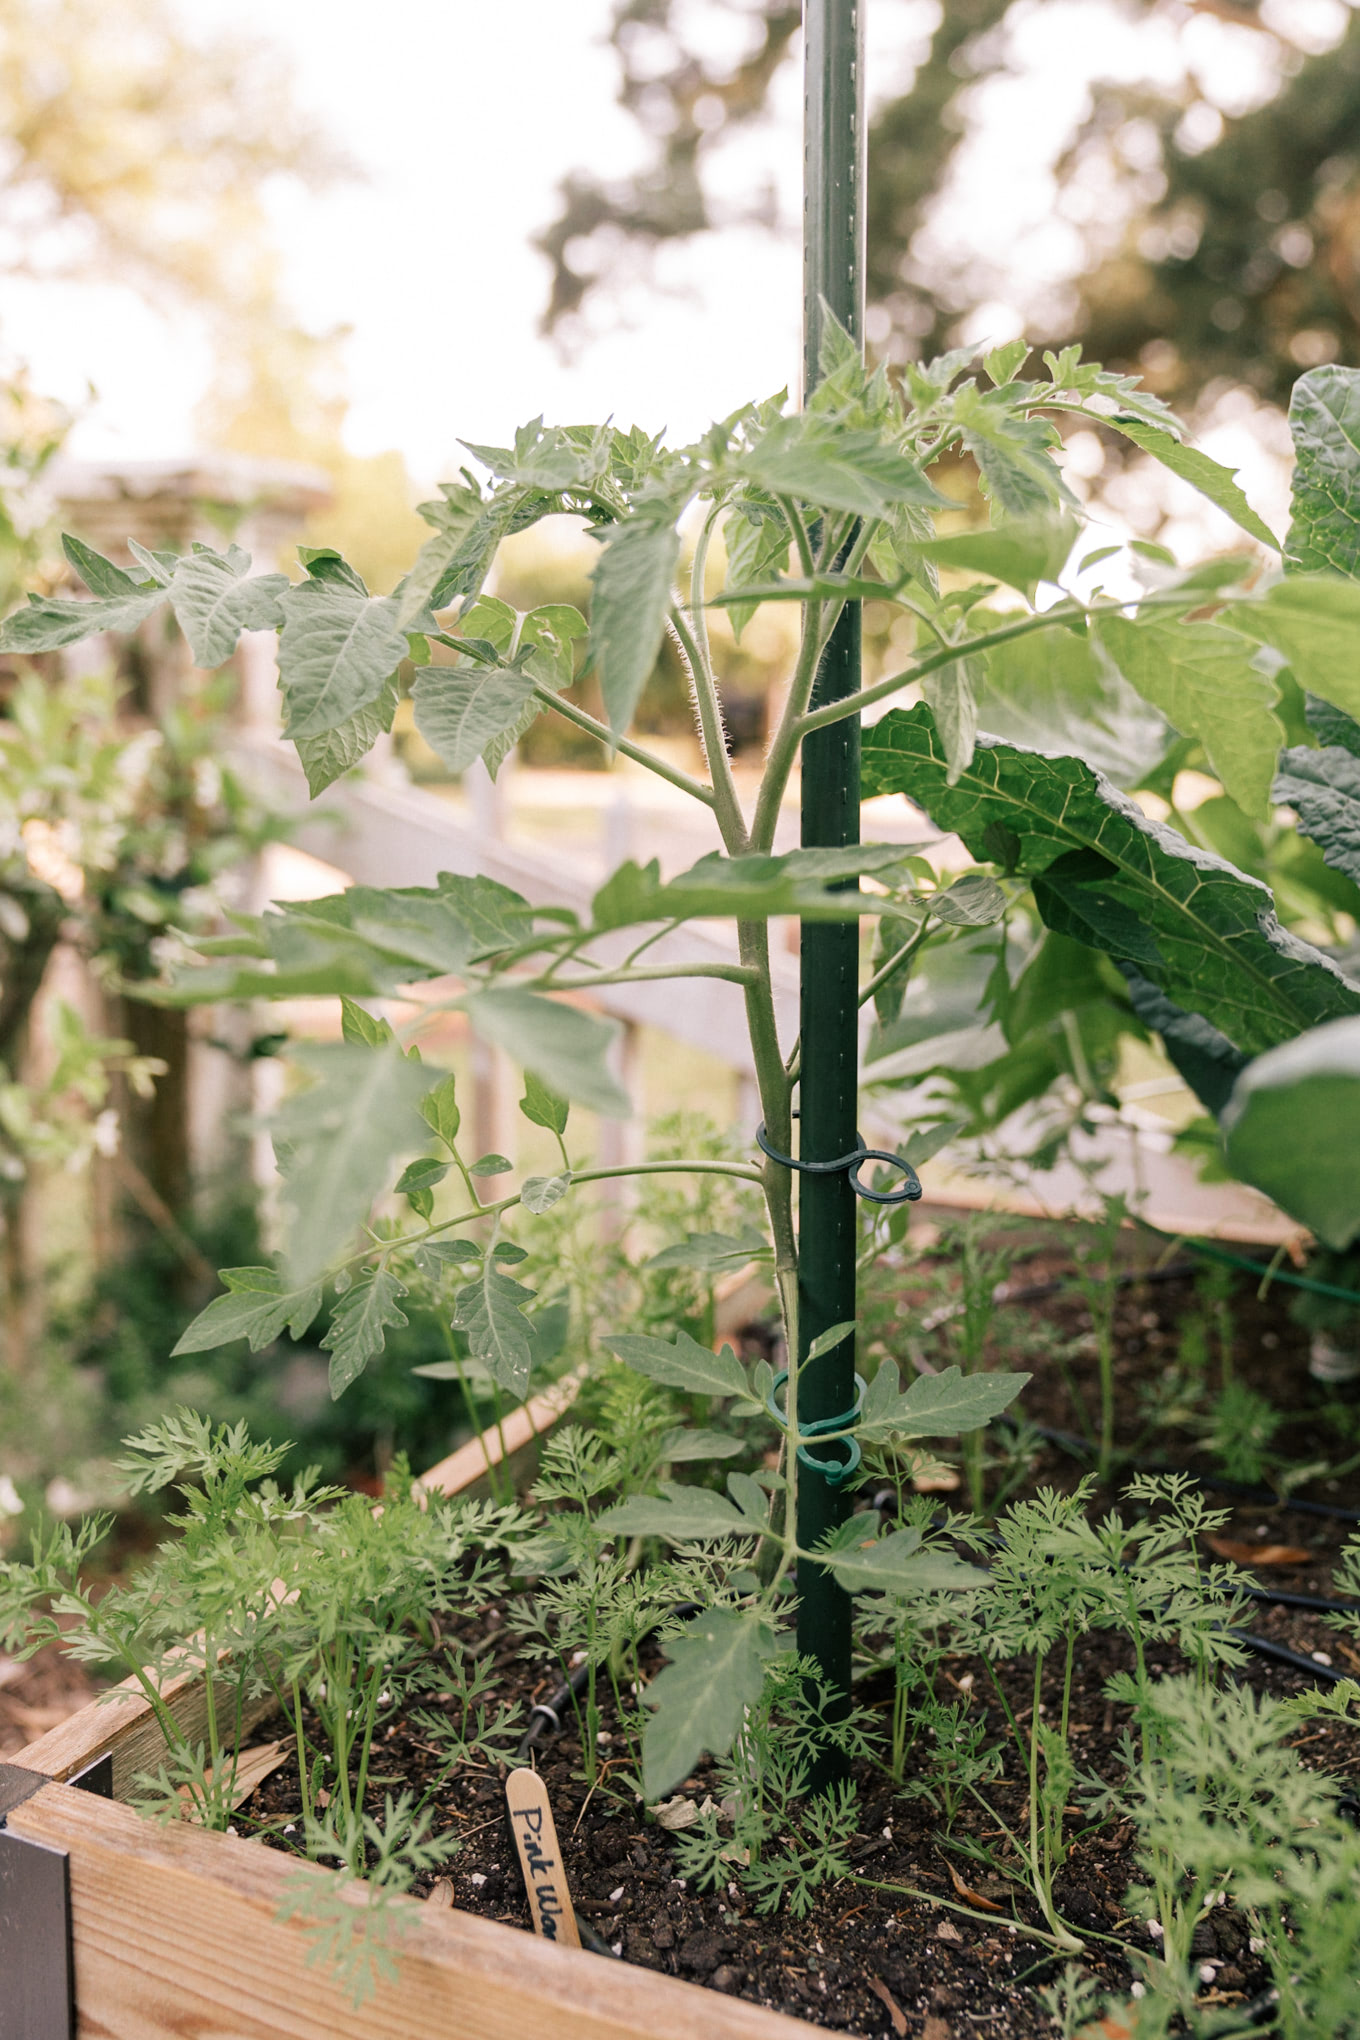
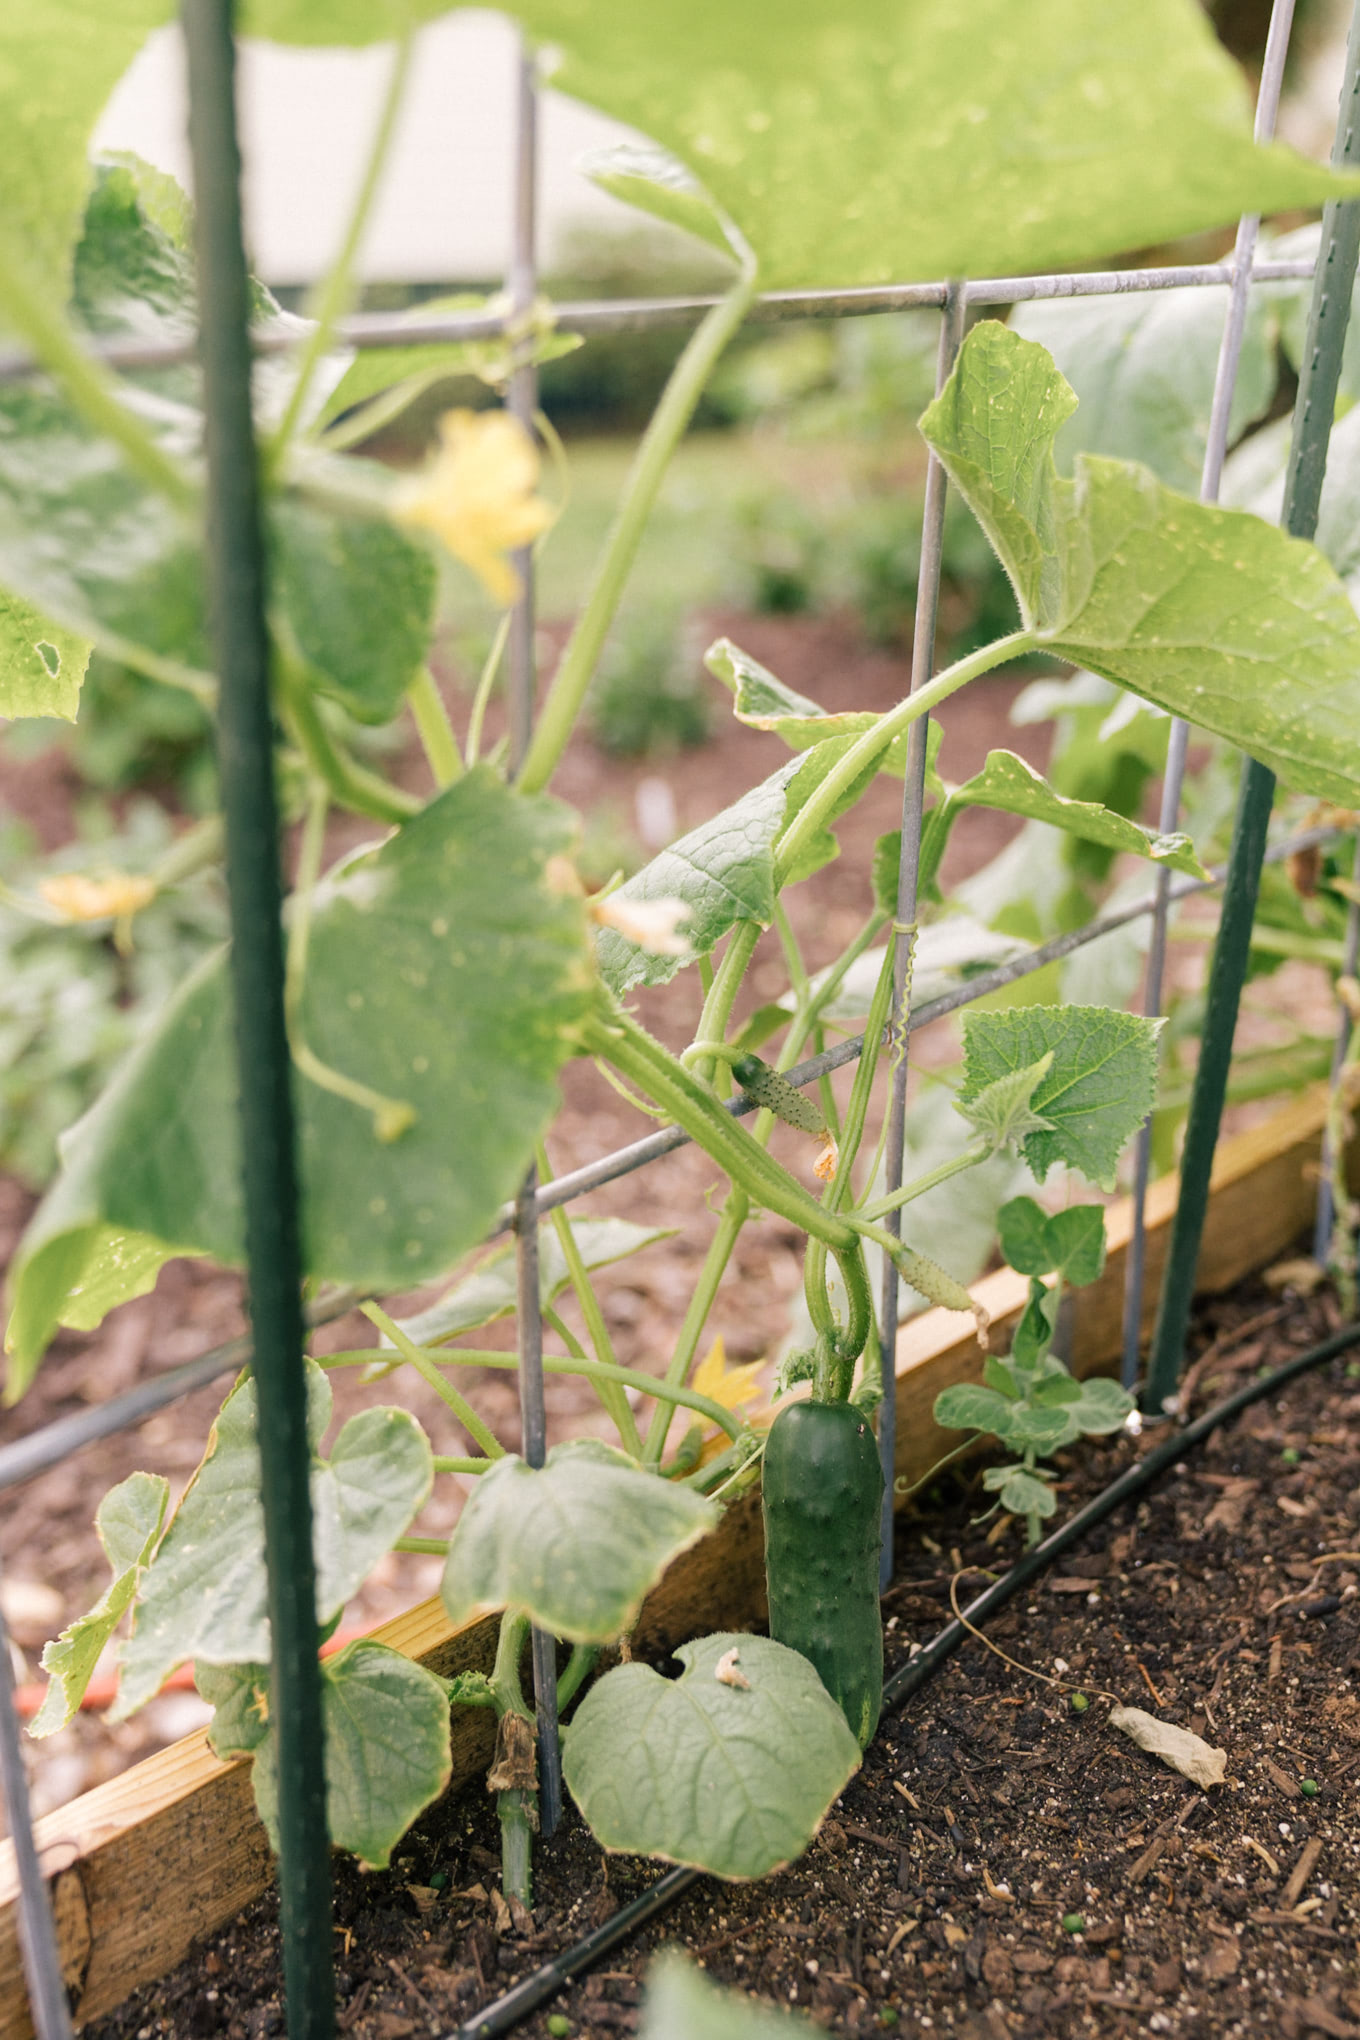
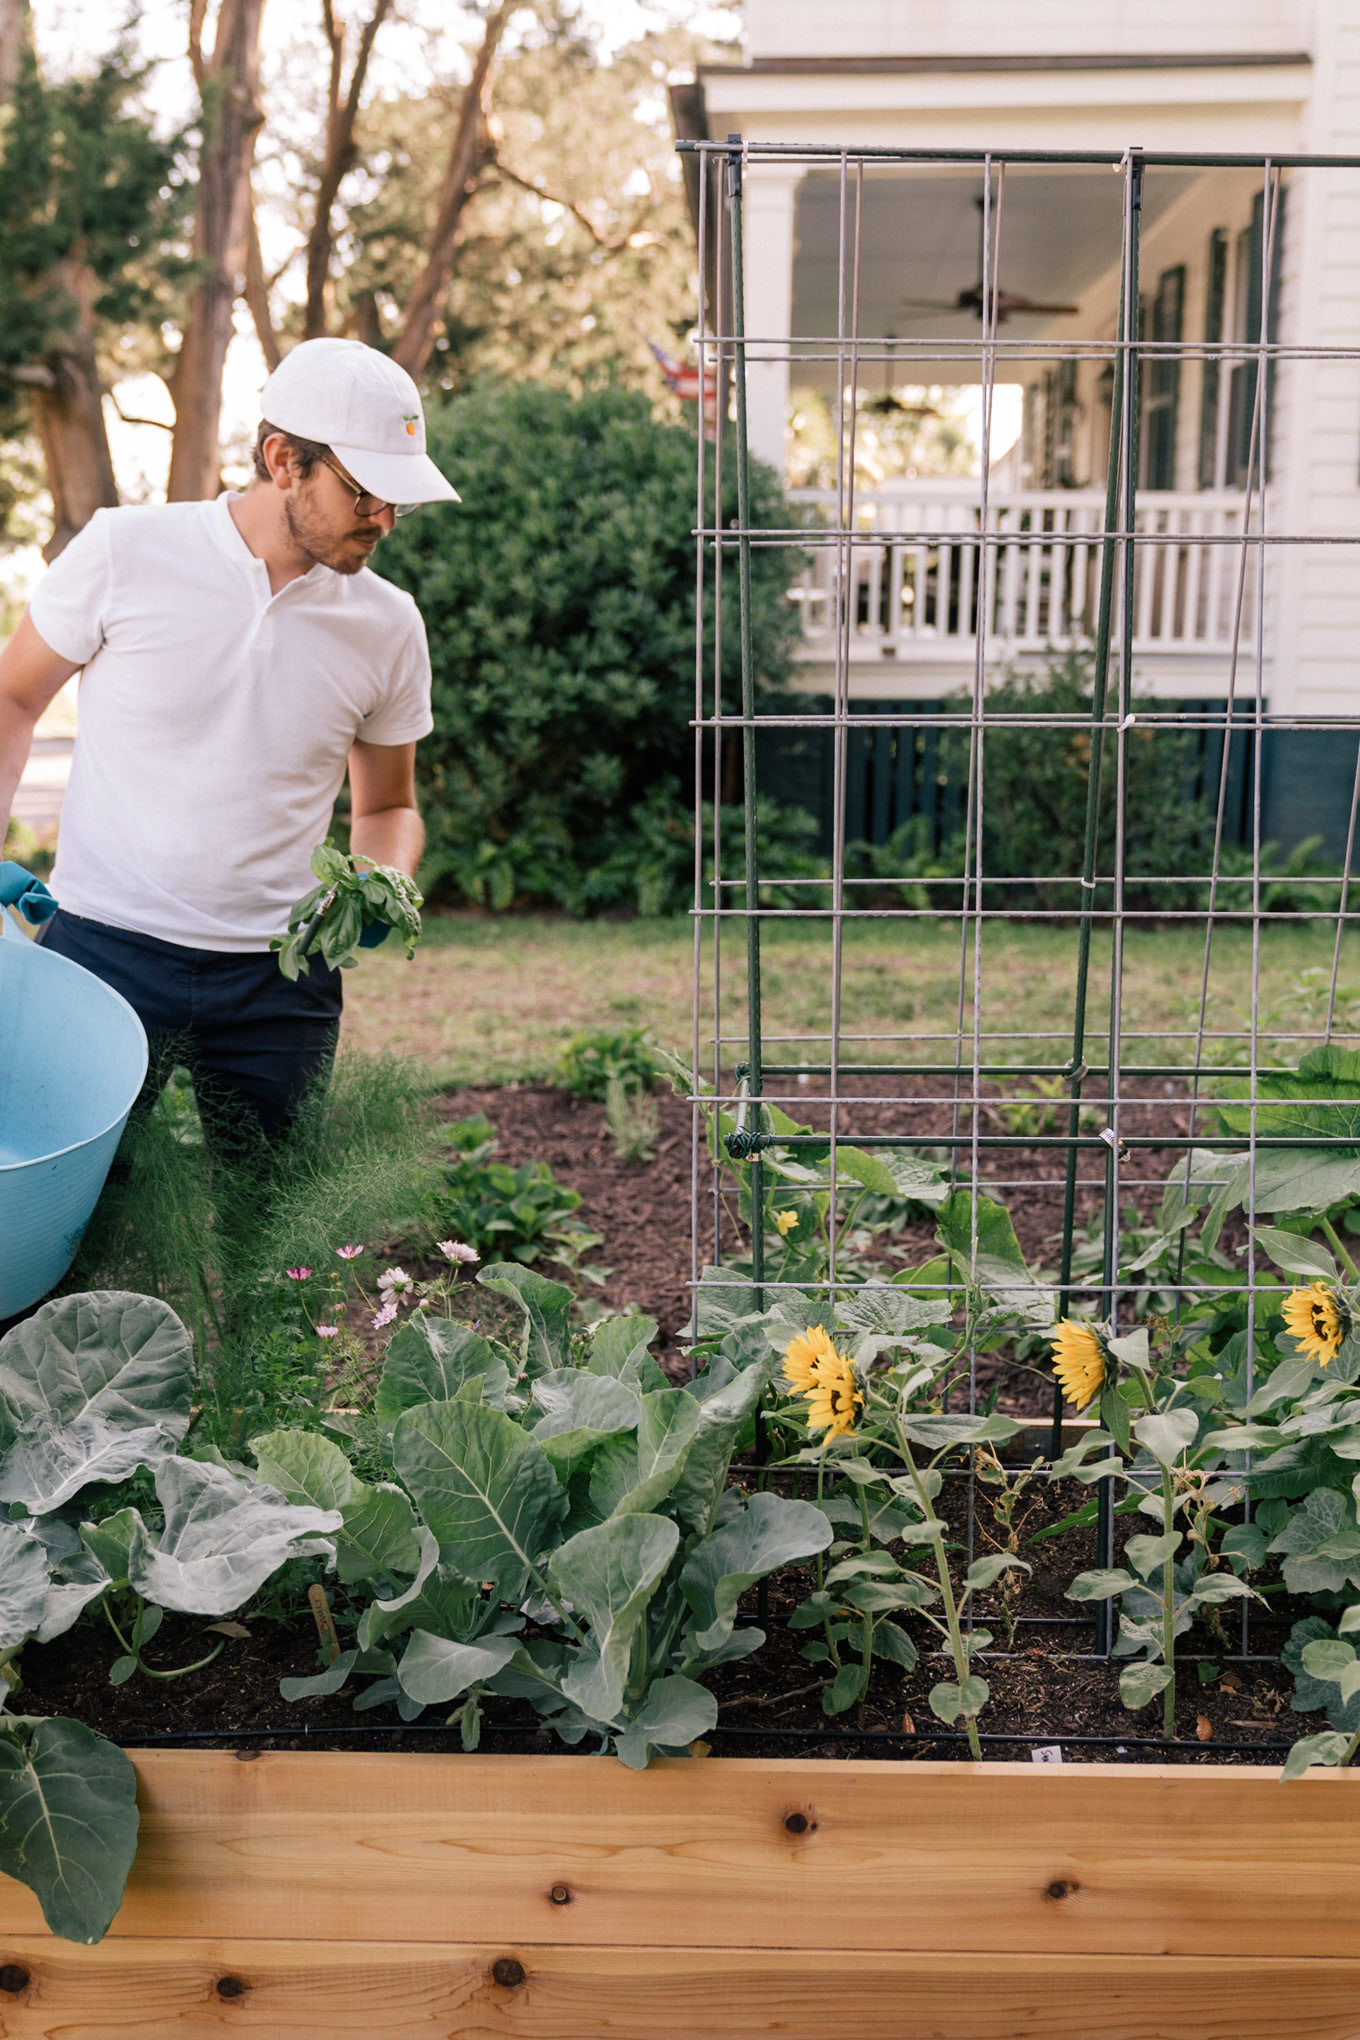
Always overestimate how tall your plant can grow. We get some pretty intense rainstorms this time of year, so I’m trying a variety of methods for supporting my plants. Including these Tomato Towers and cutting and bending cattle panels to make custom supports..
Pest and Diseases
We’ve received so many questions about how we manage plant problems, most notably how we deal with pests. The truth is, no garden is perfect, especially organic ones. Pests are a natural part of the equation. There are two things I’ve specifically done that’s helped keep problems down to a minimum. The first is starting with a solid foundation. Proper soil, watering, sunlight and air circulation. I try to practice biodiversity by having combinations of companion plants as well as flowers or herbs that repel pests or attract pollinators or predators. Our neighbor has a cat that loves our yard and this helps keep squirrels out. We also have tons of lizards which I imagine greatly reduces our slug, snail and bug populations. Pests prefer unhealthy plants and it’s pretty easy for things to spiral out of control. After you’ve created the ideal environment, there’s no substitution for checking in on your plants on a regular basis. This can be pretty overwhelming, so consider spending at least 10-15 minutes 1-2 times per week walking your garden, inspecting for problems and pests. Turn over leaves that look like they may have been chewed on. You might find eggs, larvae, a full grown bug or nothing. The same goes for discolored or deformed leaves. Having a good photo of the problem will help you when you get back to your computer (or phone) to find out what’s wrong. Once you do, it’s important to figure out how you will treat it. I always try and first solve problems naturally, such as pulling a caterpillar off of your plant before treating them with a chemical (even if it’s organic, the treatment could impact beneficial insects in your garden too). If you have to apply a treatment, I’ve found Bonide products are great and they also have a useful tool for finding out exactly what your plant problems might be. If possible, do this ASAP. You’ll always be thankful you caught and treated problems quickly, preventing further spread. When troubleshooting, remember that it’s possible that these types of pests and problems occur throughout your region. That’s why I like to go to my local plant nursery for advice. They are way more knowledgeable than big box stores and they often have experts in each area. For instance, the trees and shrubs employee will have different and more specific advice for your ailing Meyer Lemon tree compared to the person working in the annuals flower section.
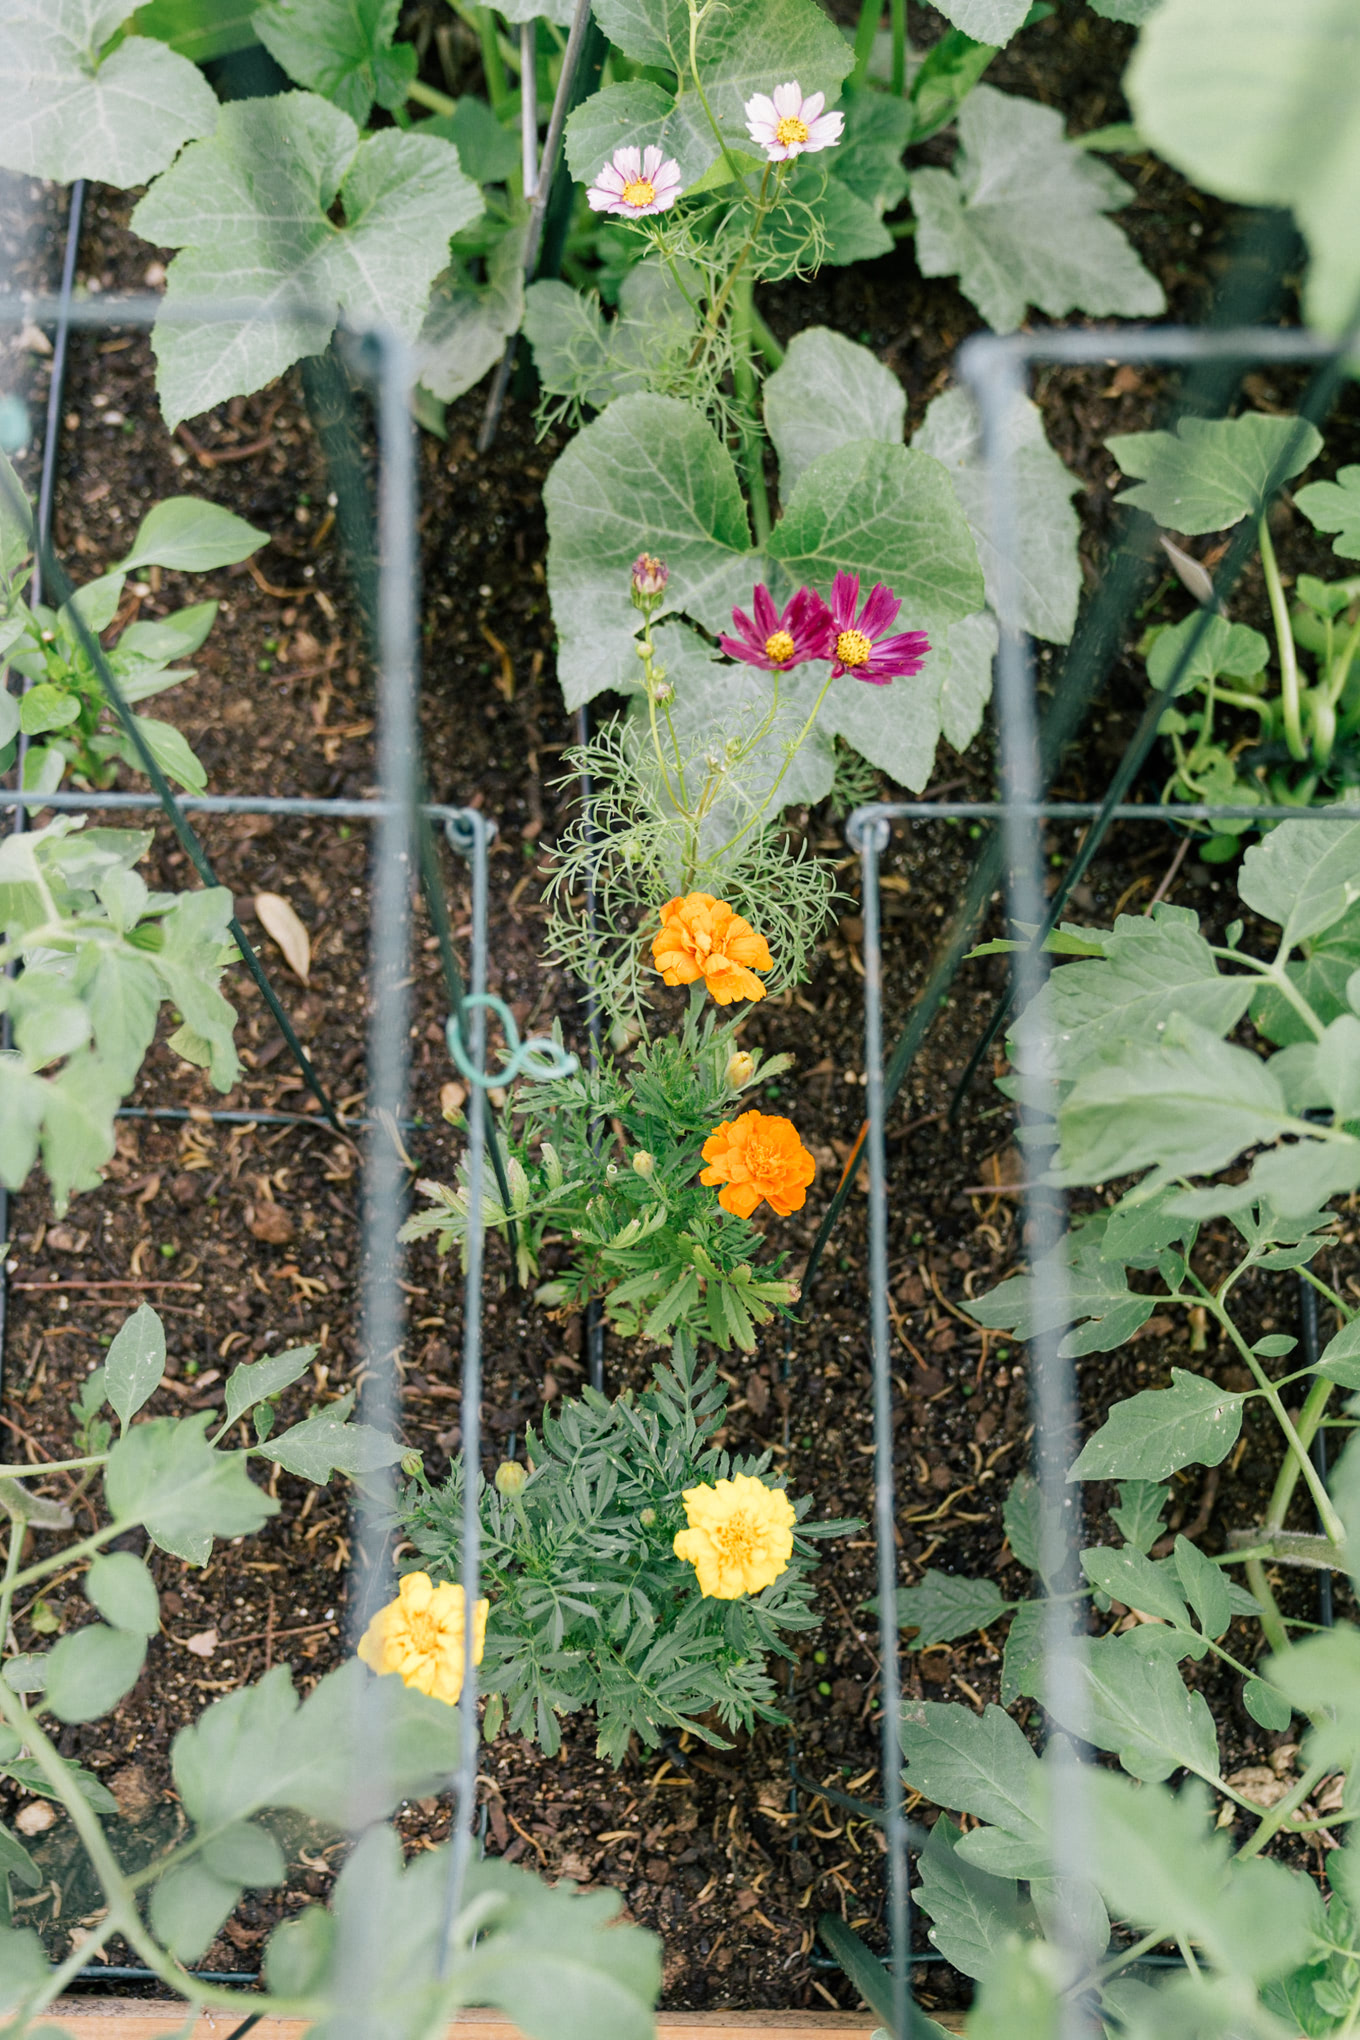
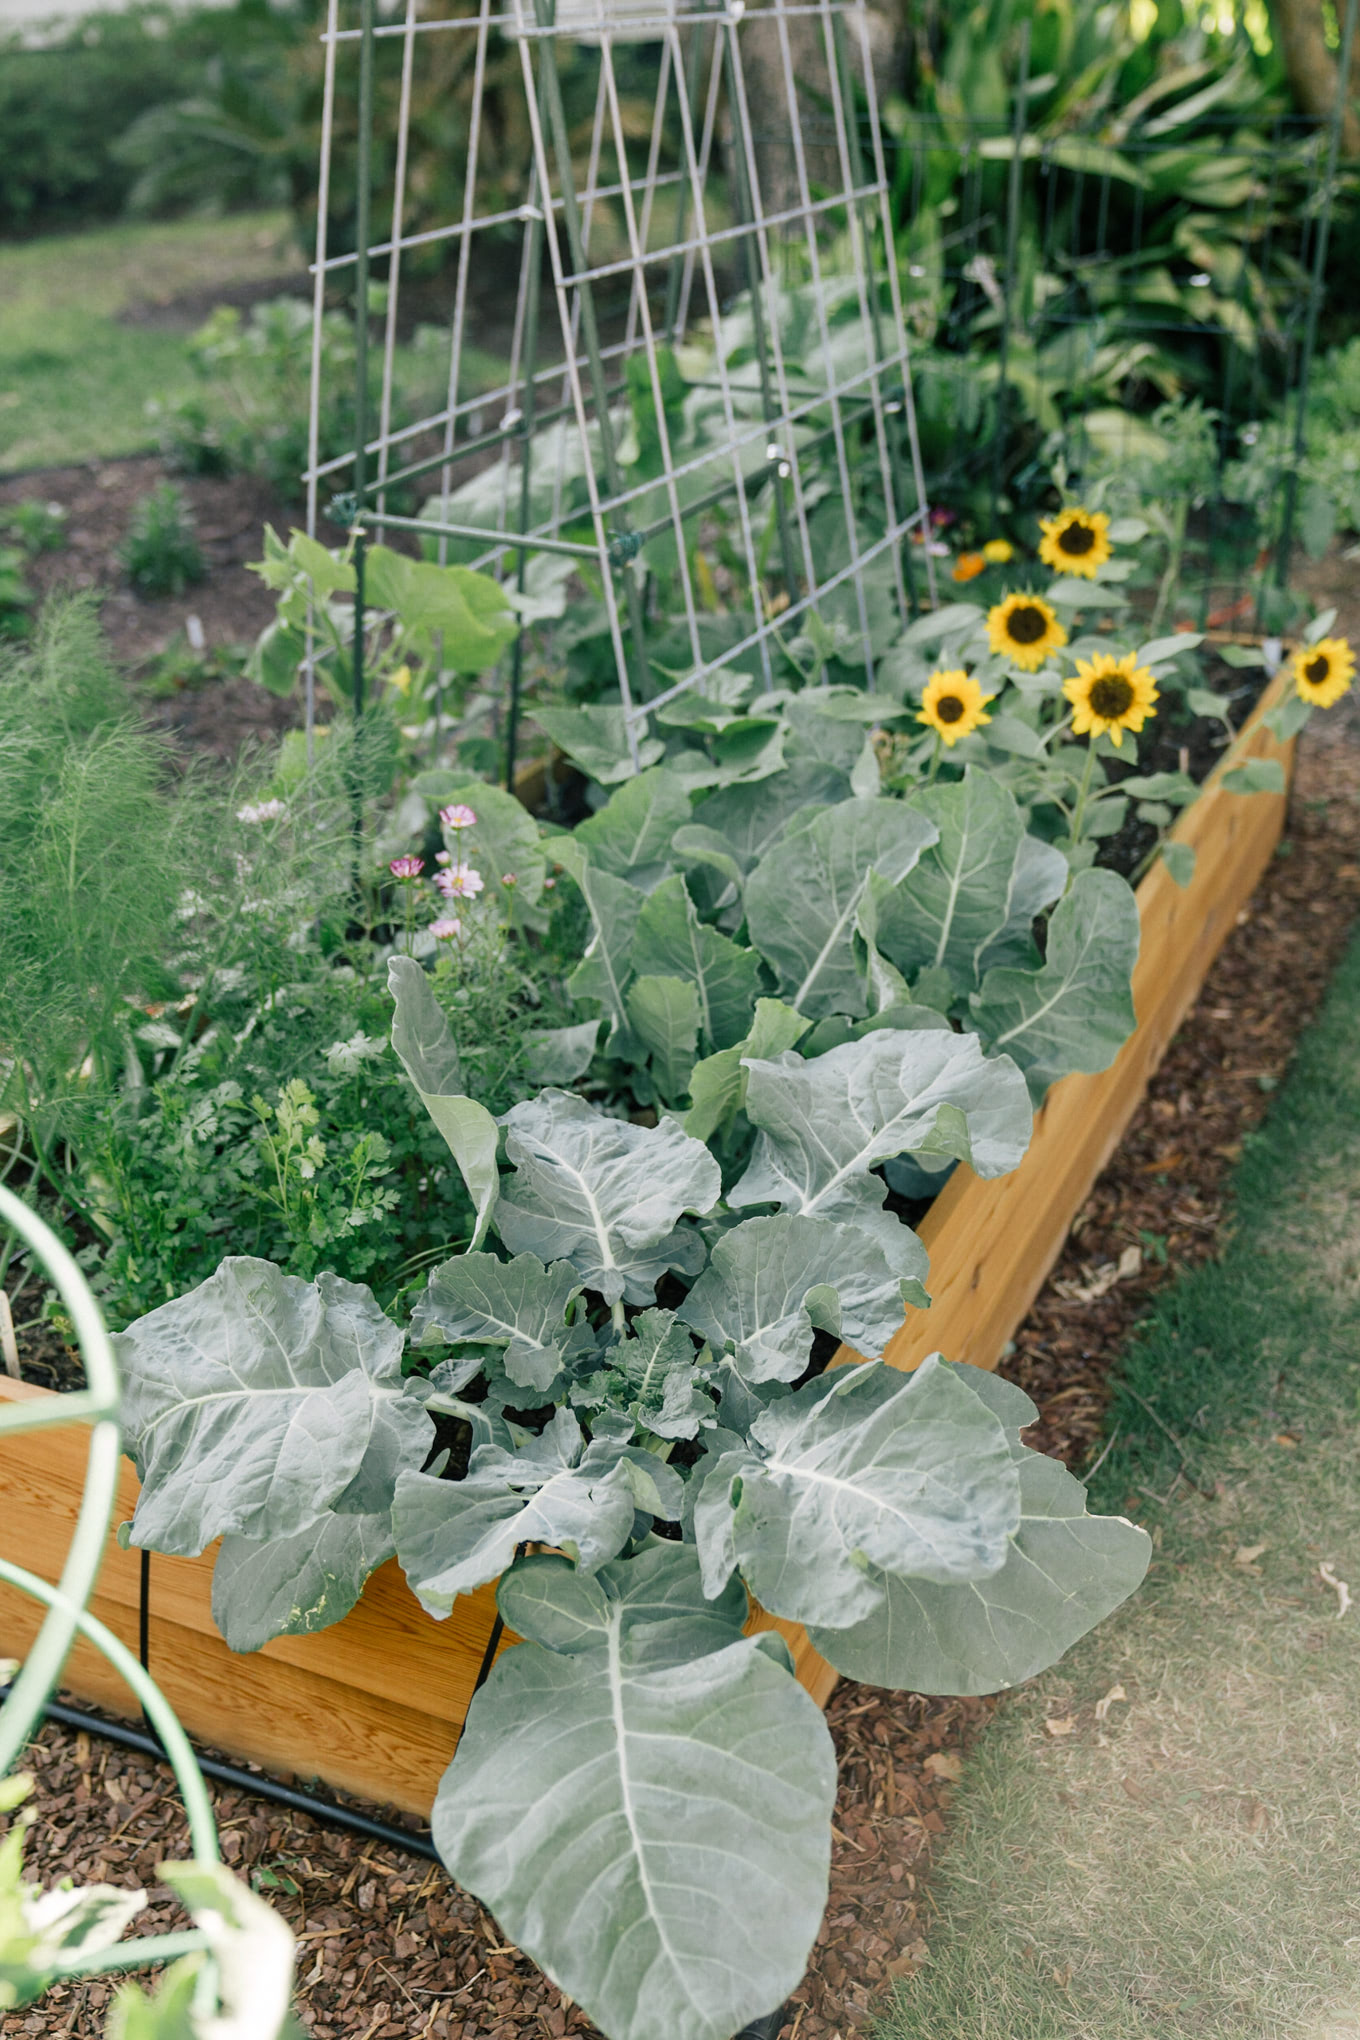
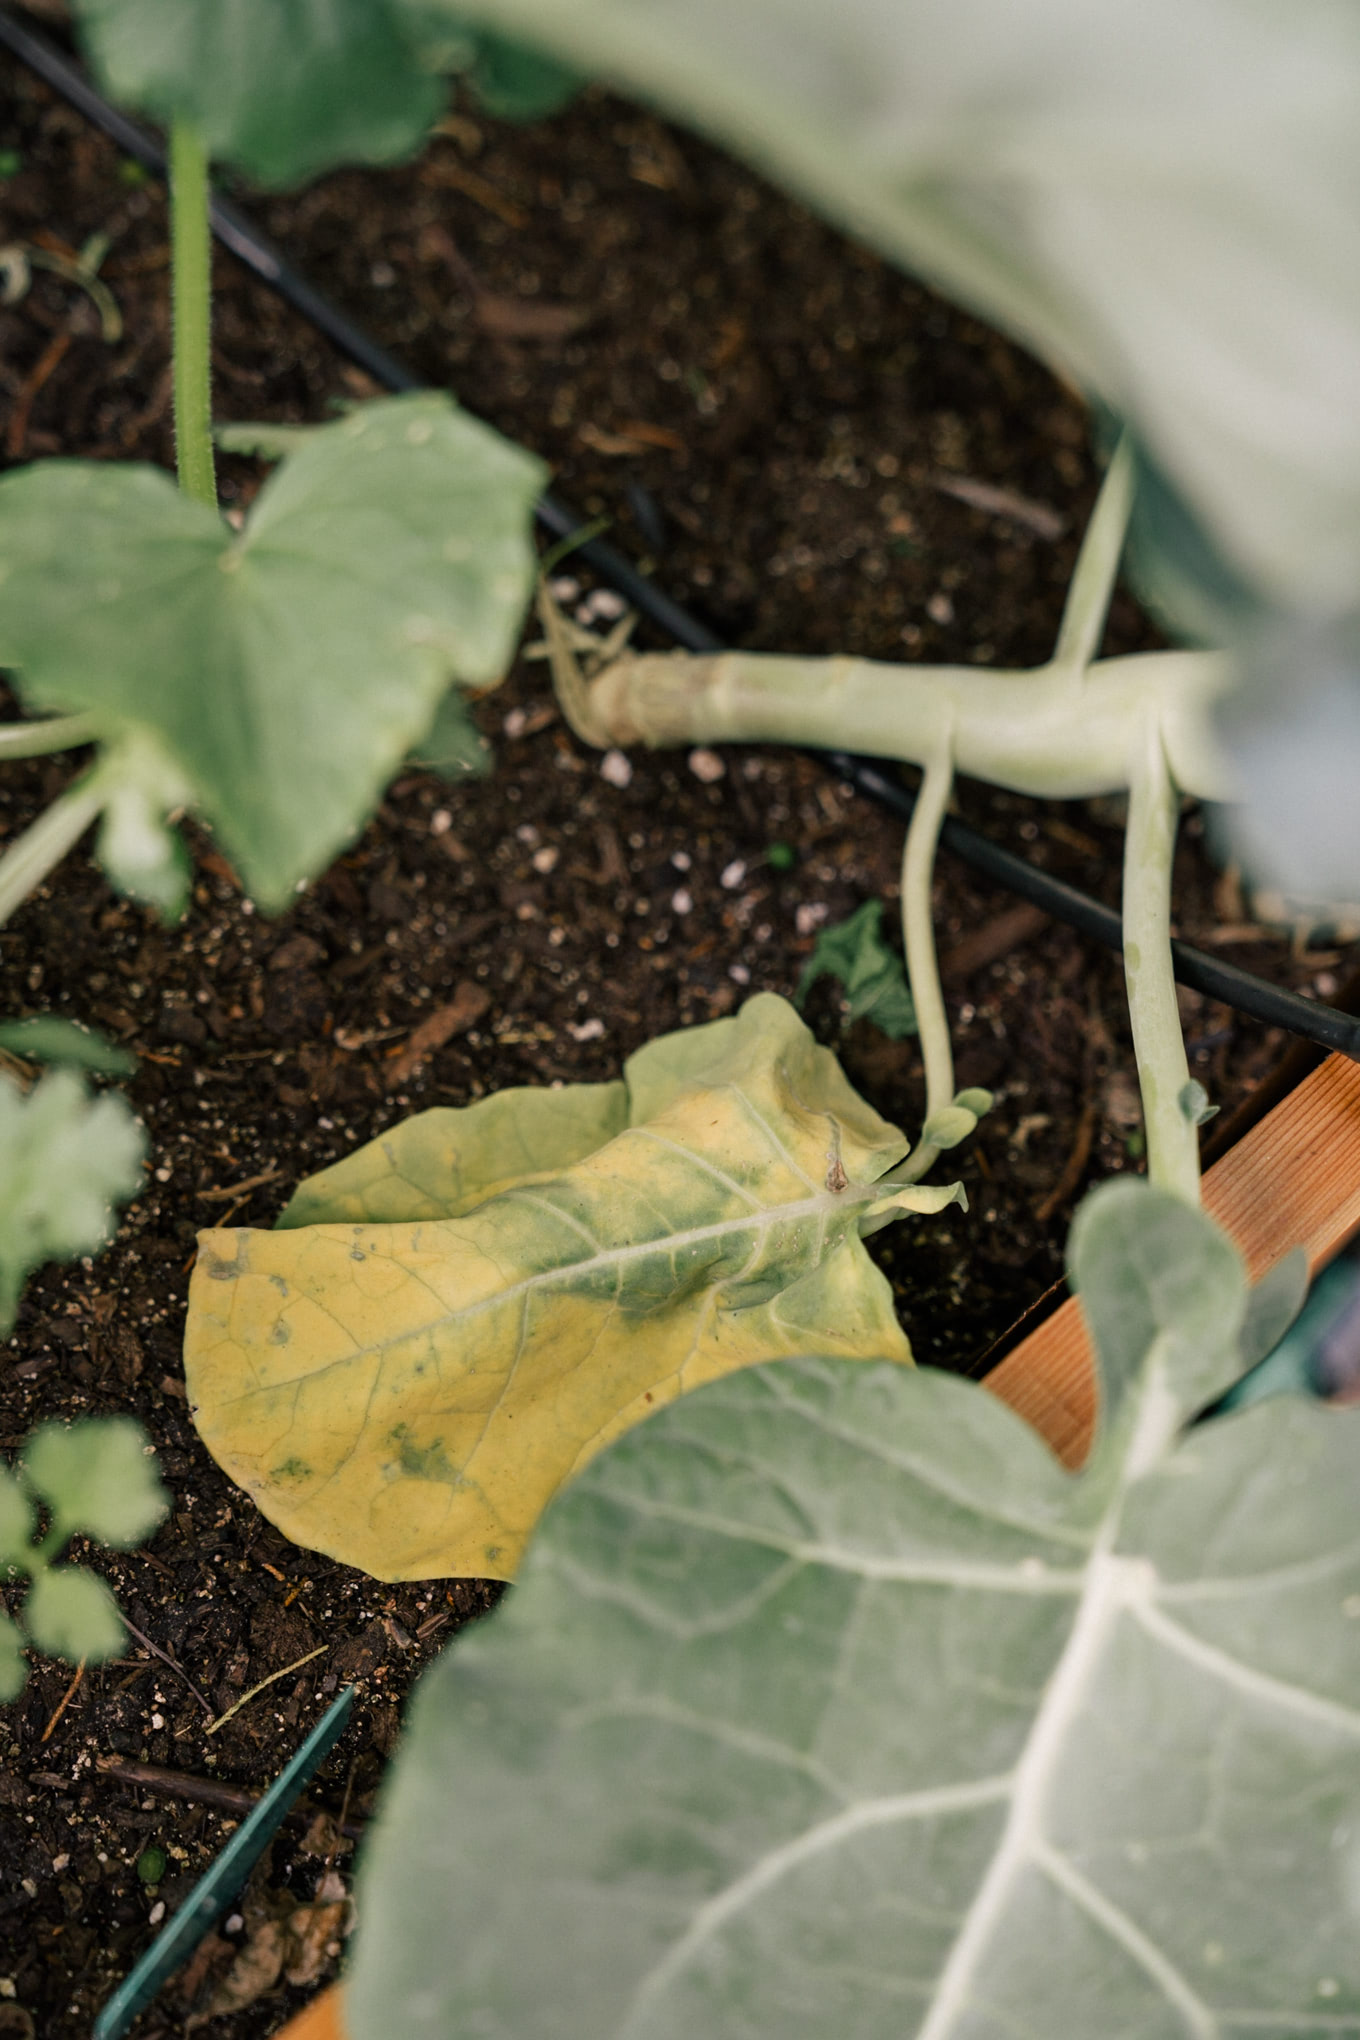
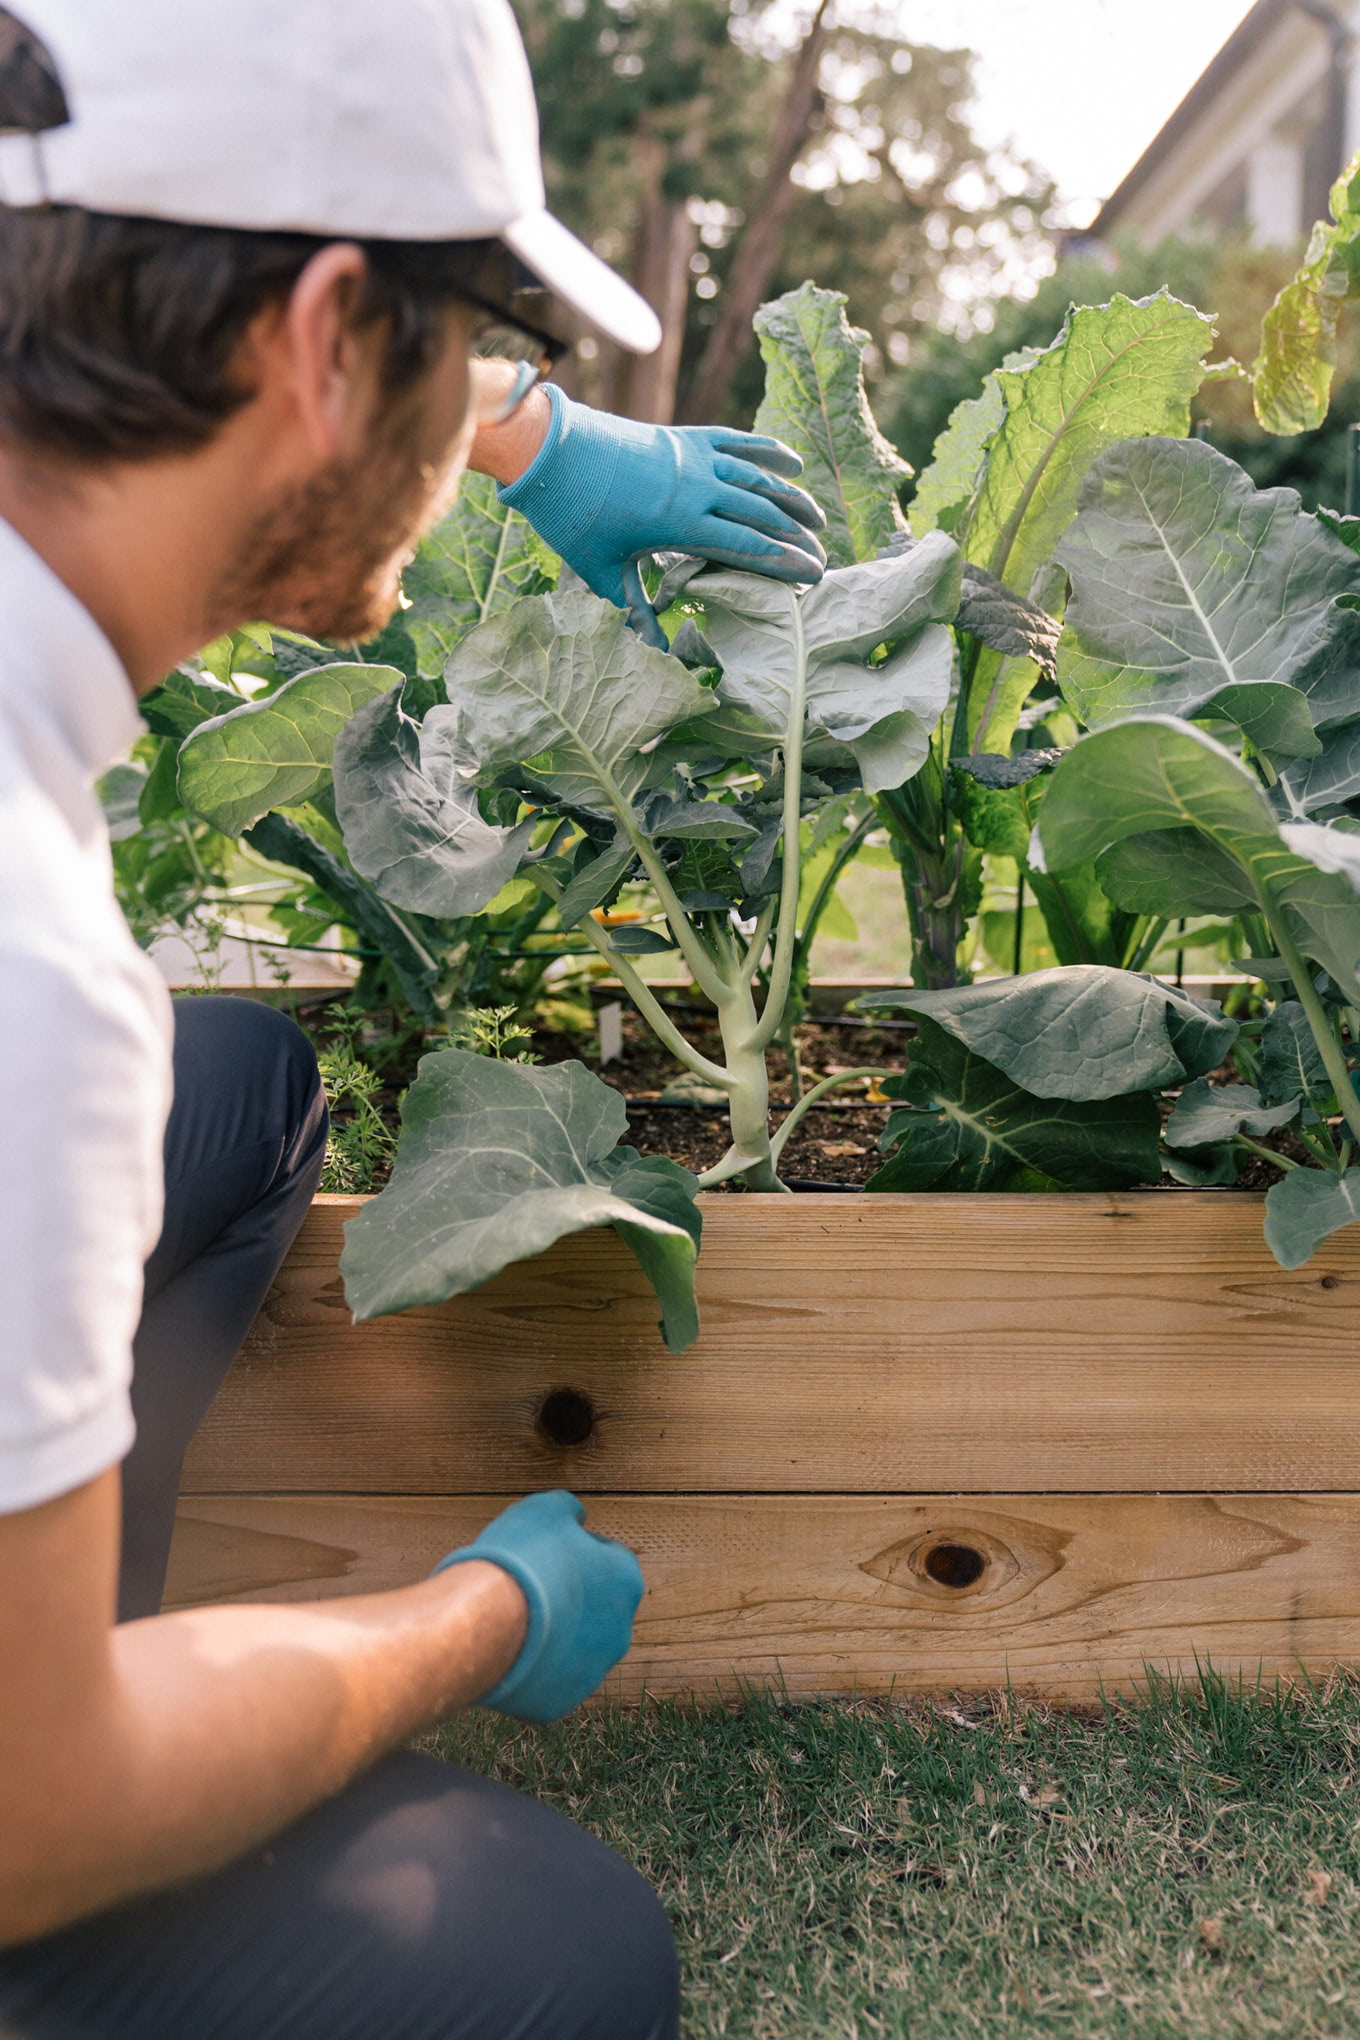
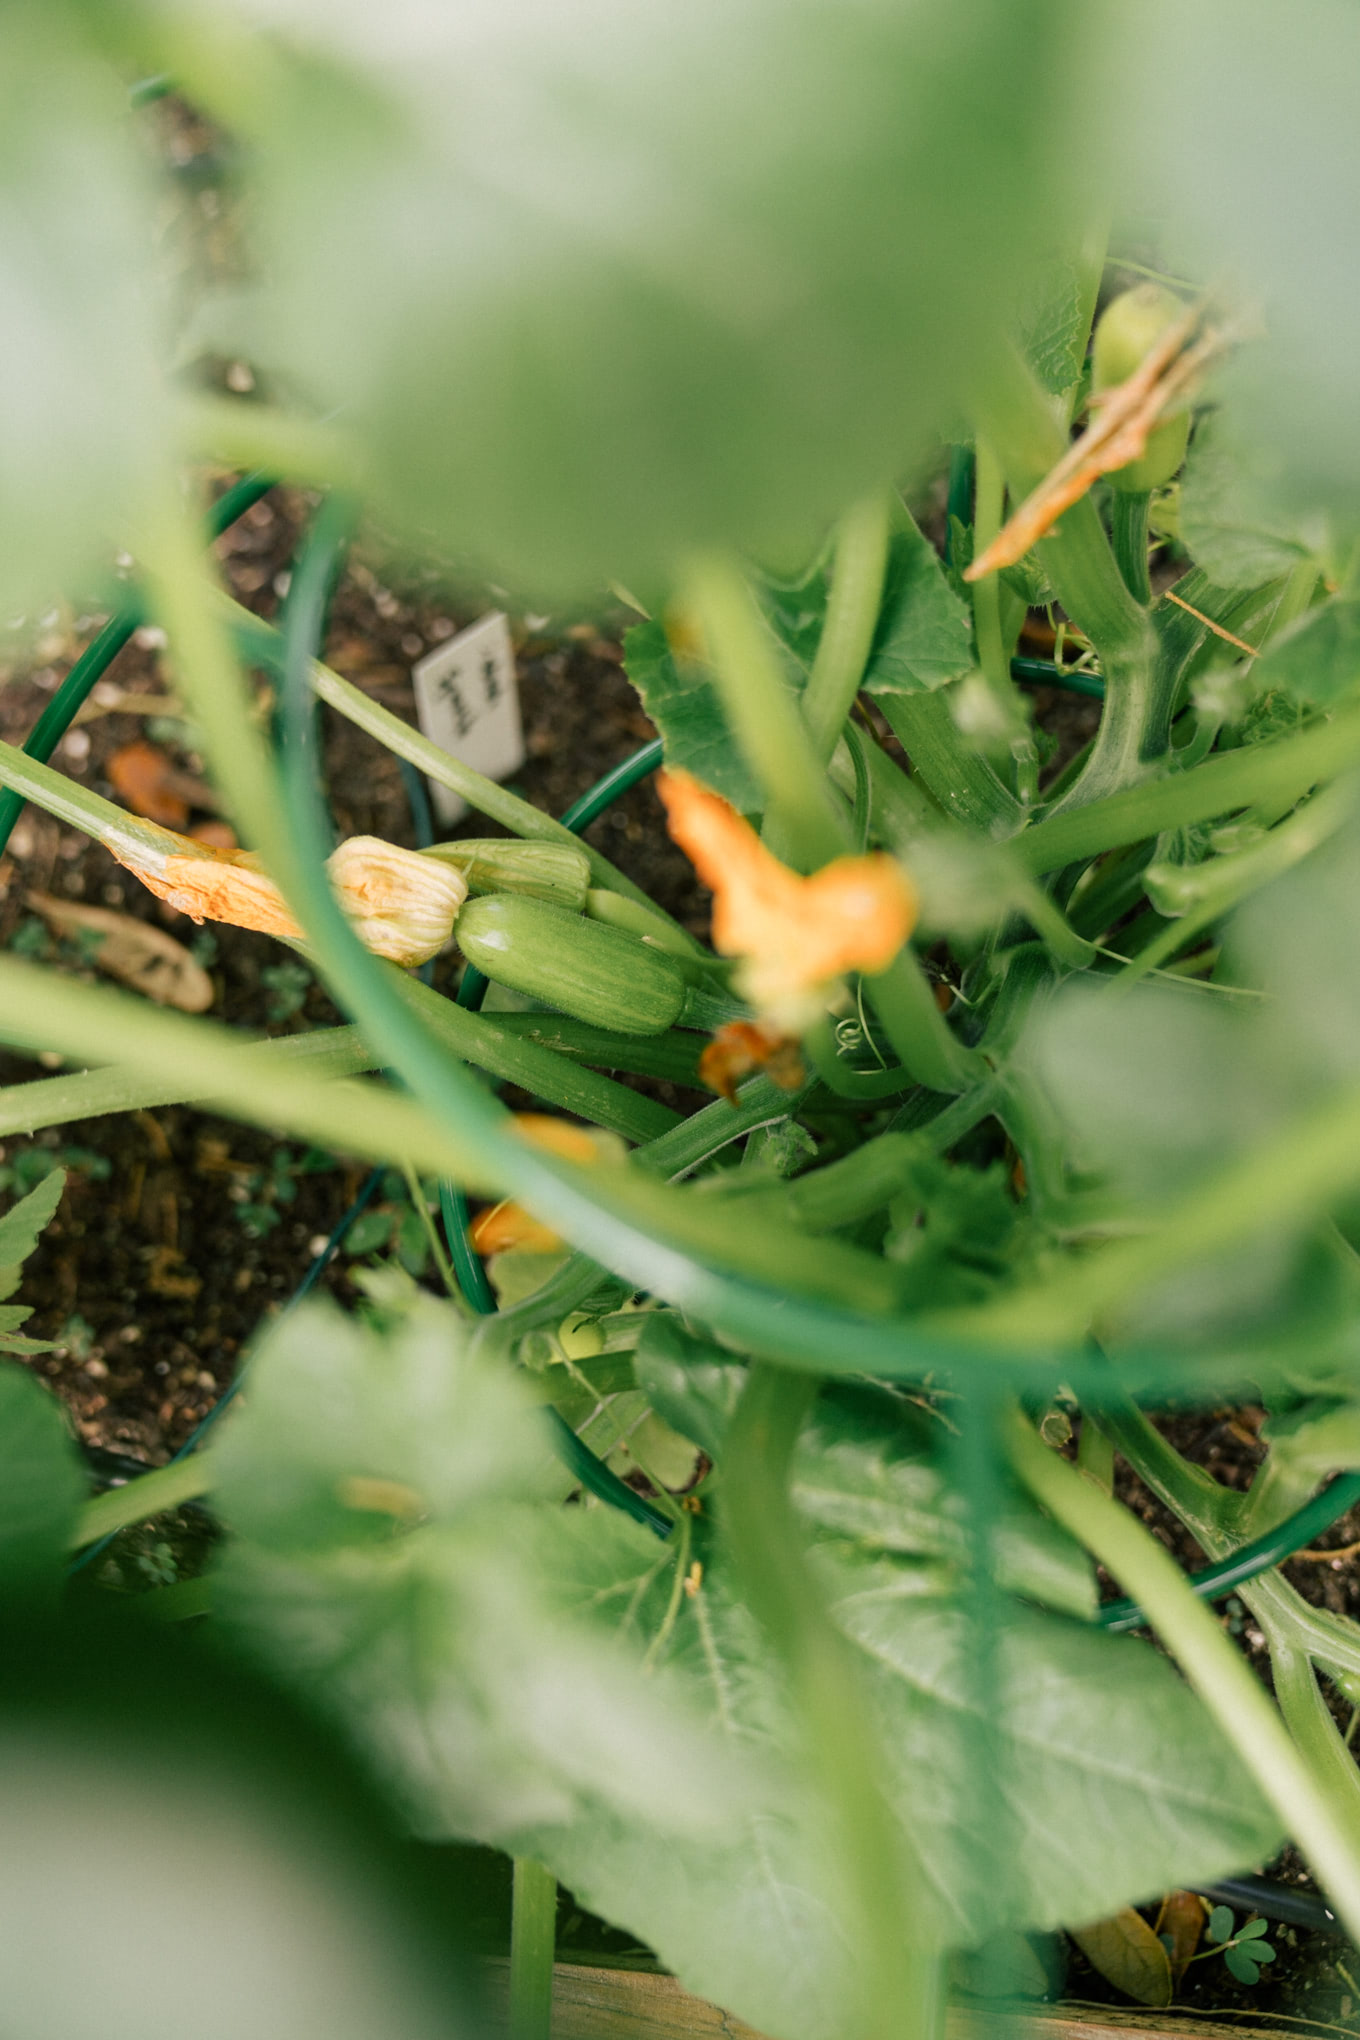
Here’s an example of an issue I dealt with in my garden. I recently noticed my zucchini leaves had holes in them. No google searches yielded results. I was determined to find the problem. My daytime searches couldn’t find the cause either. So after reading a tip online, I did a late night flashlight pest hunt. The theory behind this I believe is that during cooler temperatures, some pests freely chomp away at plants. Still, I found nothing on the zucchini. I inspected all the plants in my vegetable garden and only found 2-3 aphids, pretty good for a vegetable garden of our size. Around the same time I noticed the problem, I recalled we had a strong wind and rainstorm. I decided that maybe the holes were actually rips in the thin leaves. I decided to text a friend that works on a farm to ask about the zucchini. His advice was to keep checking in on it. If the problem didn’t get worse, then it was probably more related to my theory than being a problem with the plant, which is a good lesson to remember – if you can’t figure out what’s wrong, wait to see if the problem gets worse or simply resolves itself.
Tending To
I mentioned before that your plants will need upkeep and looking after to reach their best growth. Here are a few things that you can get started with. Each plant has its own quirks so it’s always best to google or talk to other local gardeners.
Feeding – We often think about fertilizer and feeding plants the nutrients they need at the time of planting, but as time goes on plants use those nutrients up. My suggestion is that you find the fertilizer that works for your needs. If you are growing only tomatoes, stick with a tomato fertilizer. If you have a mix of plants a good all purpose fertilizer either in liquid or extended release form. Careful not to overfeed, as bugs can take advantage of overfed plants.
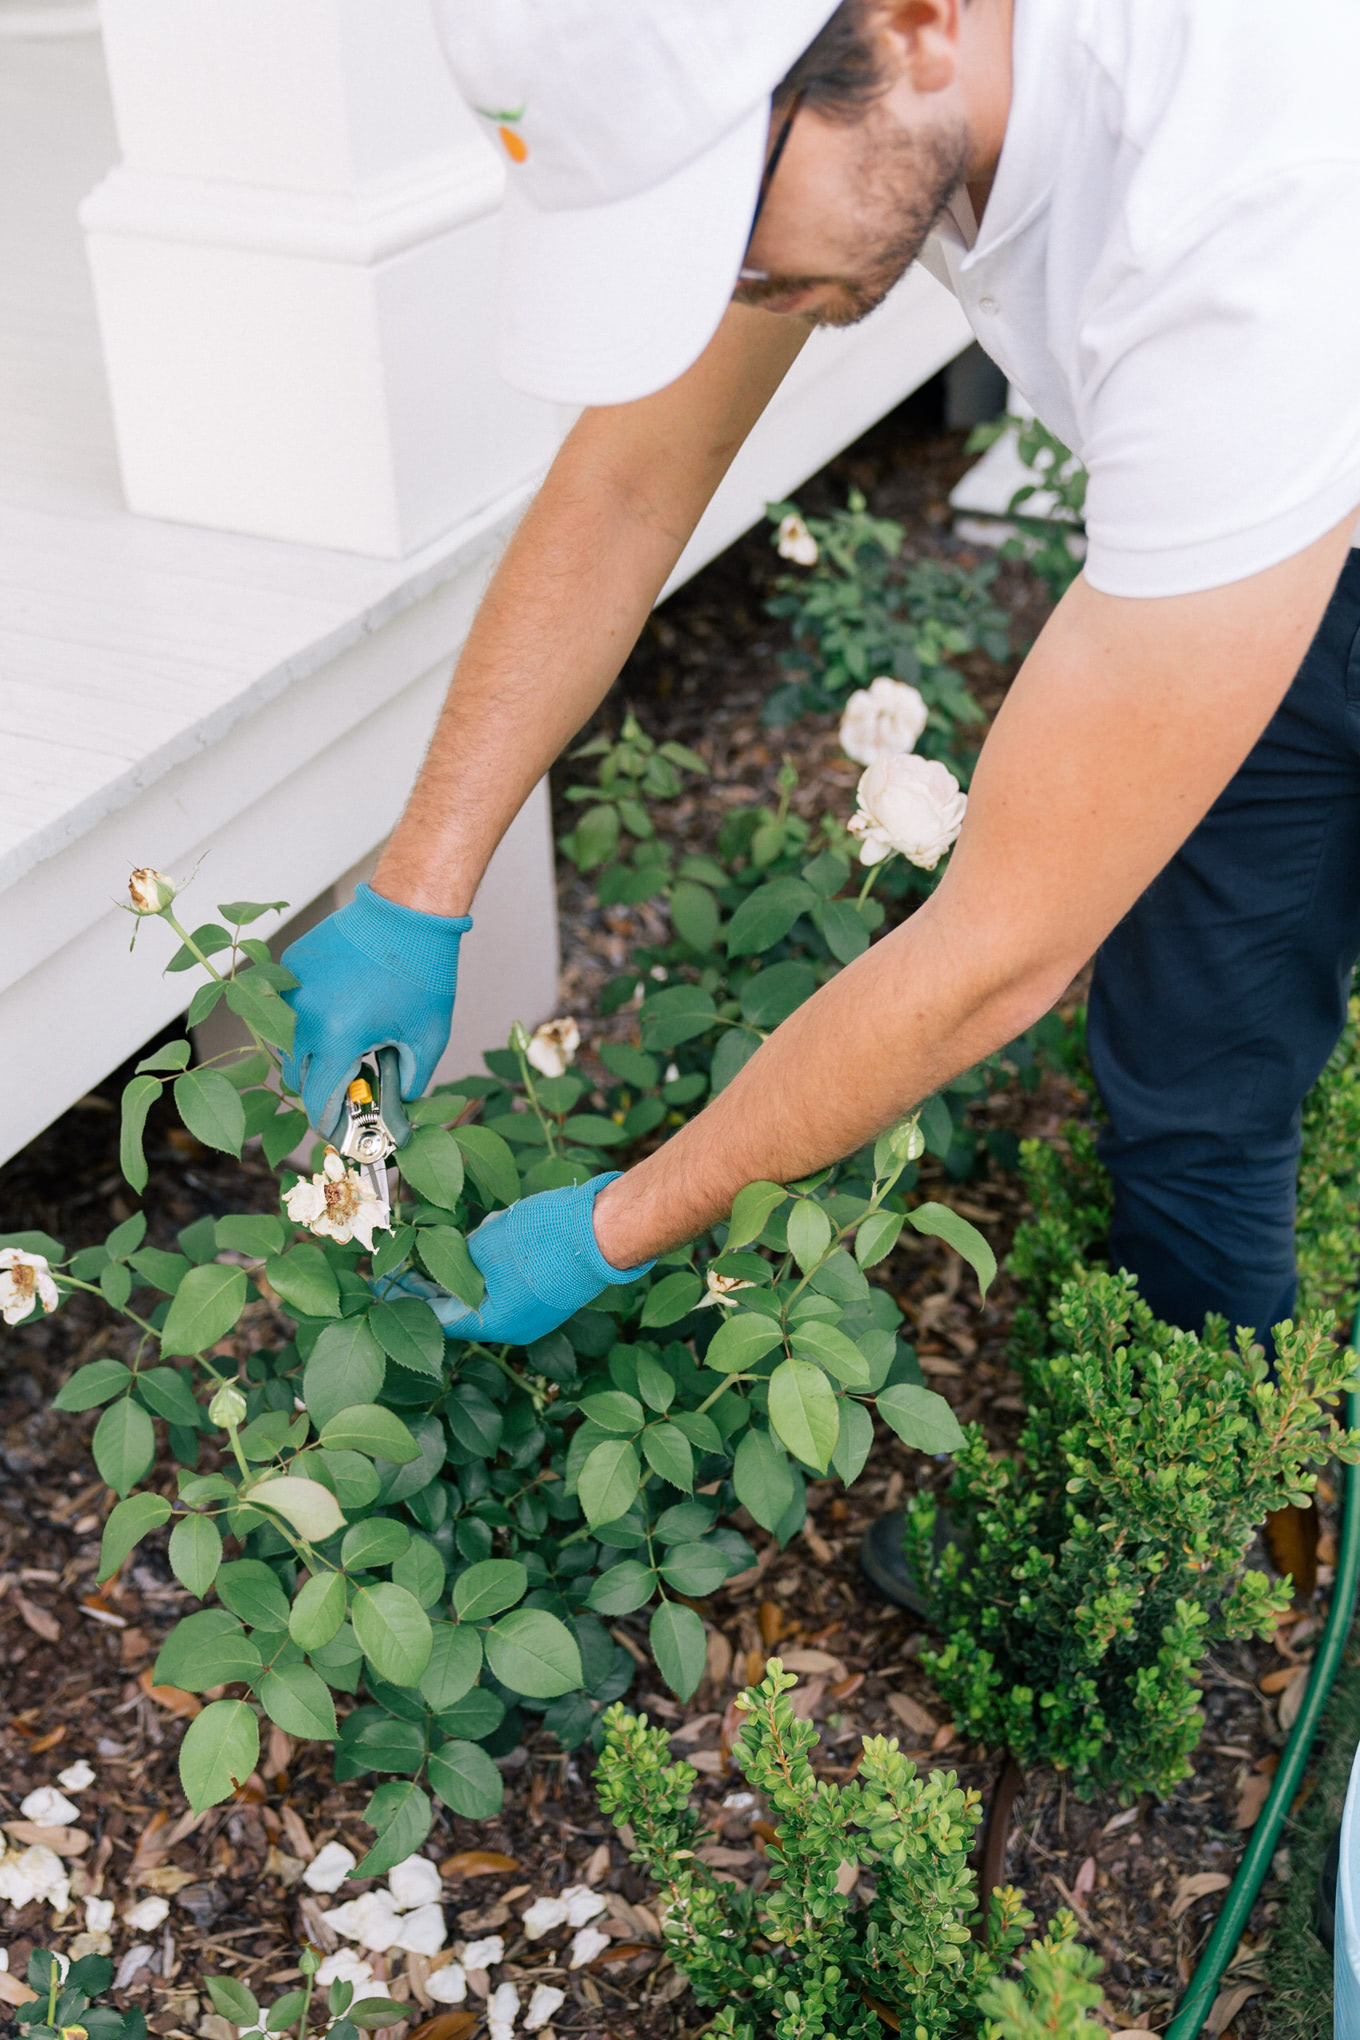
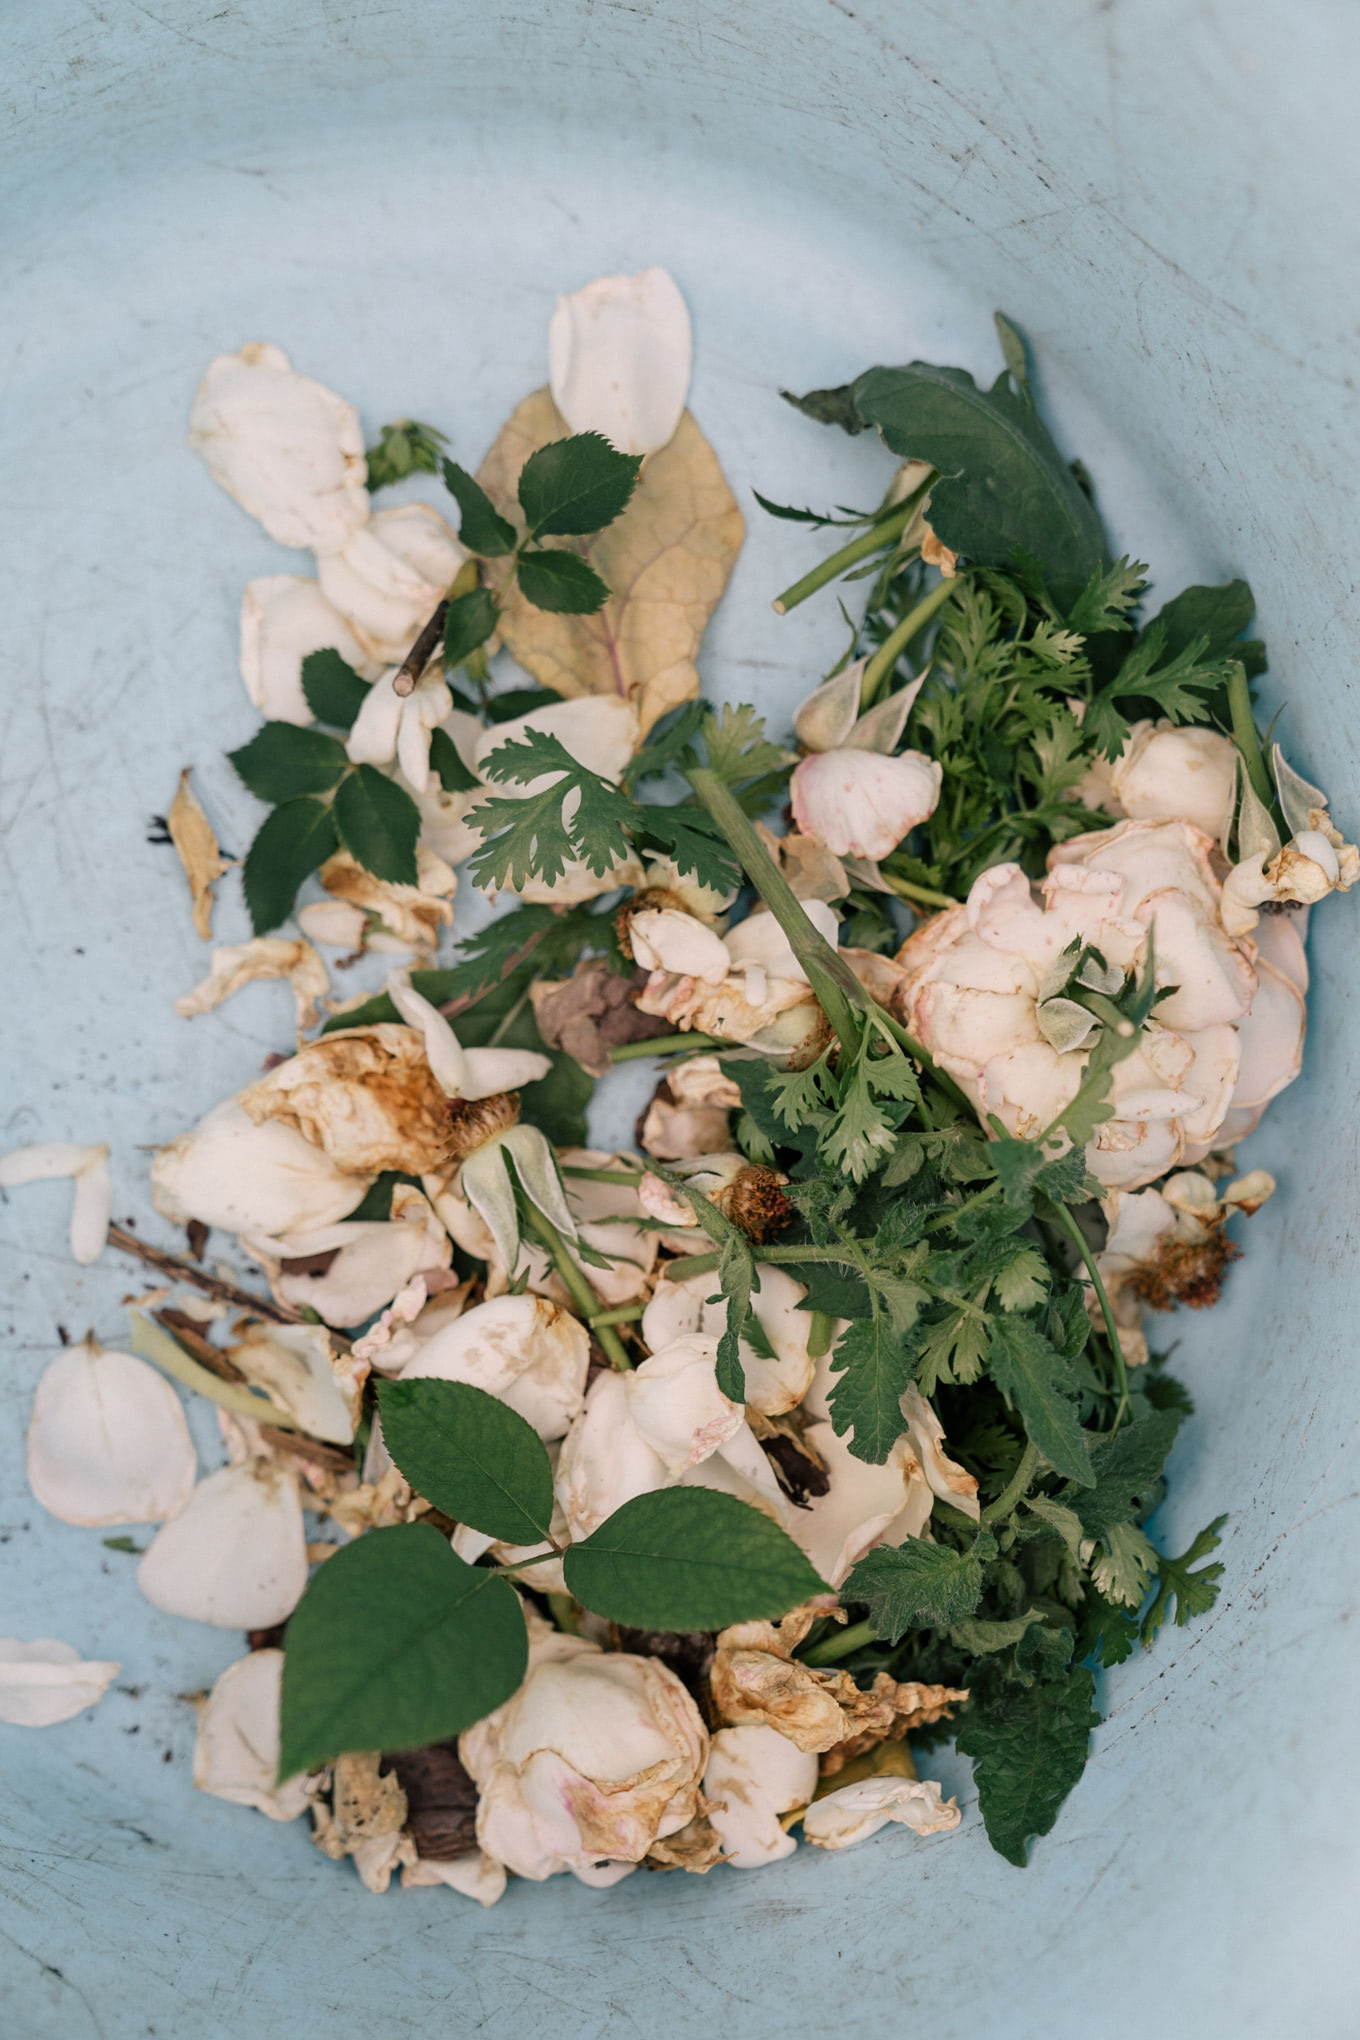
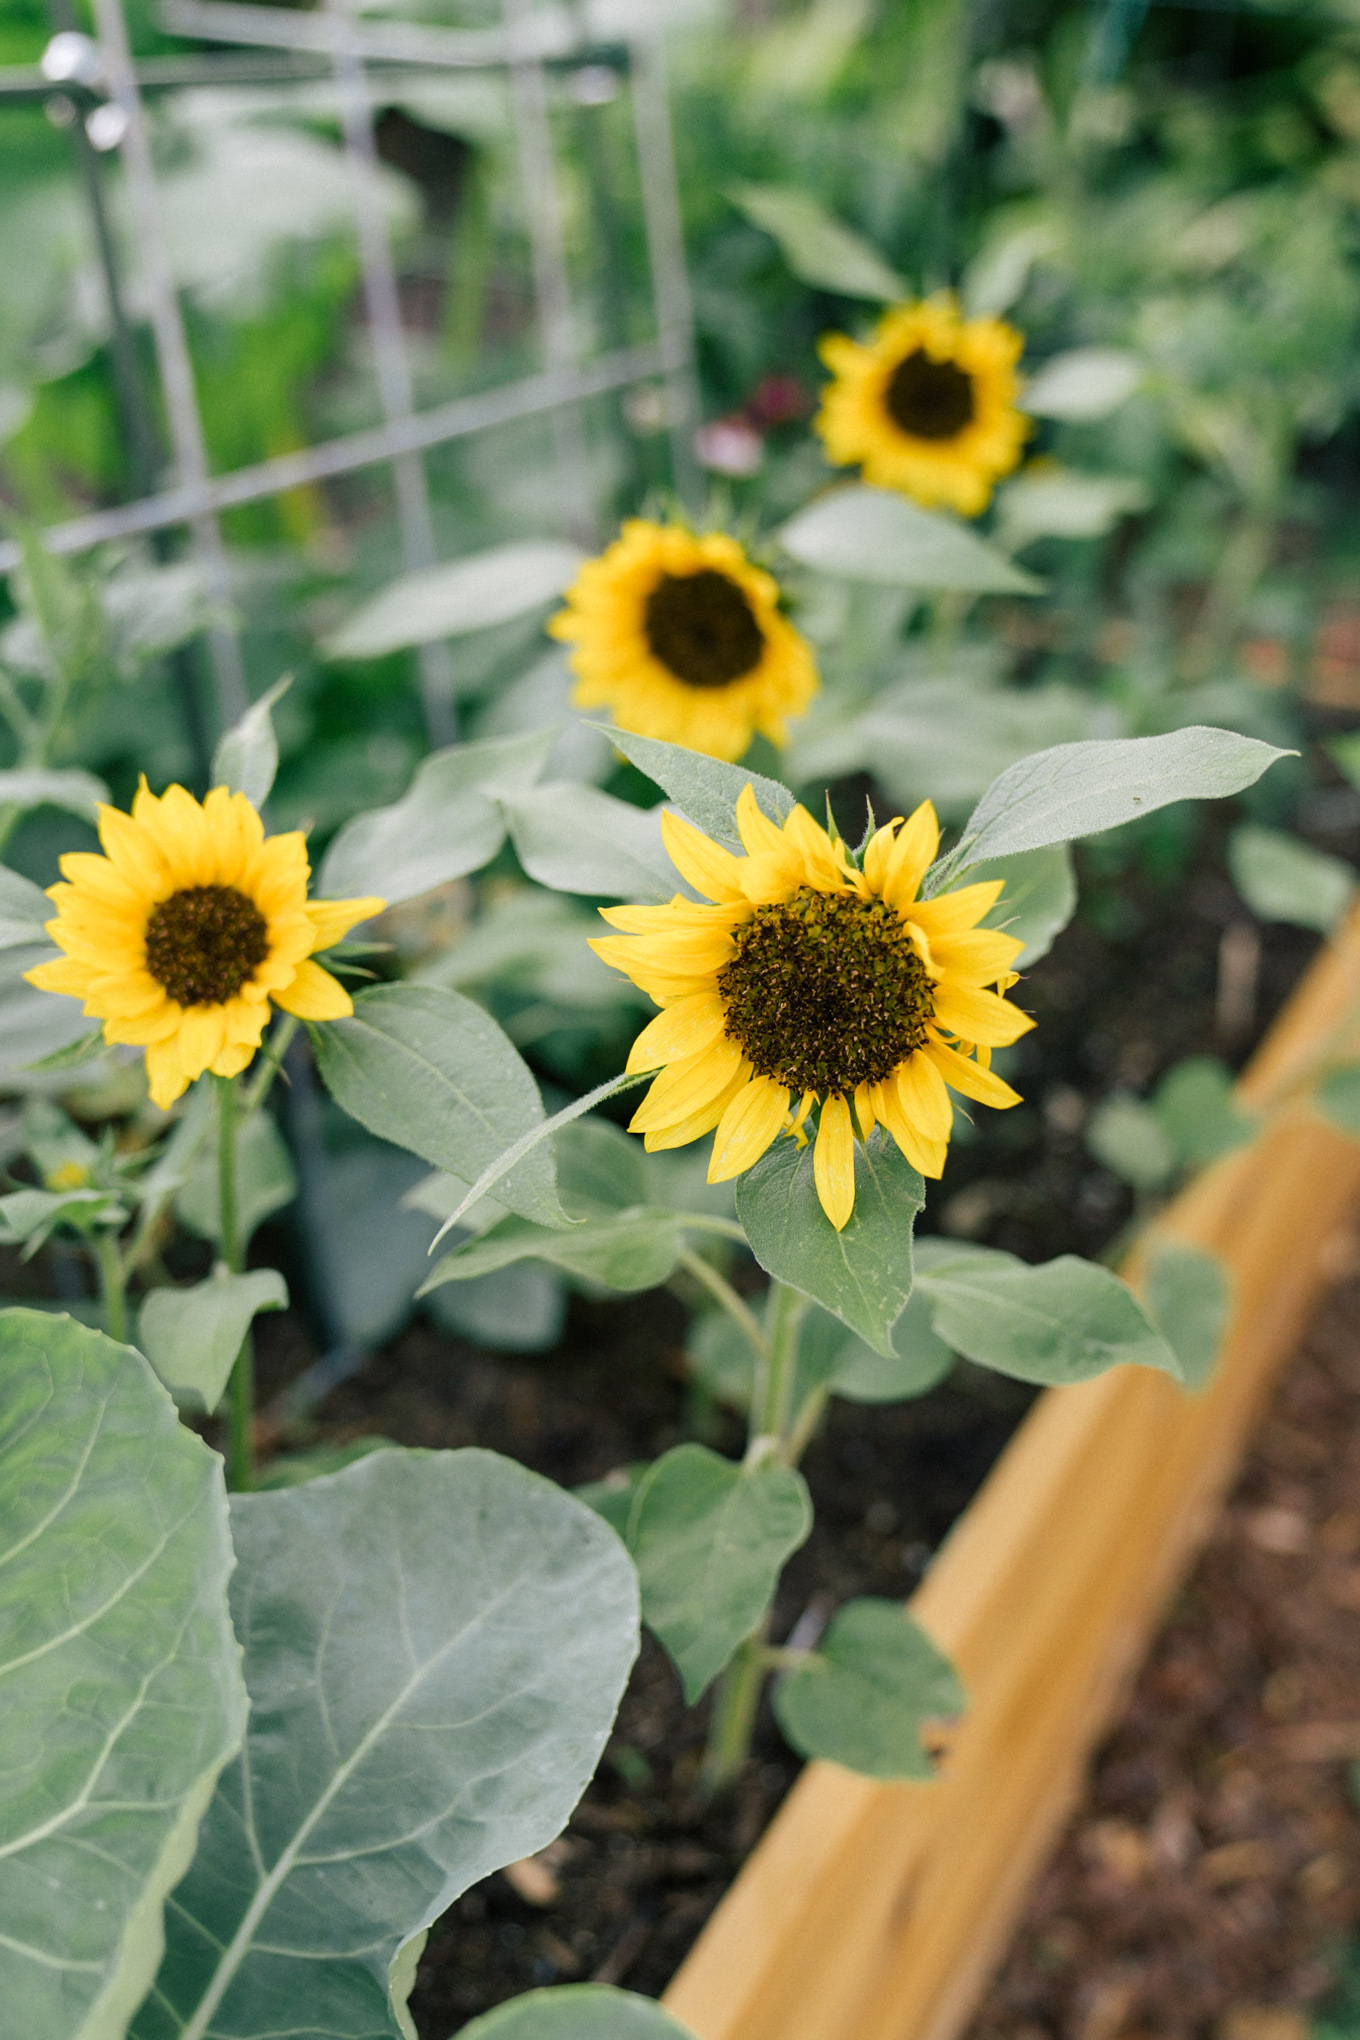
Deadhead Fading Flowers – As flowers fade and drop petals, chances are they can use some deadheading. To do this, simply pop off or snip the flower head just below the flower. This will tidy up the plant and encourage new flower production.
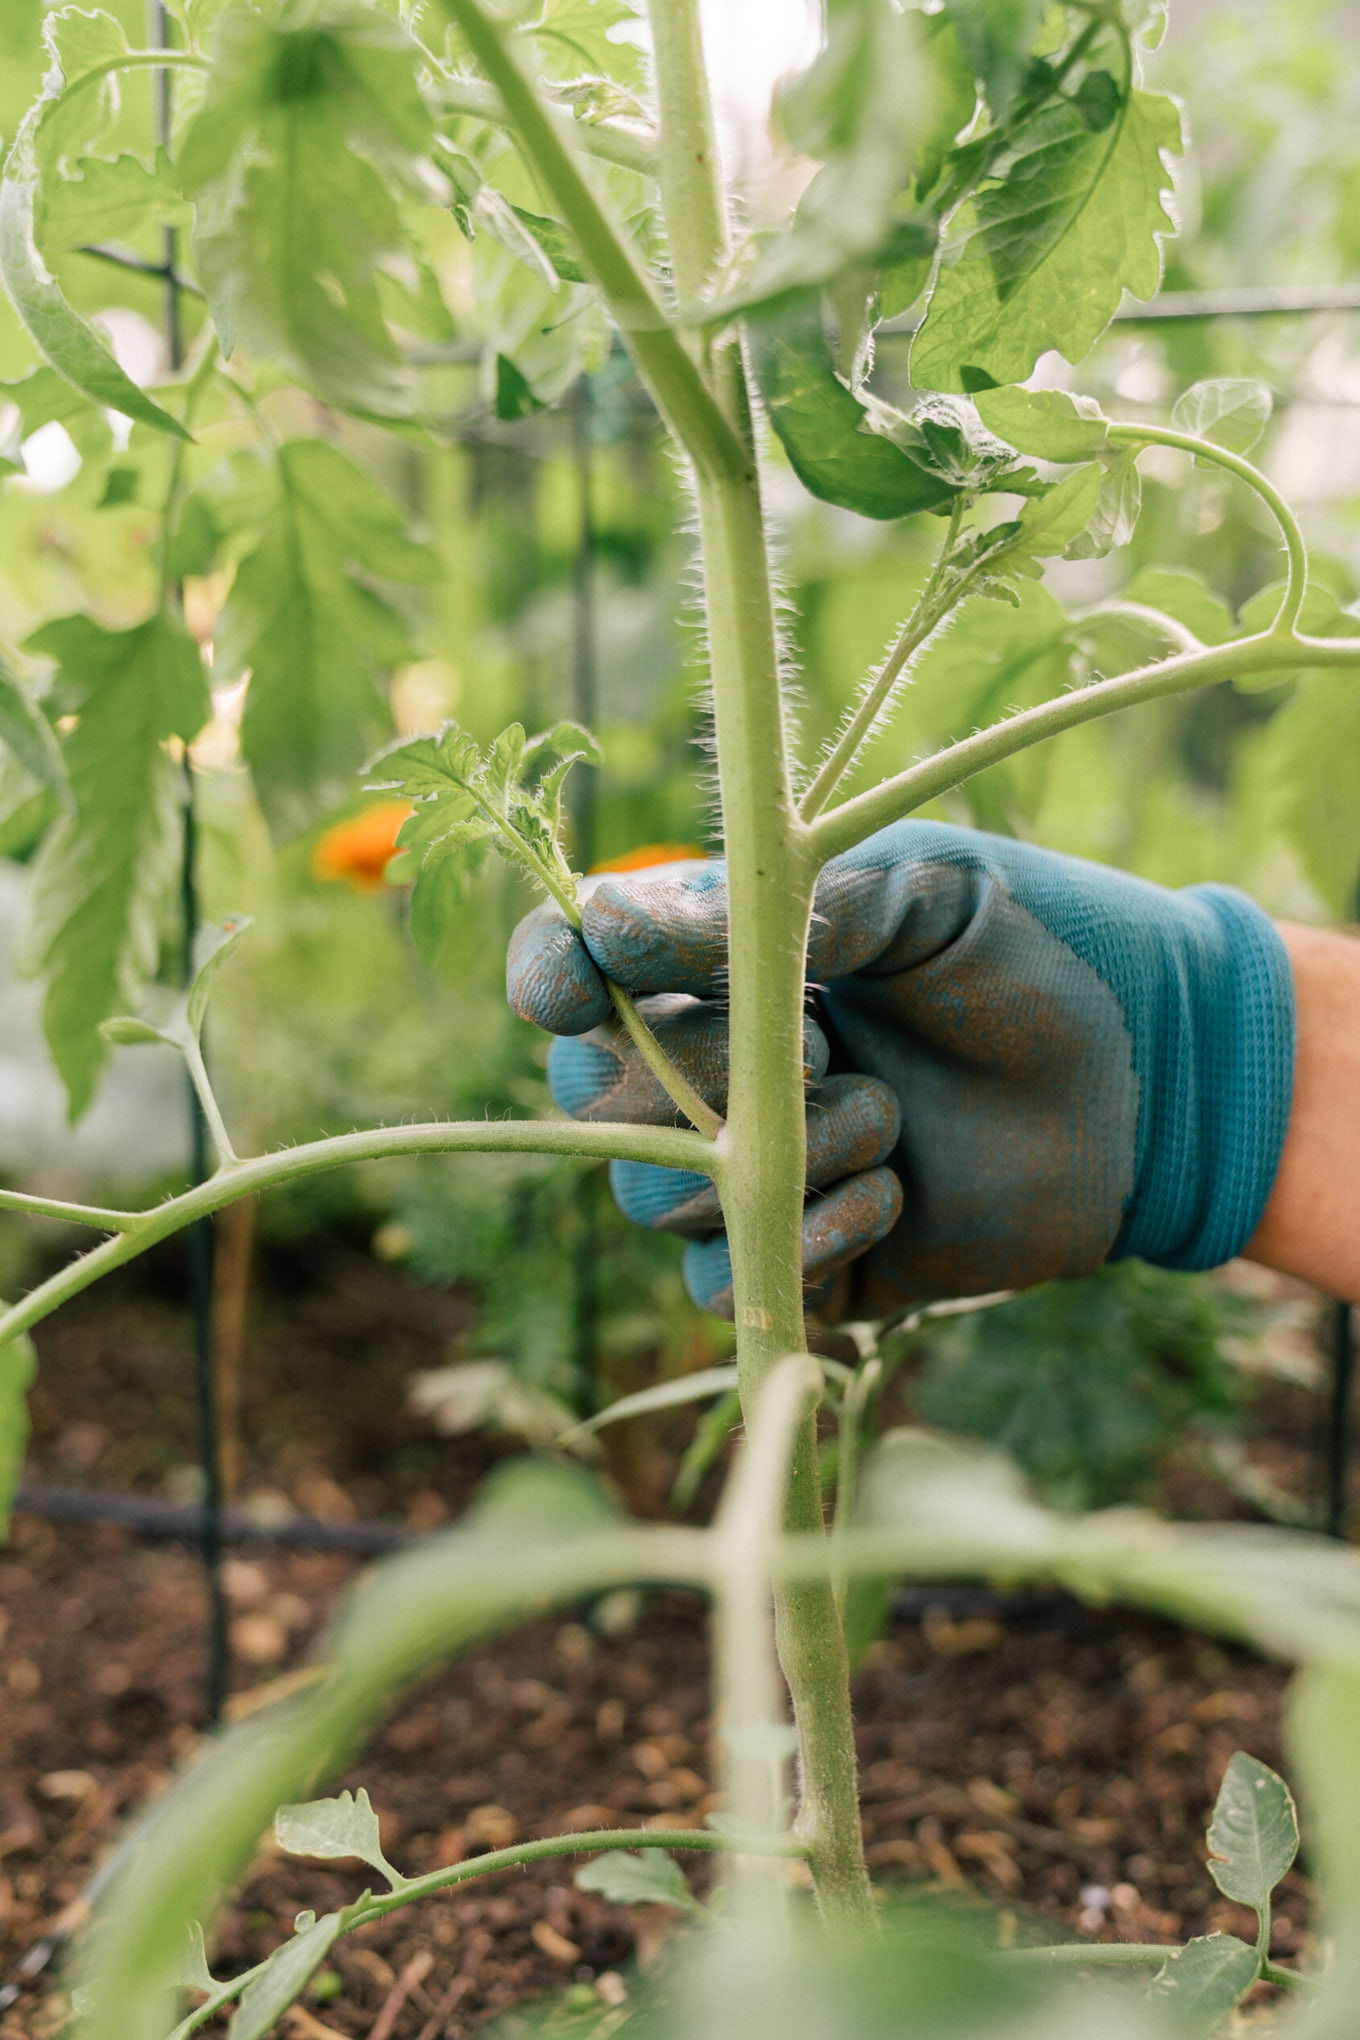
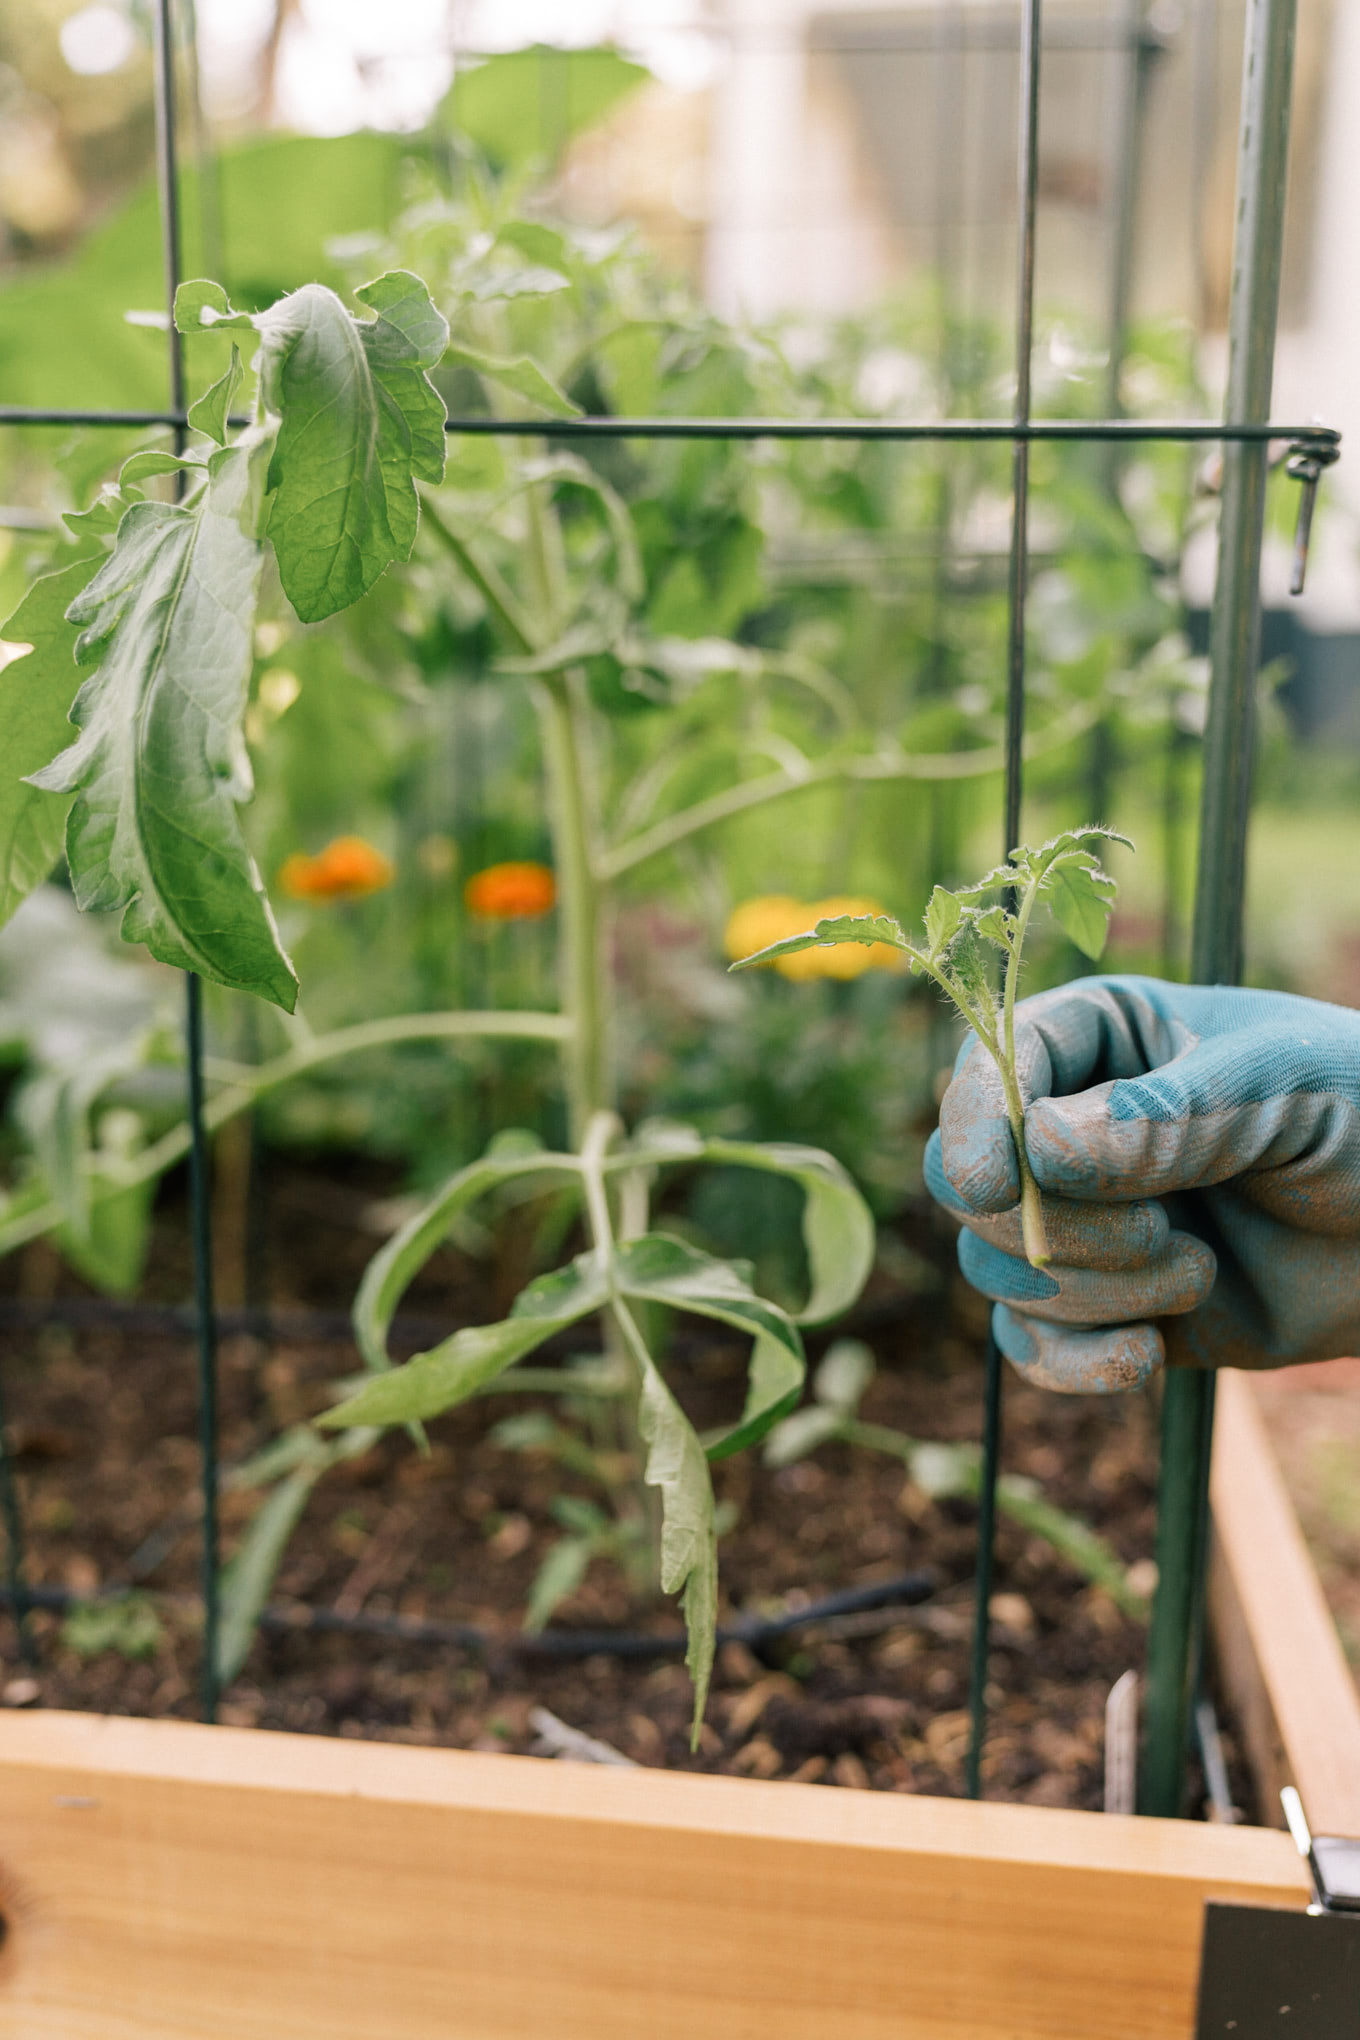
Pull off Tomato Suckers – As tomatoes start to grow, in between the branches and main stem you may notice what looks like another stem growing right at the intersection at a 45 degree angle. These are known as suckers. There’s nothing wrong with keeping these on, but by pinching them off you are encouraging the plant to use more of its energy for producing fruit. Fun fact – you can actually take these suckers and propagate them into new tomato plants.
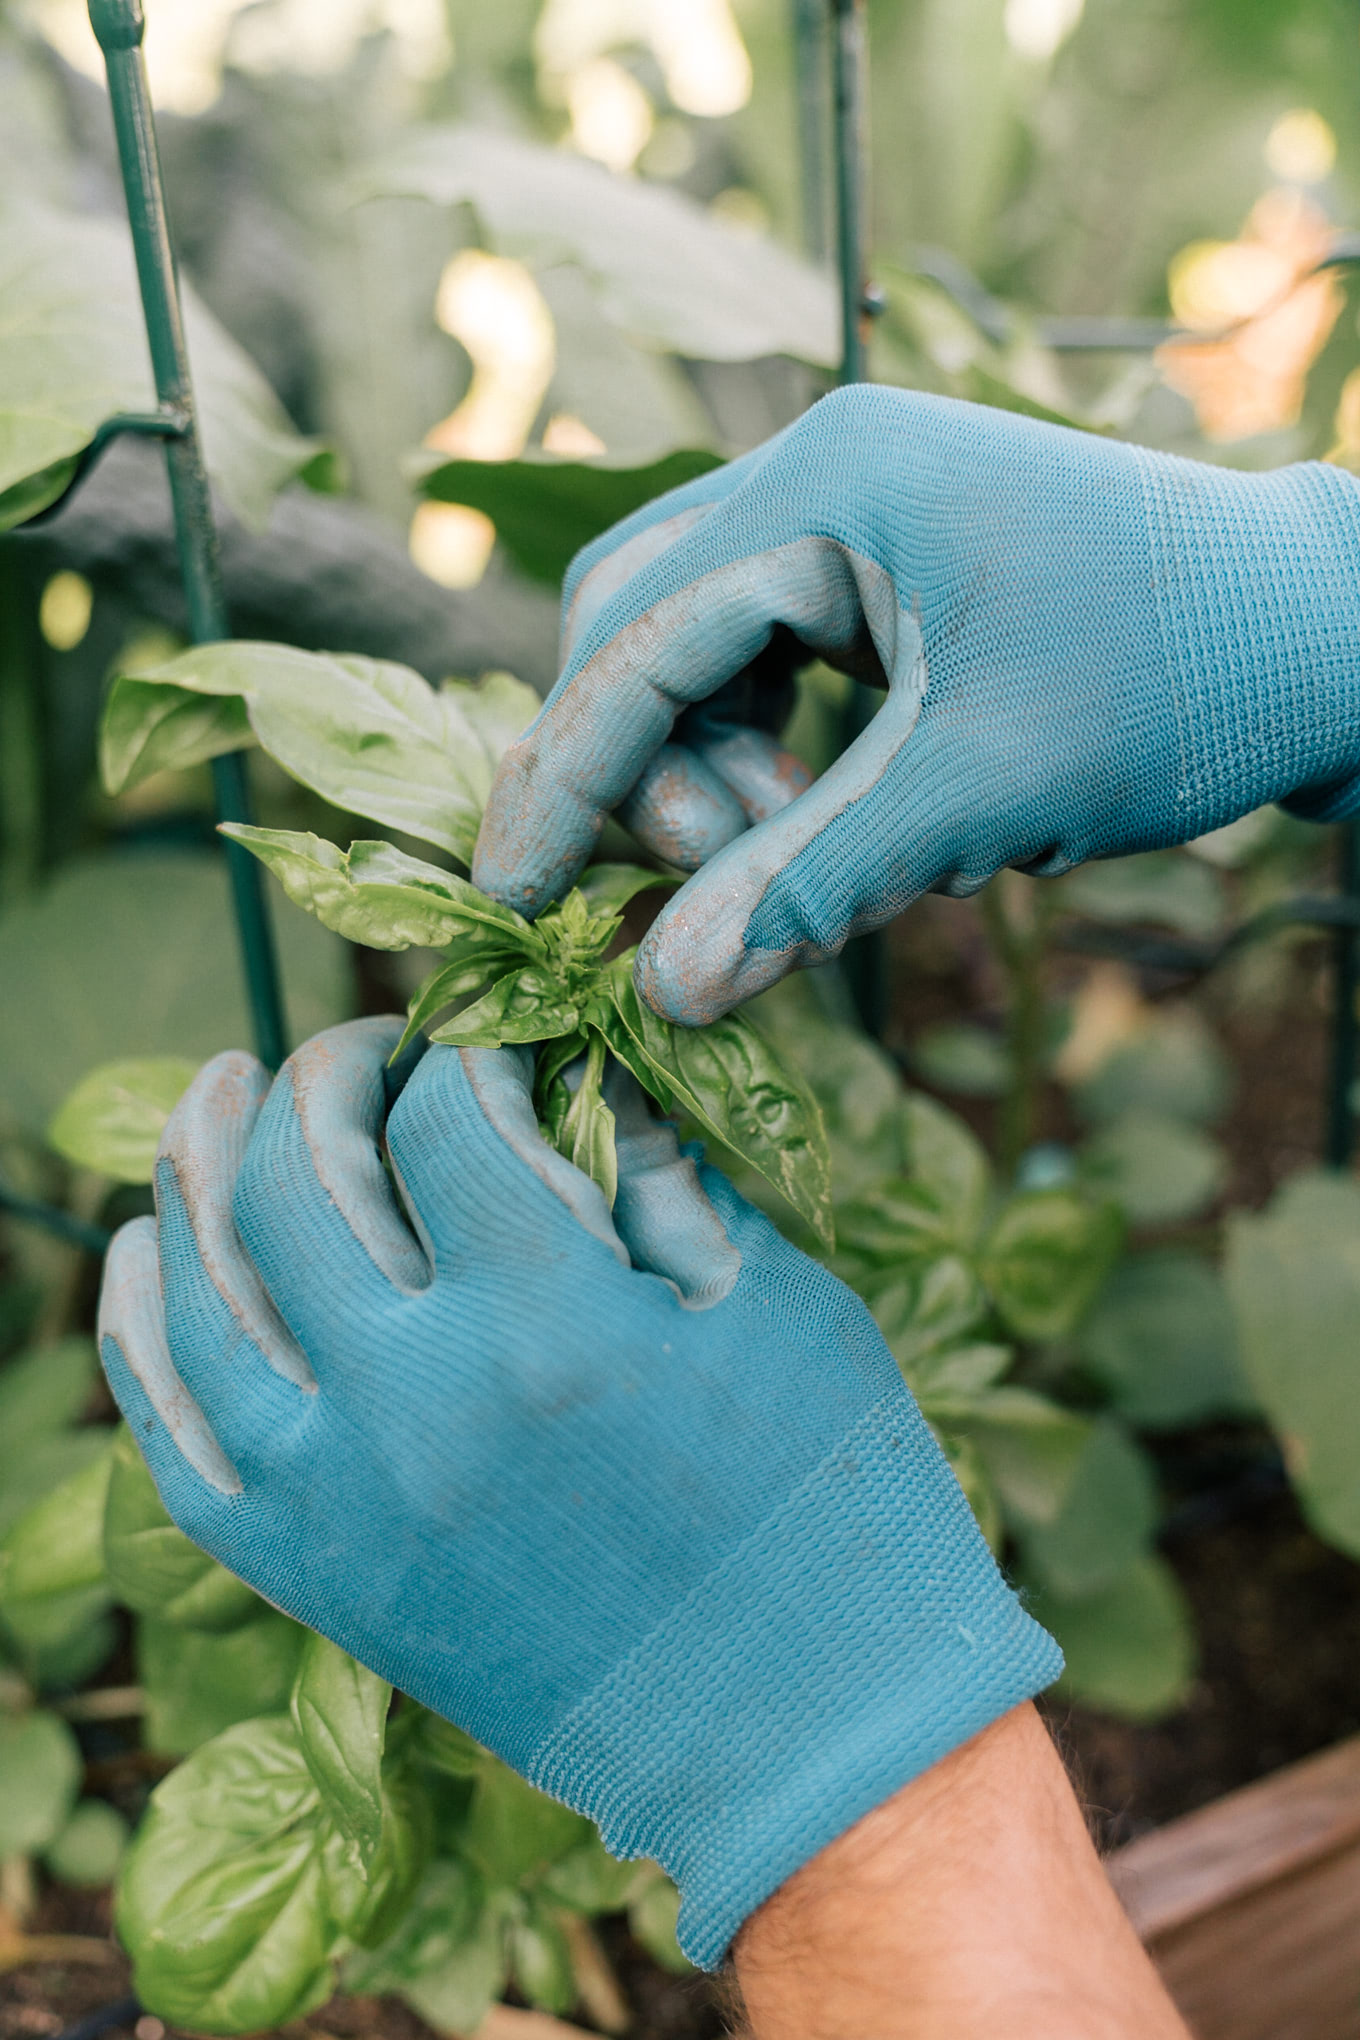
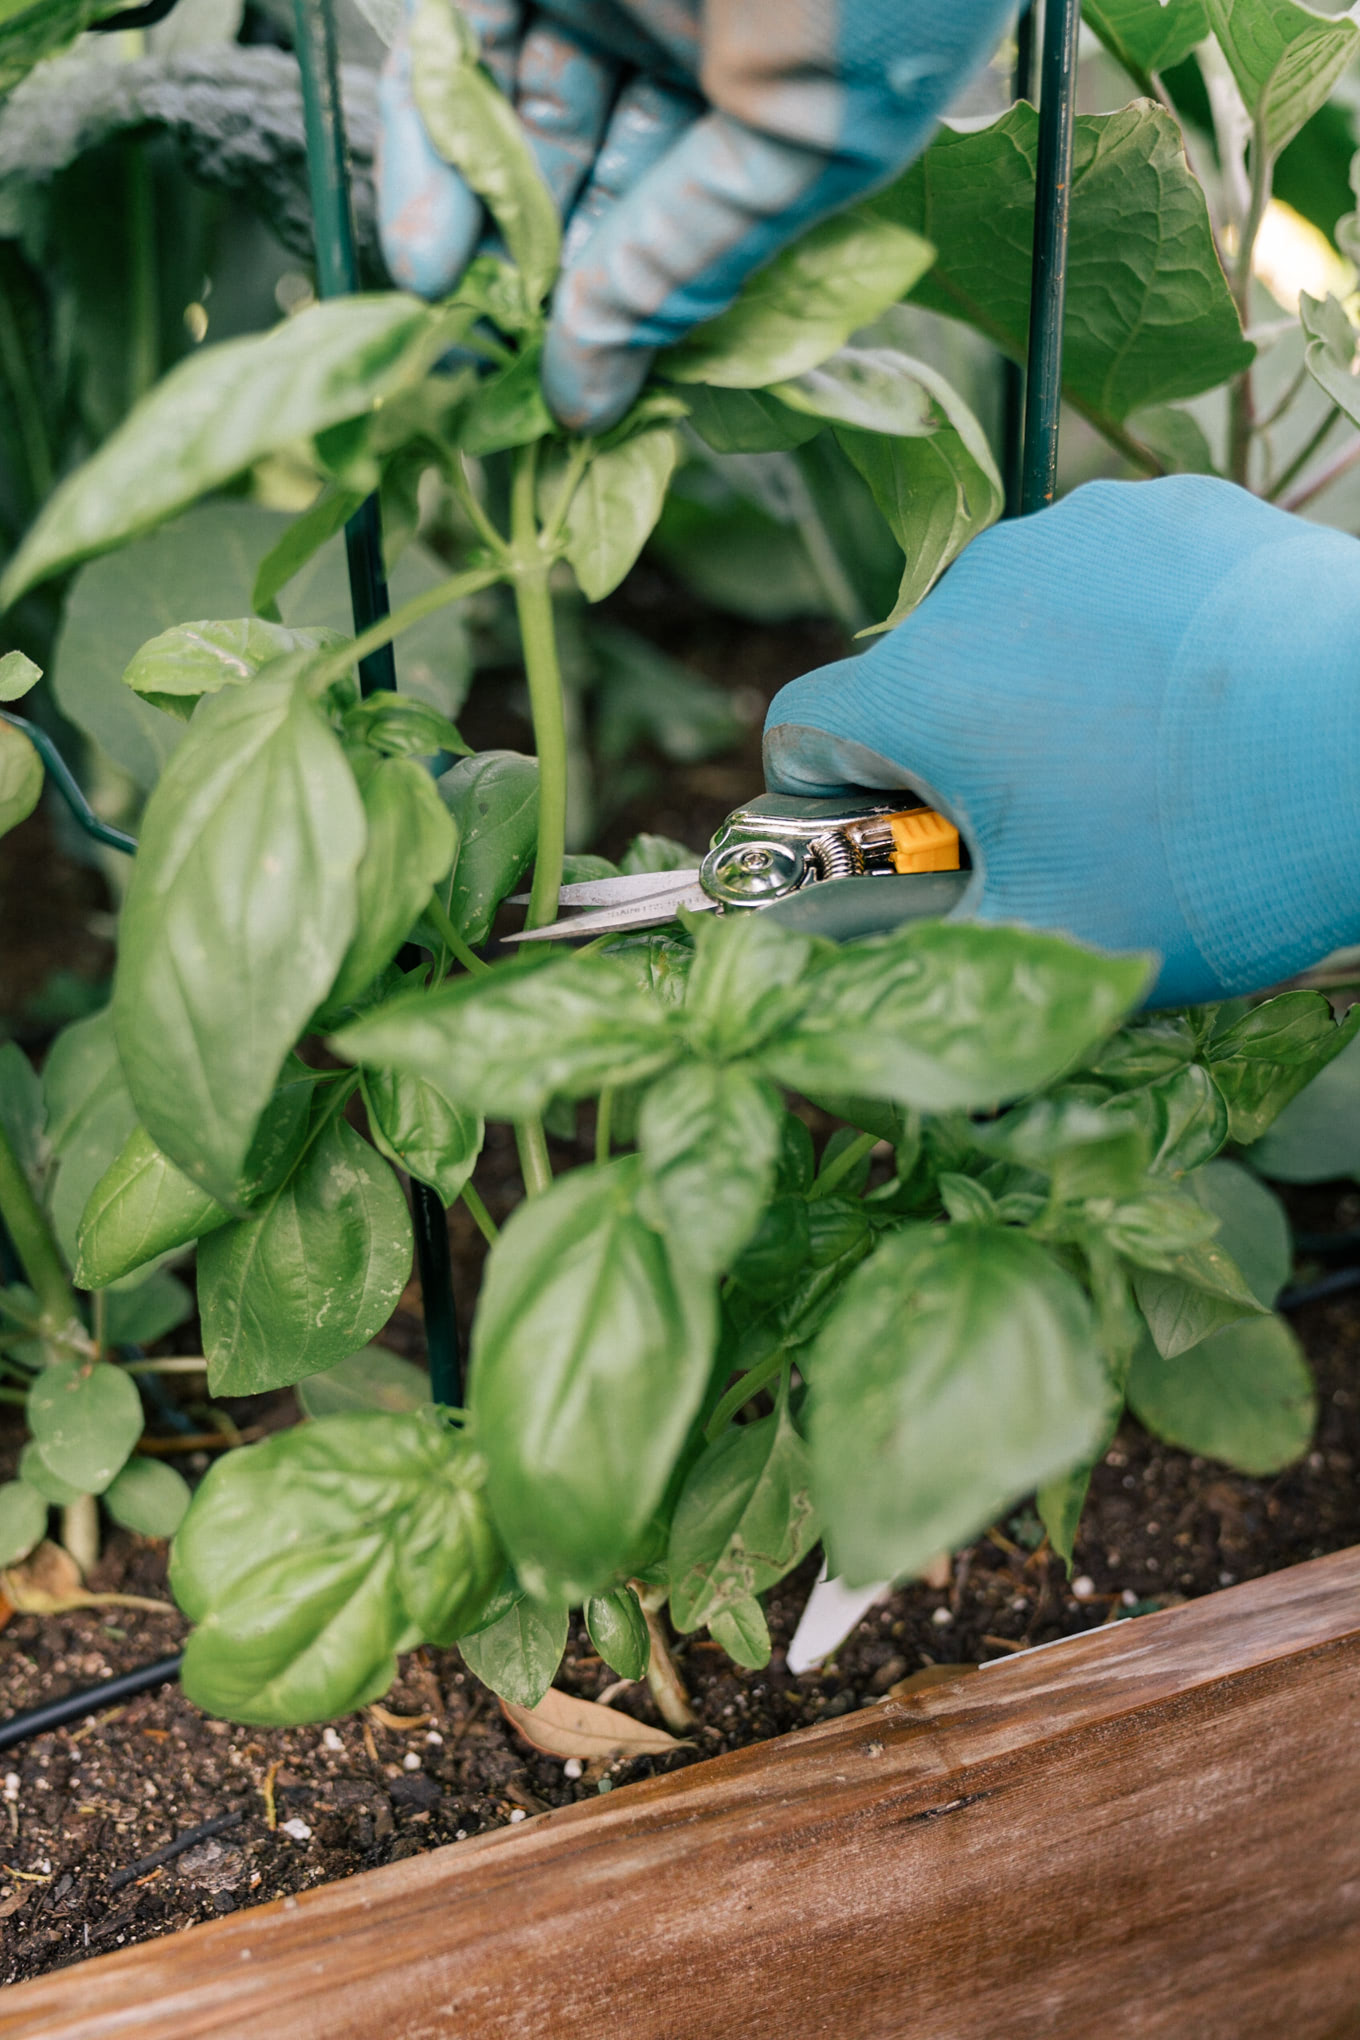
Pinch your Basil – I’ve grown more basil than any plant, but I just learned this trick last year. Pretty early in the life of your basil or with nursery bought basil you can pinch off the top basil on the main stem just above the side leaves. This will encourage new leaves to grow in between the stem and the branch. You can do this over and over again. You’ll produce more basil and lengthen the time between when basil goes to seed (aka starts to flower) and the flavor becomes less appealing.
Harvesting
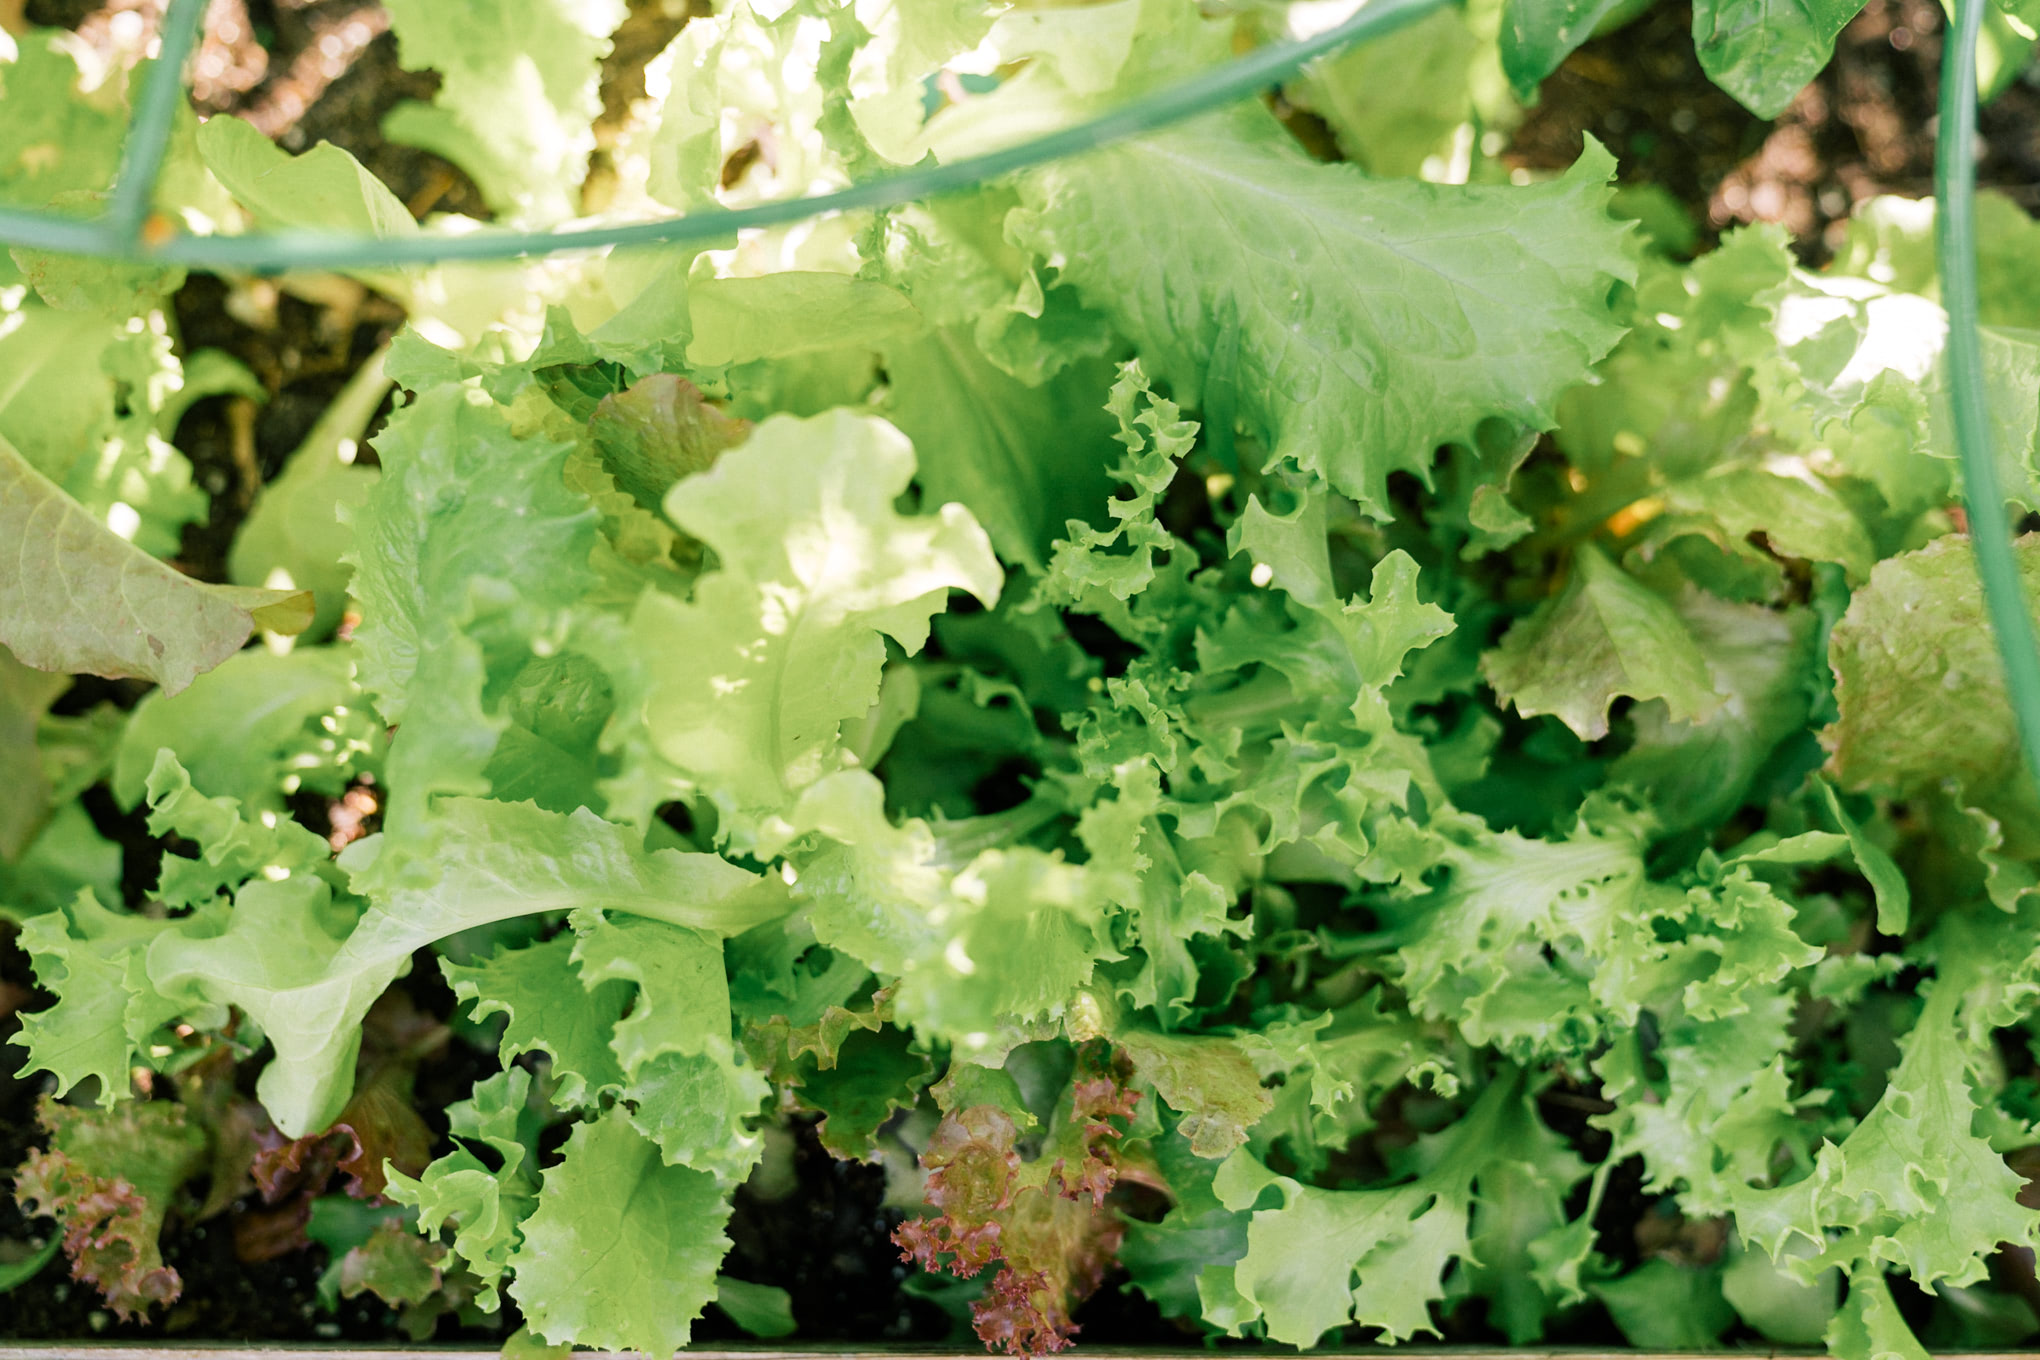
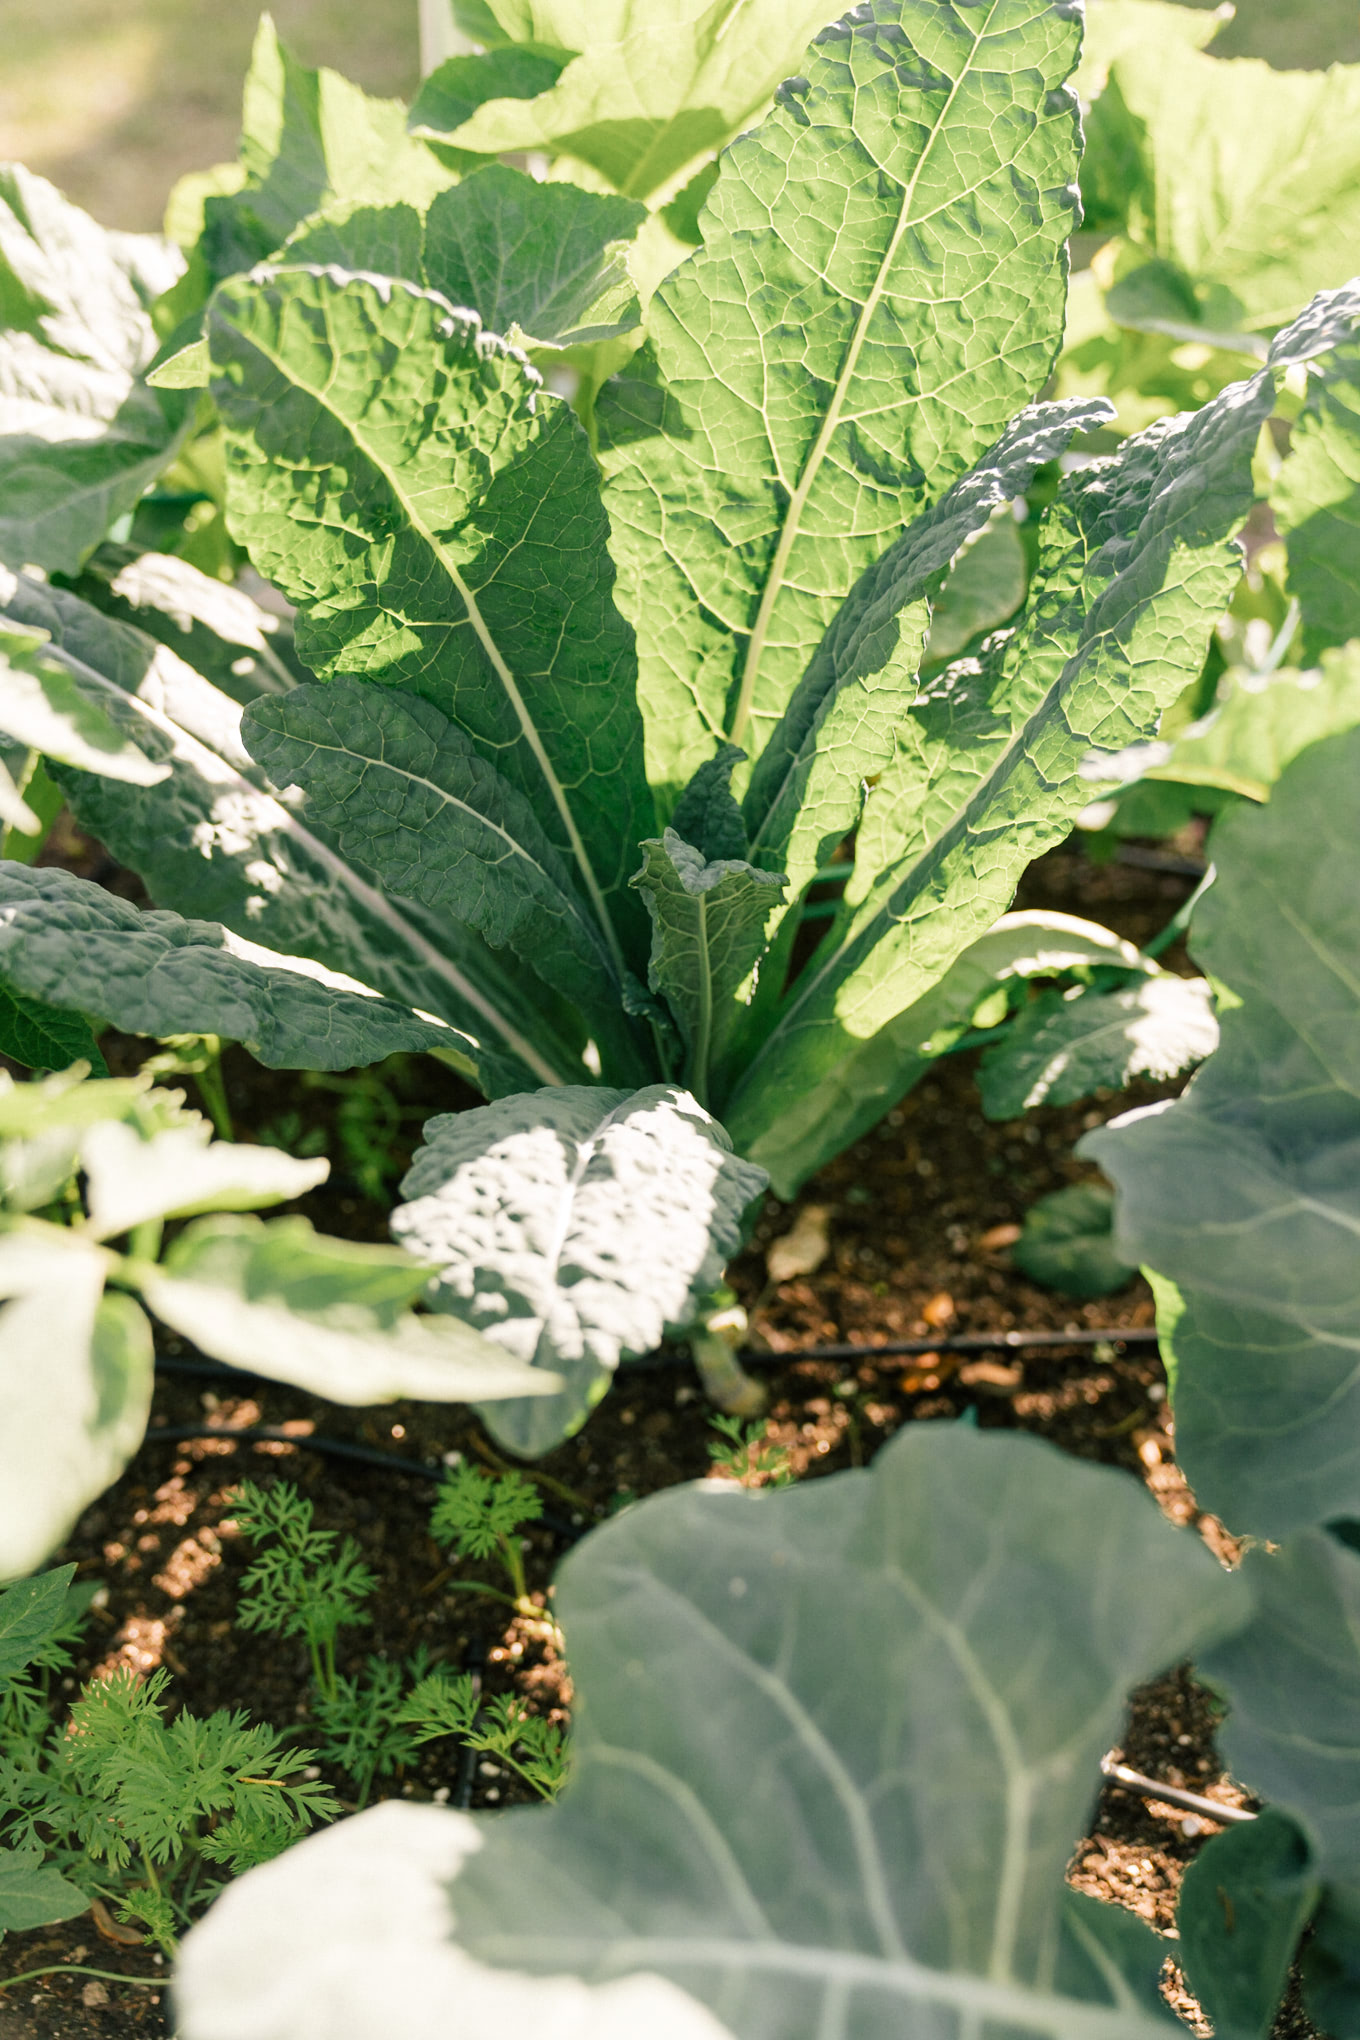
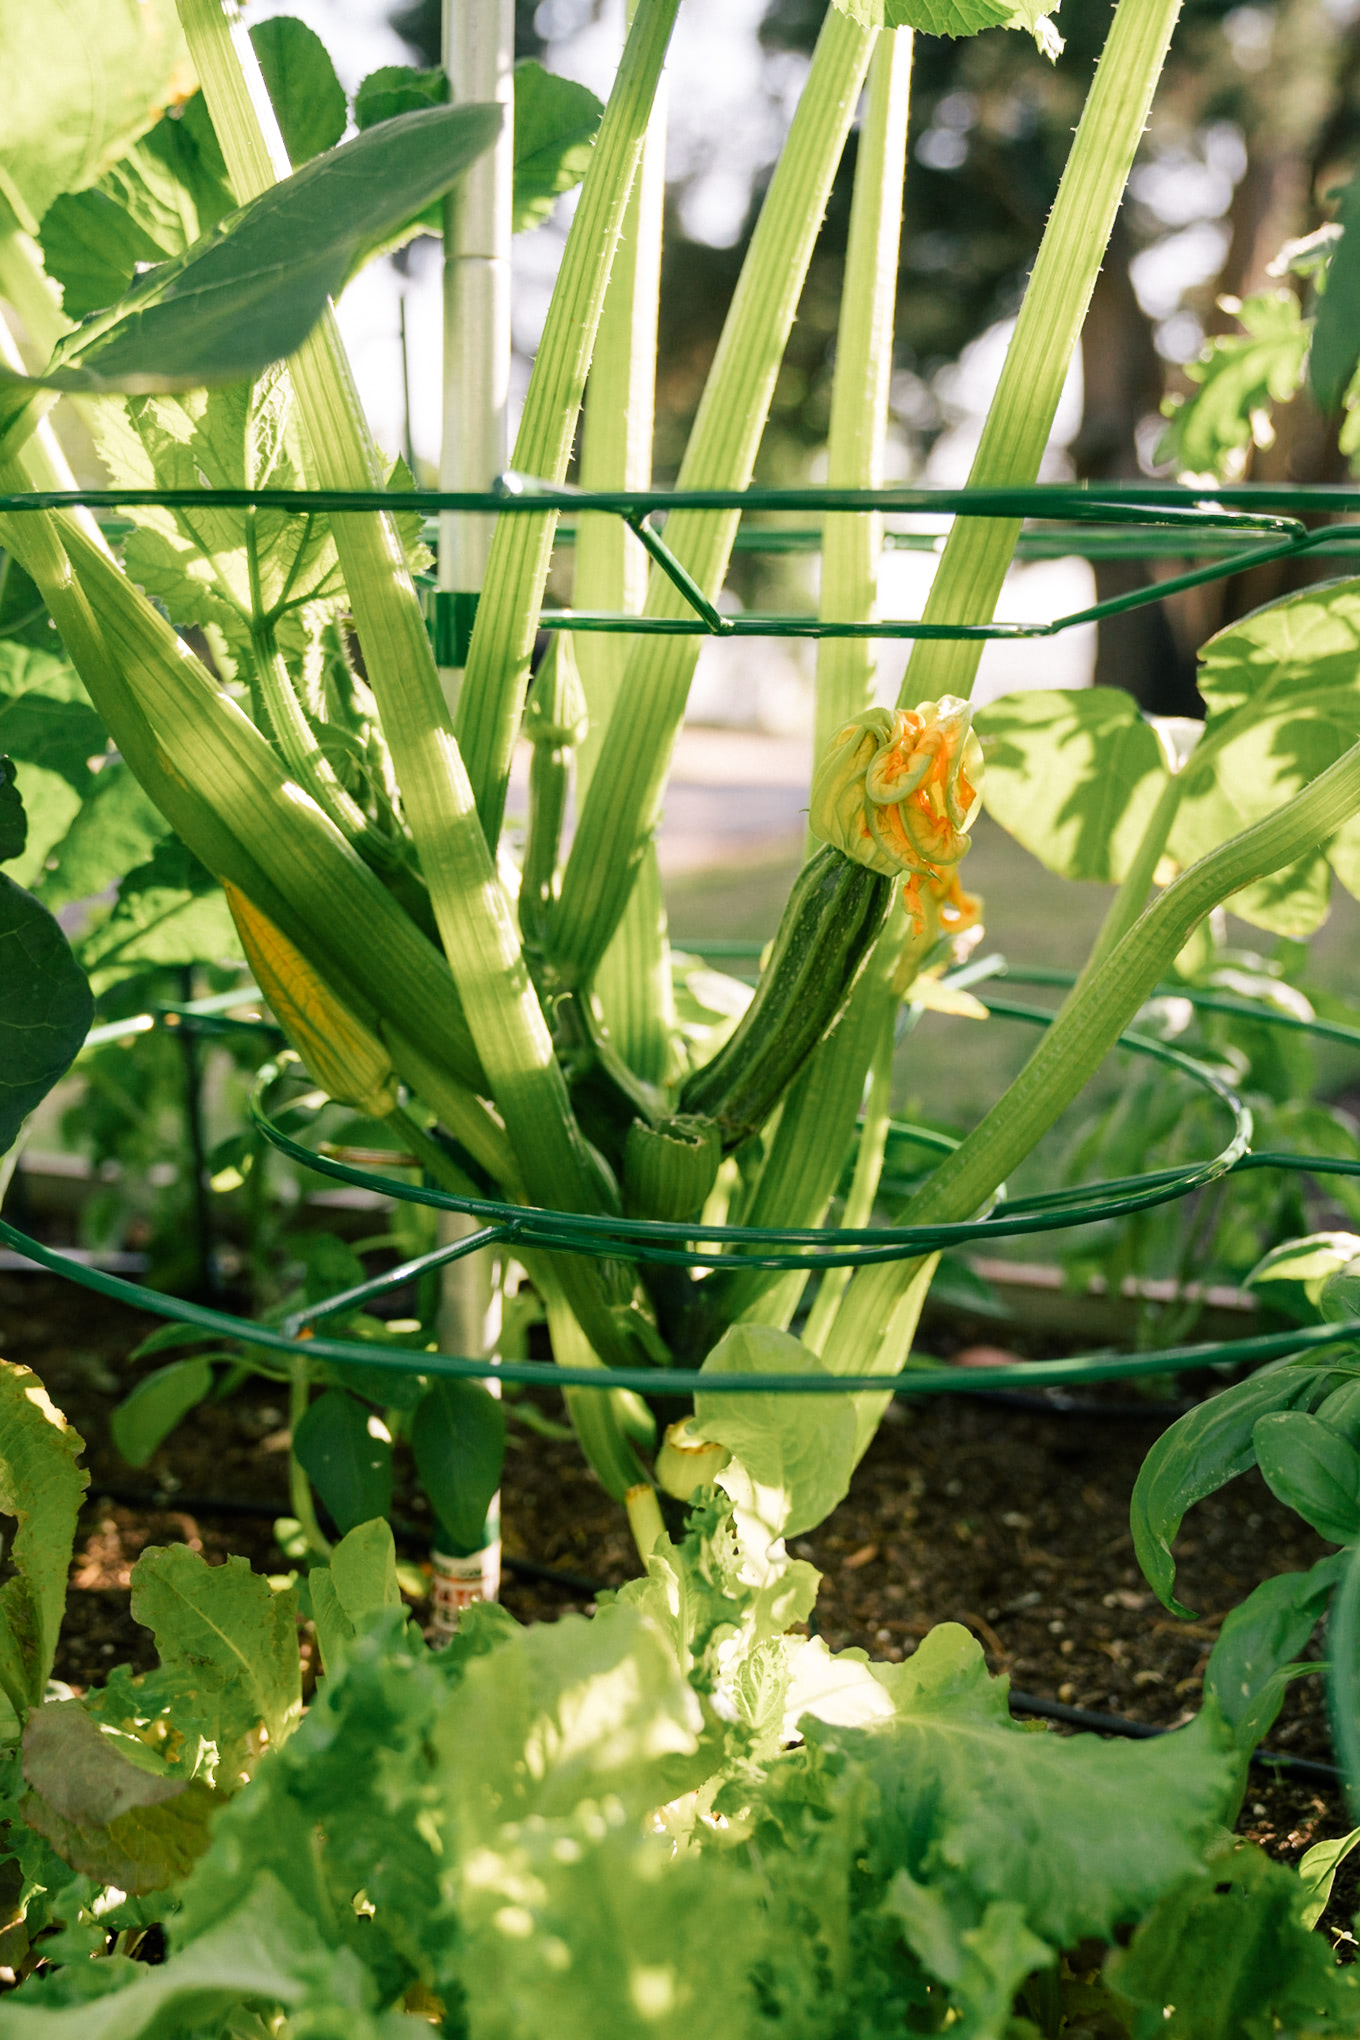
I’ll cover harvesting more extensively in a future post, but note that some cooler weather plants might be ready for harvest. Leafy greens like mesclun mix might actually be best eaten smaller.
When you get your harvest inside, I recommend you clean it thoroughly. I mix a light concentration of Veggie Wash with water to clean leafy greens and spray it on firm vegetables like zucchini or tomatoes to wipe them down.
The post Get Ready to Garden-Part Two appeared first on Gal Meets Glam.
from Gal Meets Glam https://ift.tt/3cV0UYs


0 Comments