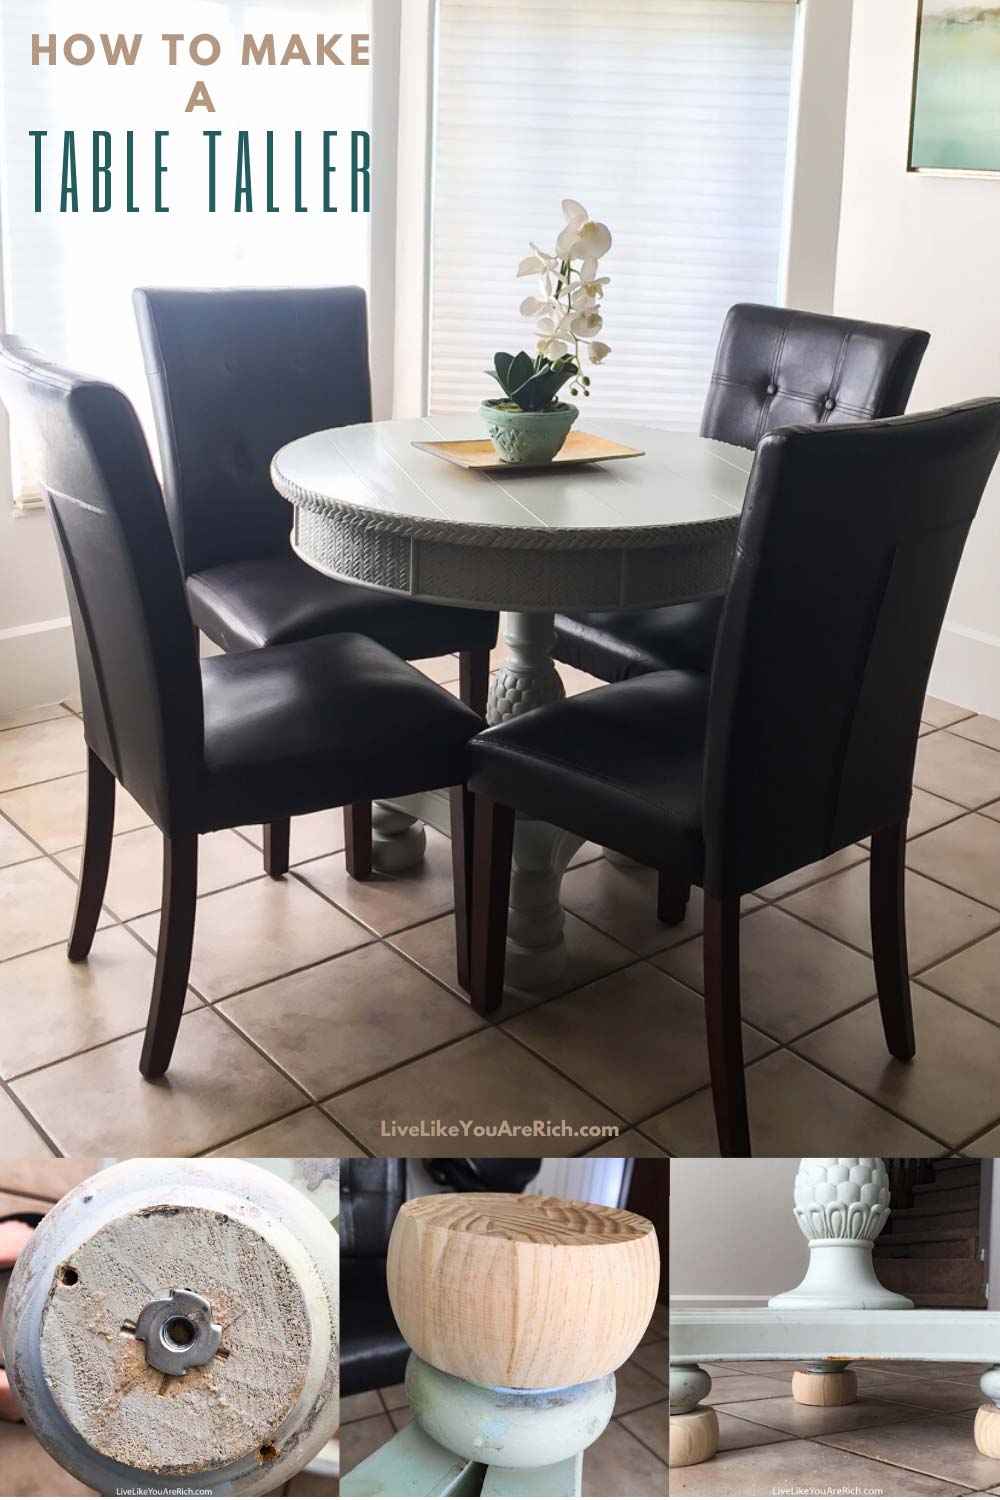
I have a small table that I bought 5 years ago on the local classifieds for about $25.00. It has been in my living room until a recent remodel when I moved it into the kitchen/dining area. Even though it is a bit small, it fits my little family (single mom of two toddlers) perfectly. And because of its small size, my dining area looks a lot bigger. The only problem was, it was too short/low to the ground for the chairs I have.
Most tables should be about 30 inches tall, mine was 28. I couldn’t sit on my dining chairs very easily and tall guests were doomed. So I decided to make it taller. It only took about 10 minutes to raise—not including the painting and drying time. With the painting and drying time, it took about 45 minutes to start to finish to make this table taller…
Here’s what I did:
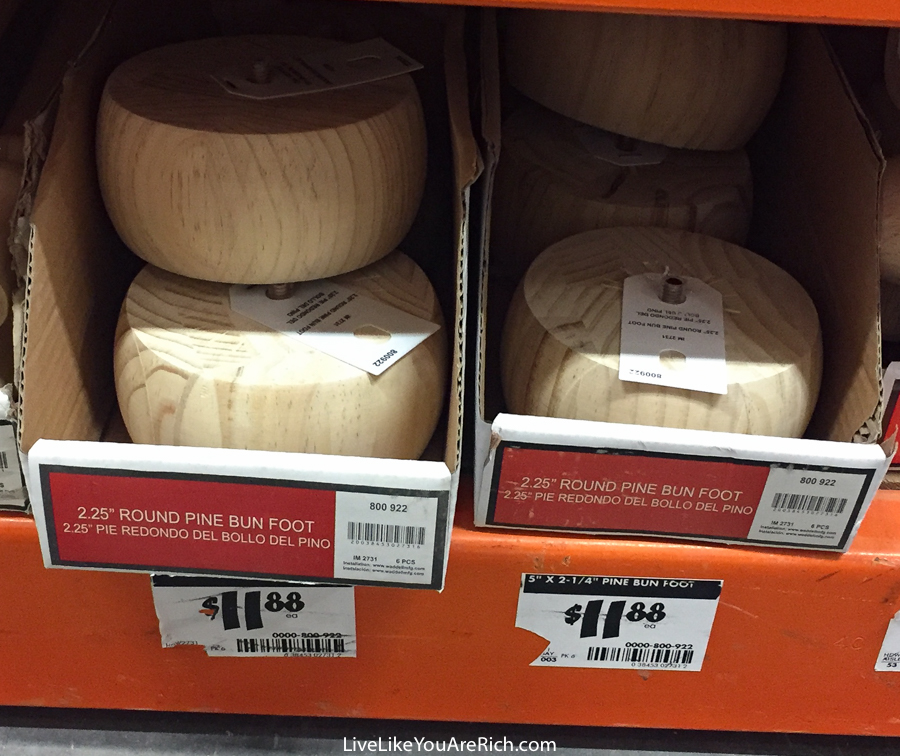
First, I bought 3- 5″ x 2.25″ round bun feet at Home Depot
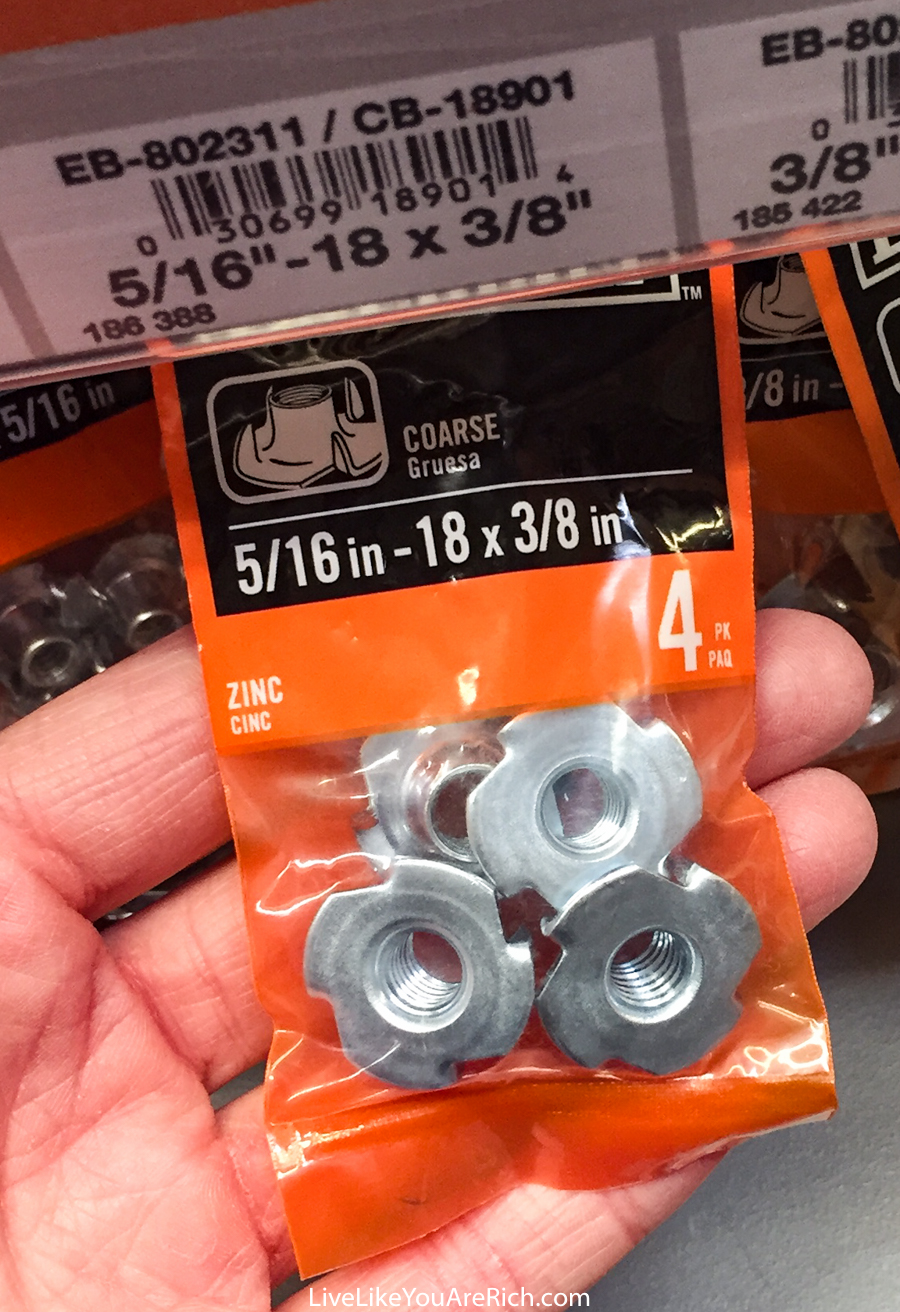
And I bought 5/16″-18 x 3/8″ coarse nail-in tee nuts (found here) that the bun feet screw into (see photo below).
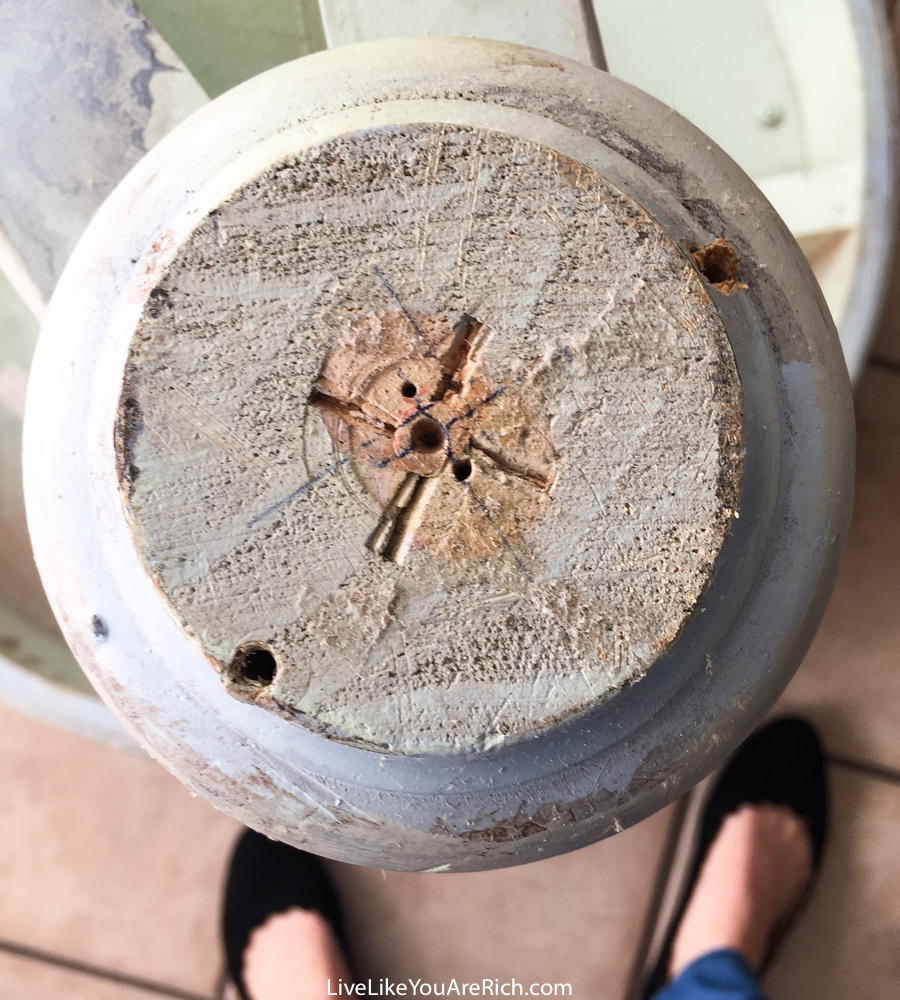
Next, I turned the table upside down. As luck would have it, the centers of my table’s feet were already marked. If yours are not, be sure to mark the center by measuring the diameter of the foot and making a mark in the middle. Do this 2 or 3 times across from each other to find the center.
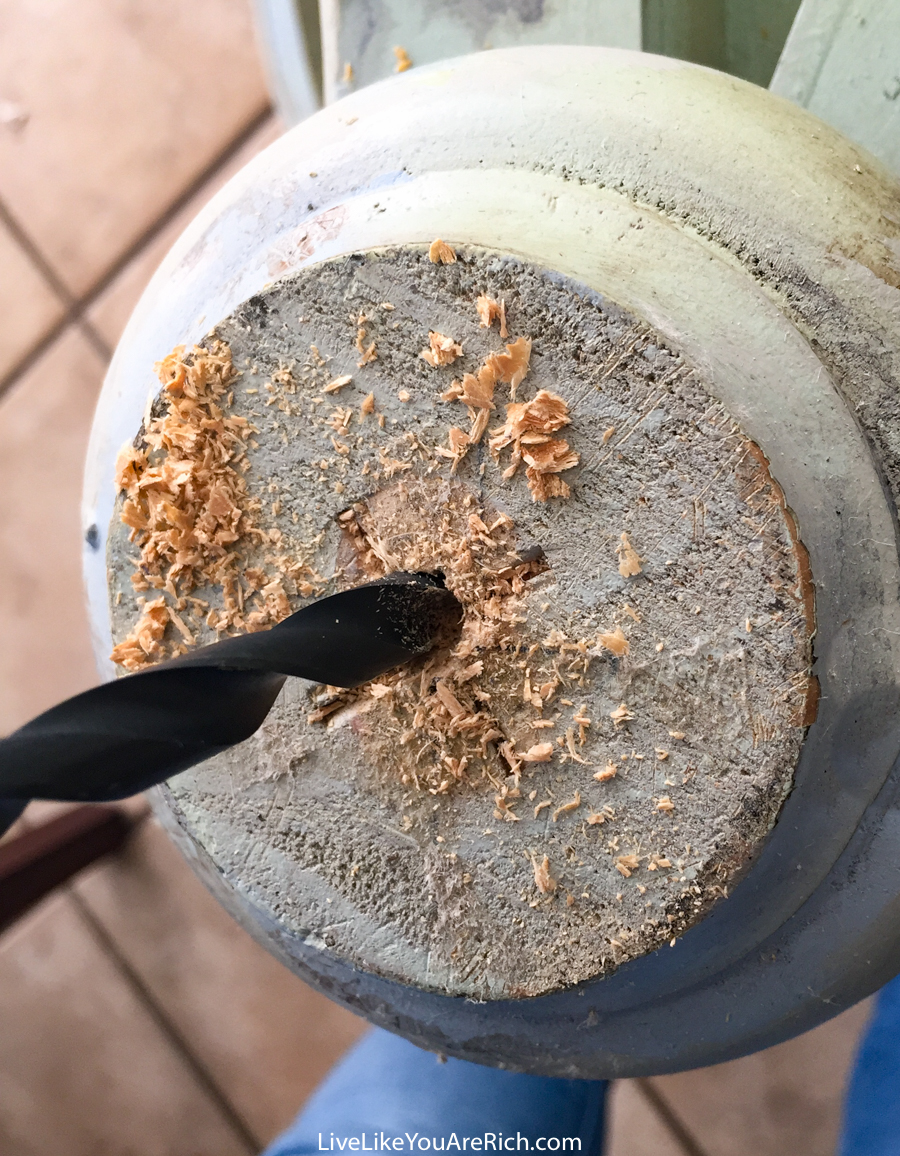
Then I drilled a hole about 1/3″ deep with a 5/16″ drill bit. Note- If you don’t have a 5/16″ drill bit, I would recommend just buying a drill bit set (similar to this one). It was only a few dollars more than buying the individual bit. Now I have 10+ other bits for future projects—yay.
I hammered in the tee nuts well.
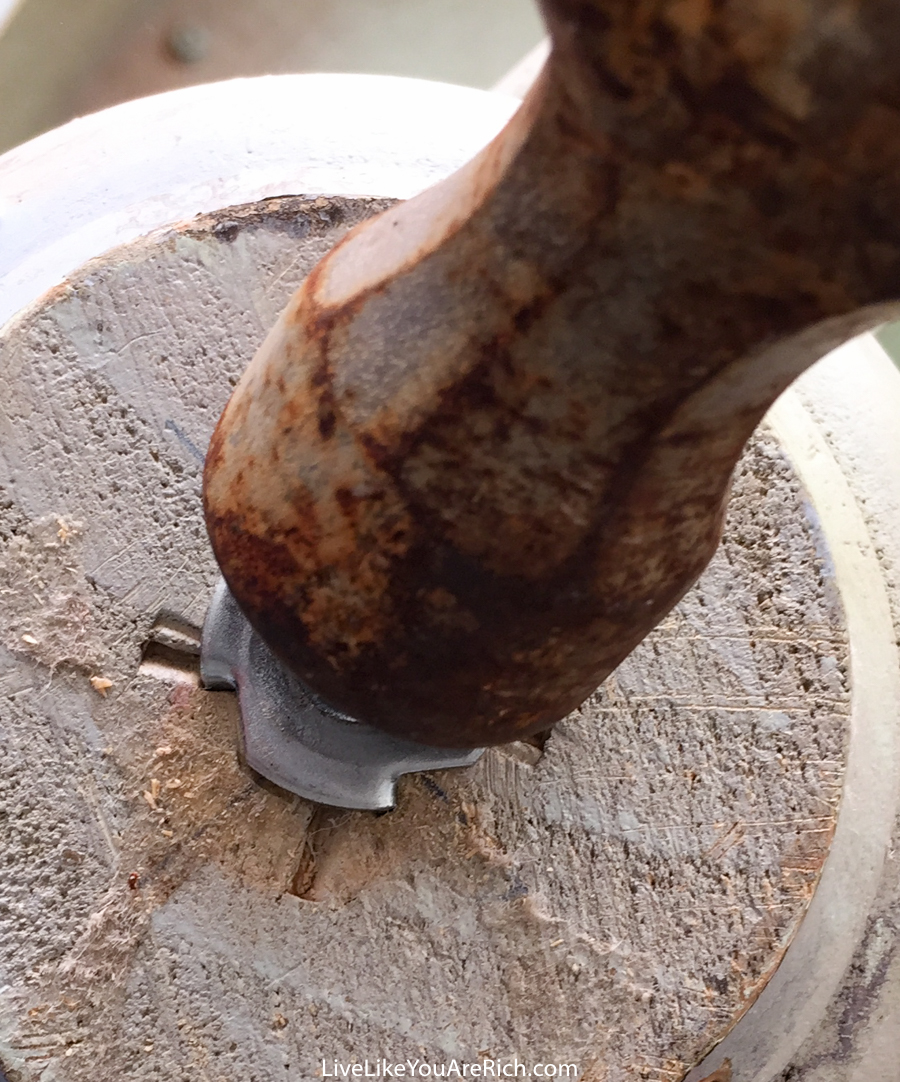
If you notice the side holes in this foot (photo below) please note that I did not drill those in. They were already there—from who knows what. I don’t mind though, the table is still perfectly functional and they did not interfere with this project.
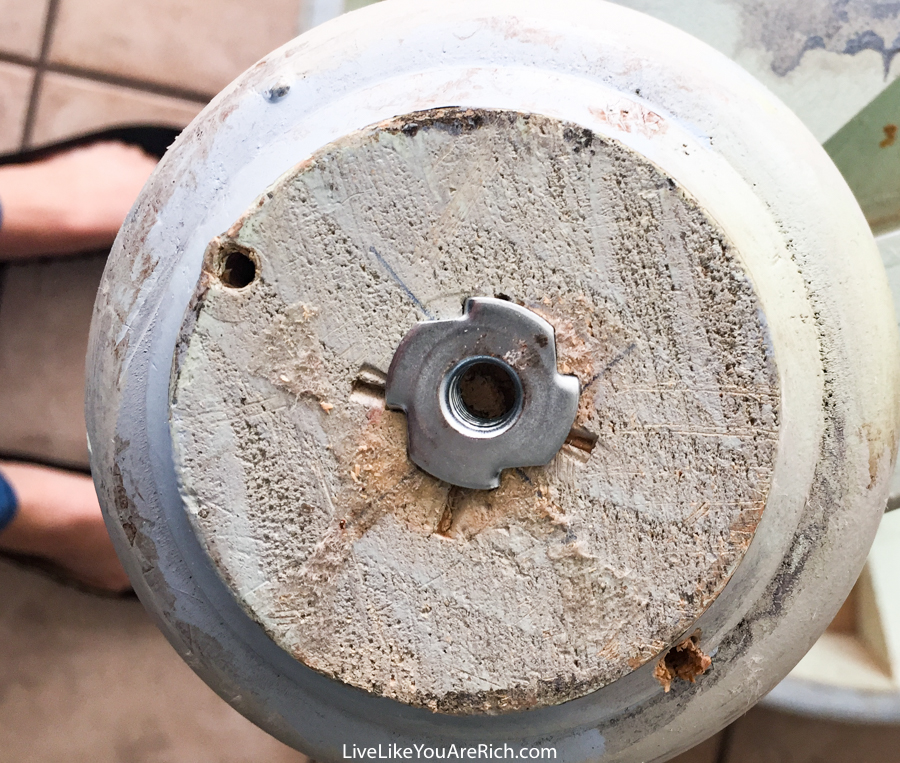
After that, I screwed in the bun feet.
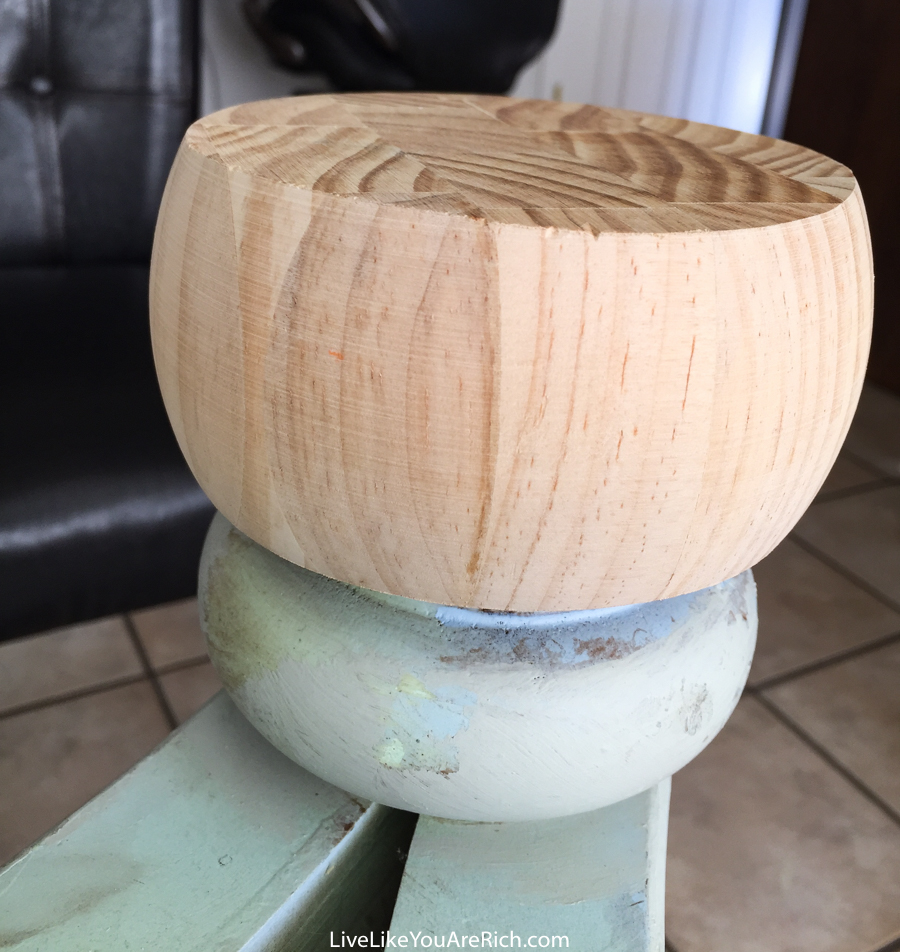
Before painting, I flipped the table over to make sure it did not wobble—which it didn’t. It was super sturdy and remains so to this day (I’m writing this 3 weeks after the project was completed).
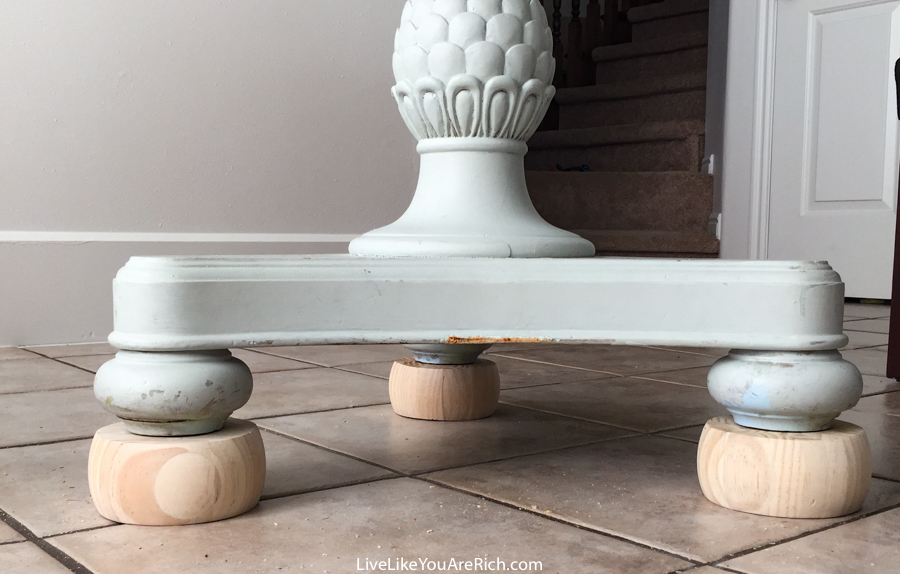
I then took all of the feet off and put a few coats of paint on each. To match the paint, I took one of the existing feet in to Sherwin Williams and had it matched. I just bought a small amount (sample size) for a few dollars.
Tip- I found that using painters tape and cups, etc. to rest the feet on to dry was helpful.
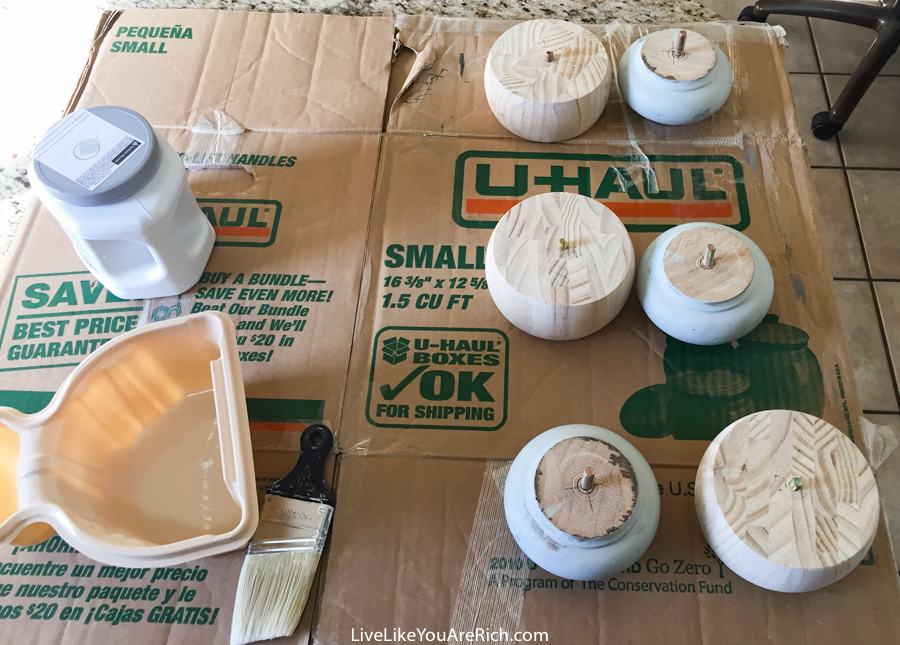
Once the feet were dry, I reinstalled them.
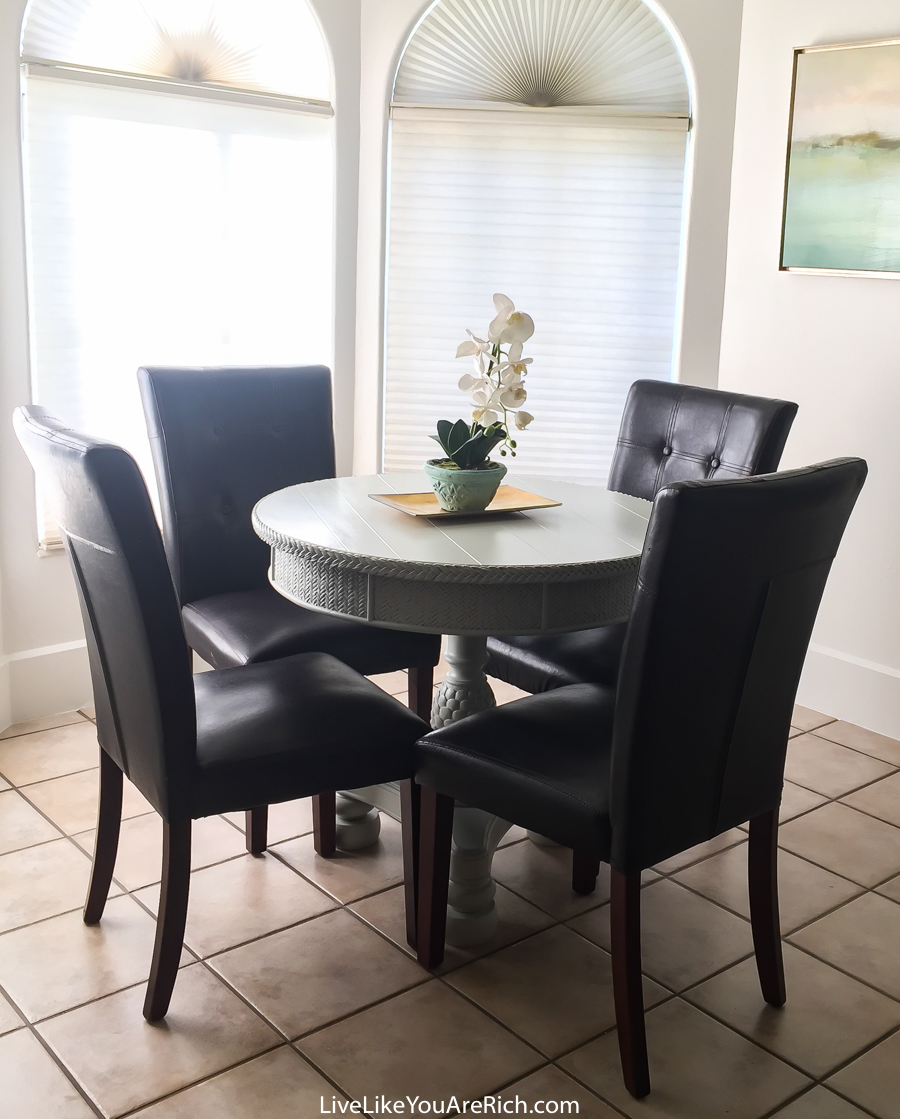
My little table measures just over 30 inches tall and fits my dining chairs perfectly. I have had a guest who is 6’3″ sit at the table comfortably. It has been very functional and was inexpensive, easy, and quick. I hope this is helpful if you need to make a table taller as well!
Supplies
2.5″ round bun feet —or whichever ones you need
5/16″-18 x 3/8″ coarse nail-in tee nuts
Paint or stain to match the existing table

For other ‘rich living’ and DIY tips please subscribe, like me on Facebook, and follow me on Pinterest and Instagram.
The post How to Make a Table Taller appeared first on Live Like You Are Rich.
from Live Like You Are Rich https://ift.tt/3eL77Y9



0 Comments